If you’ve been following along on the gram, you know this kitchen remodel reveal is loooong overdue. Remodels just take extra time, no matter how much you prepare and plan for it. Even in my case, we only painted and replaced flooring.. which in the scheme of remodel projects is n o t h i n g !
I’m sharing all the details, materials, products, and some debrief.
Leave a comment with any questions!
1. Design Plan:

My kitchen concept design:
I create this “board” for clients to give to contractors - along with detailed information to micro manage the heck out of them. It never hurts to be too detailed, and contractors love this- makes the project run smoothly. It also helps everyone (like husbands) see exactly what you have in mind.
Paint Colors -
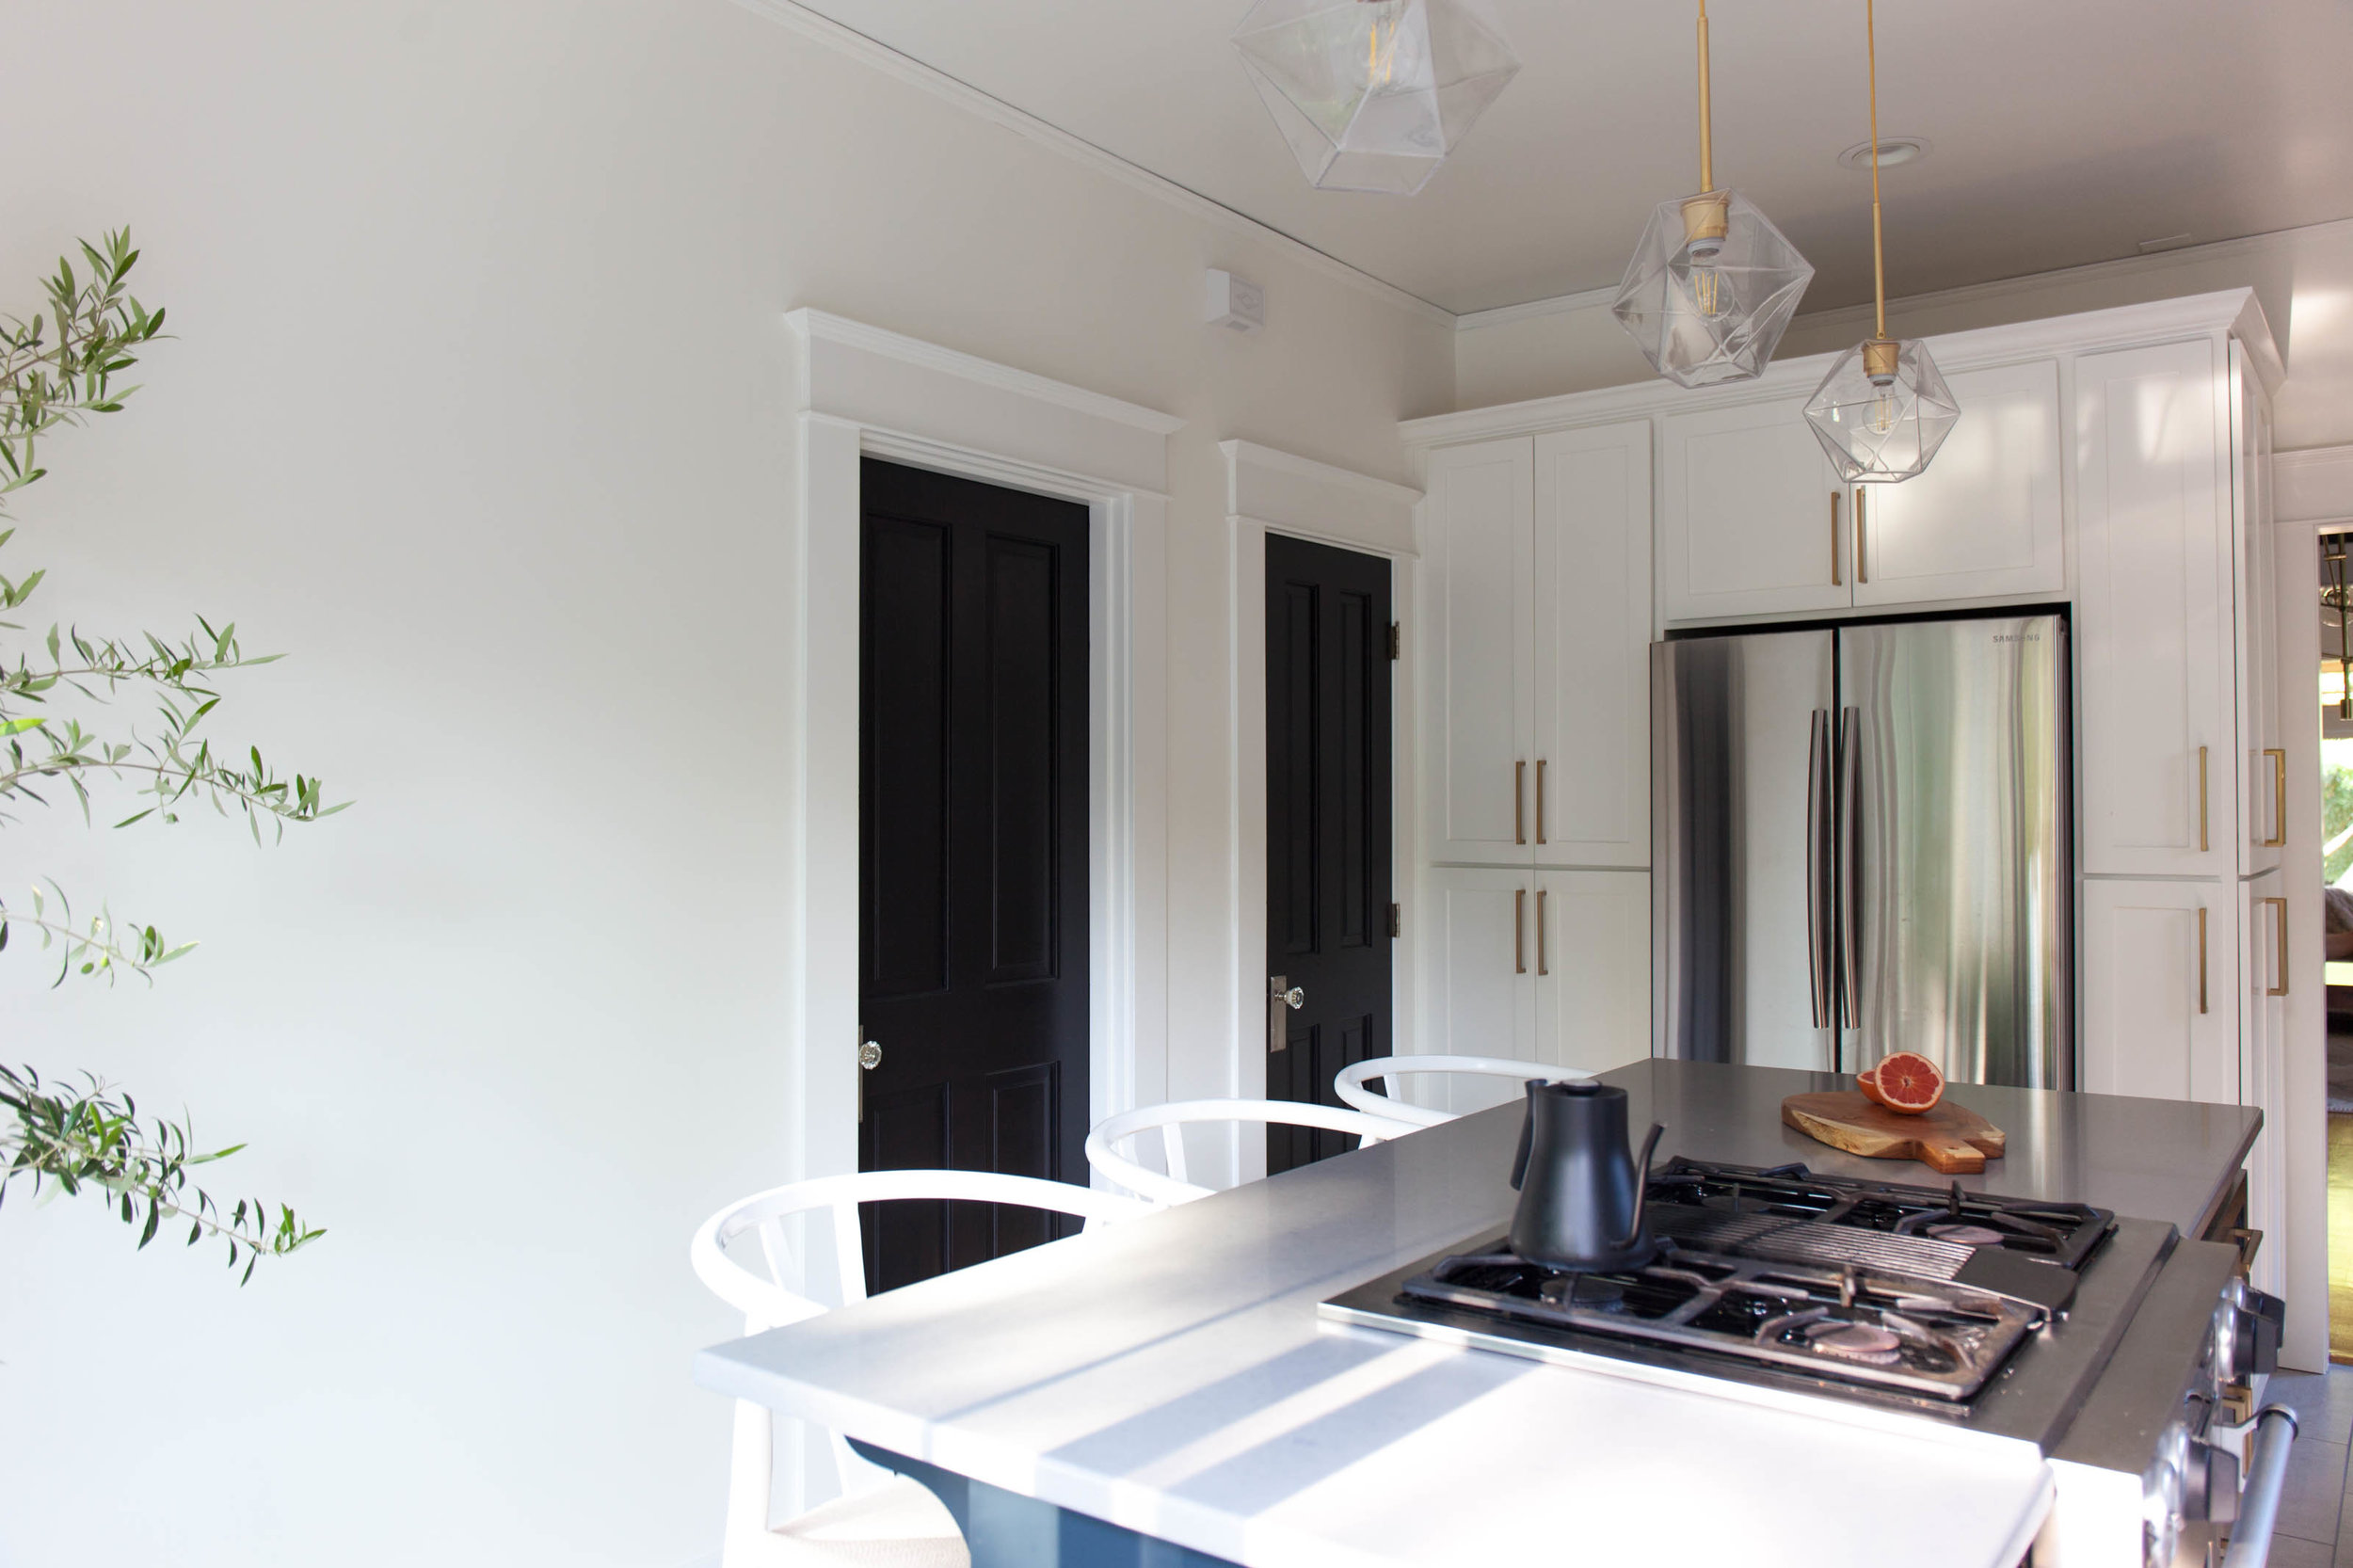
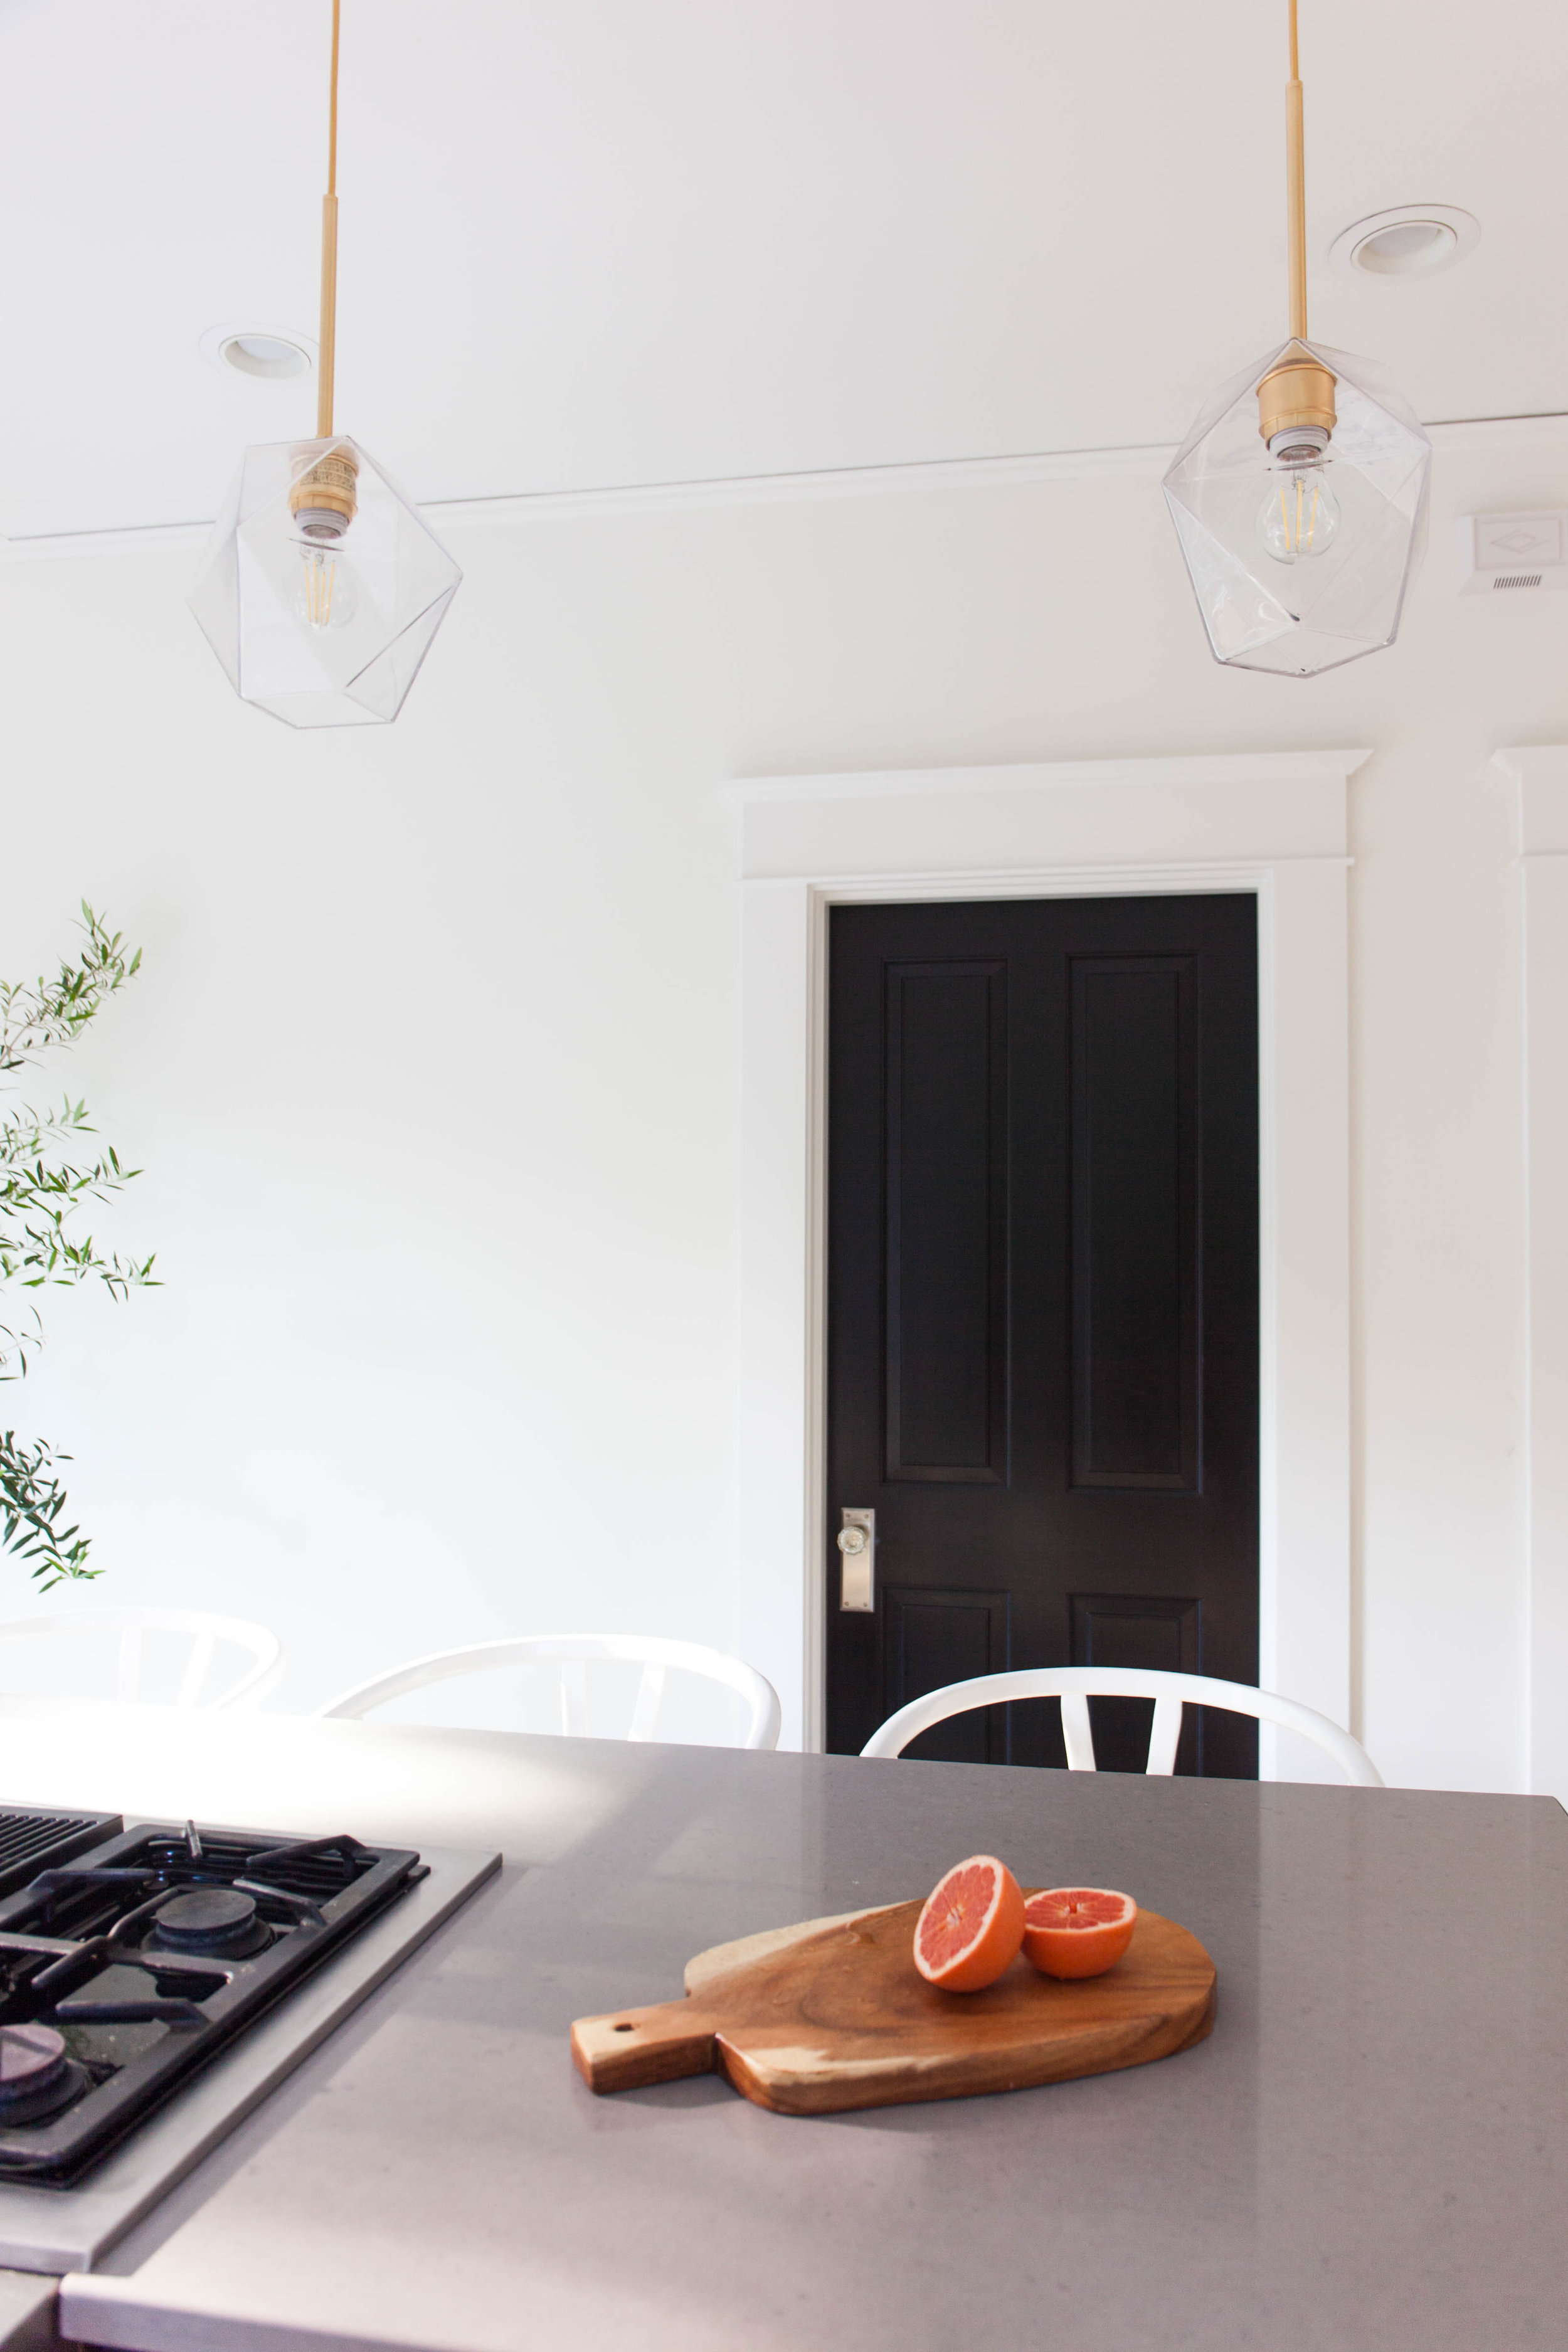
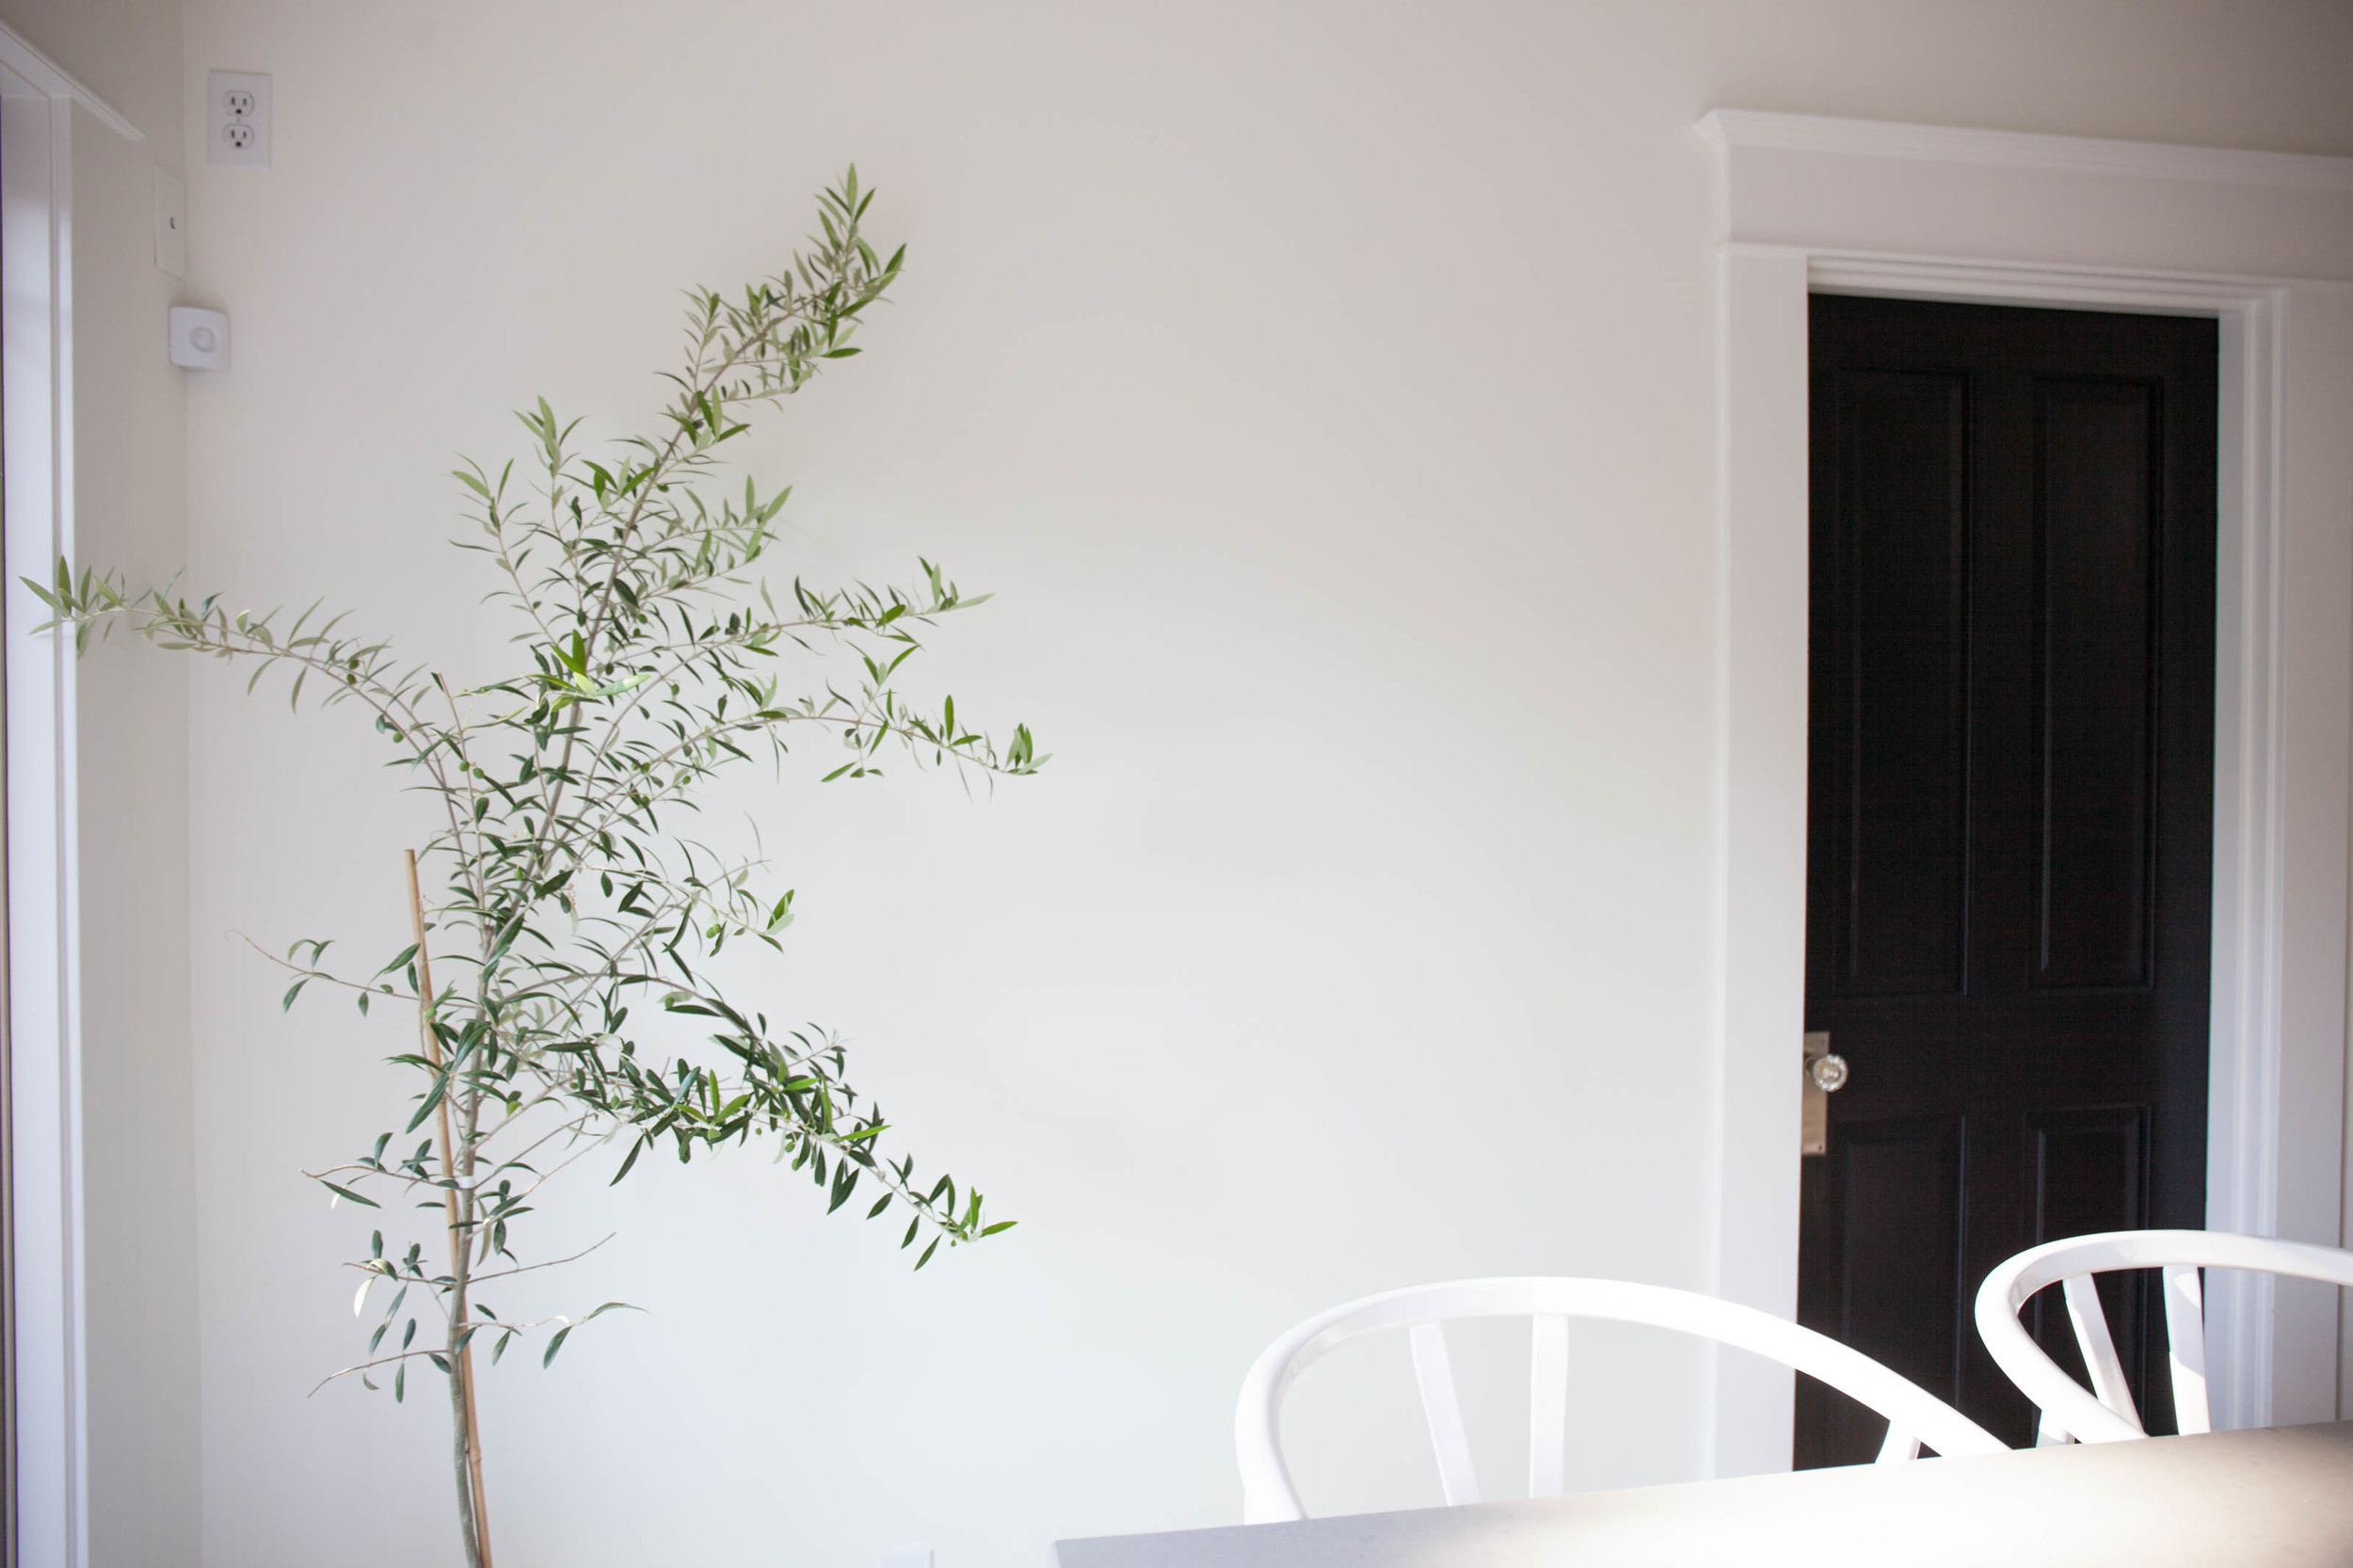
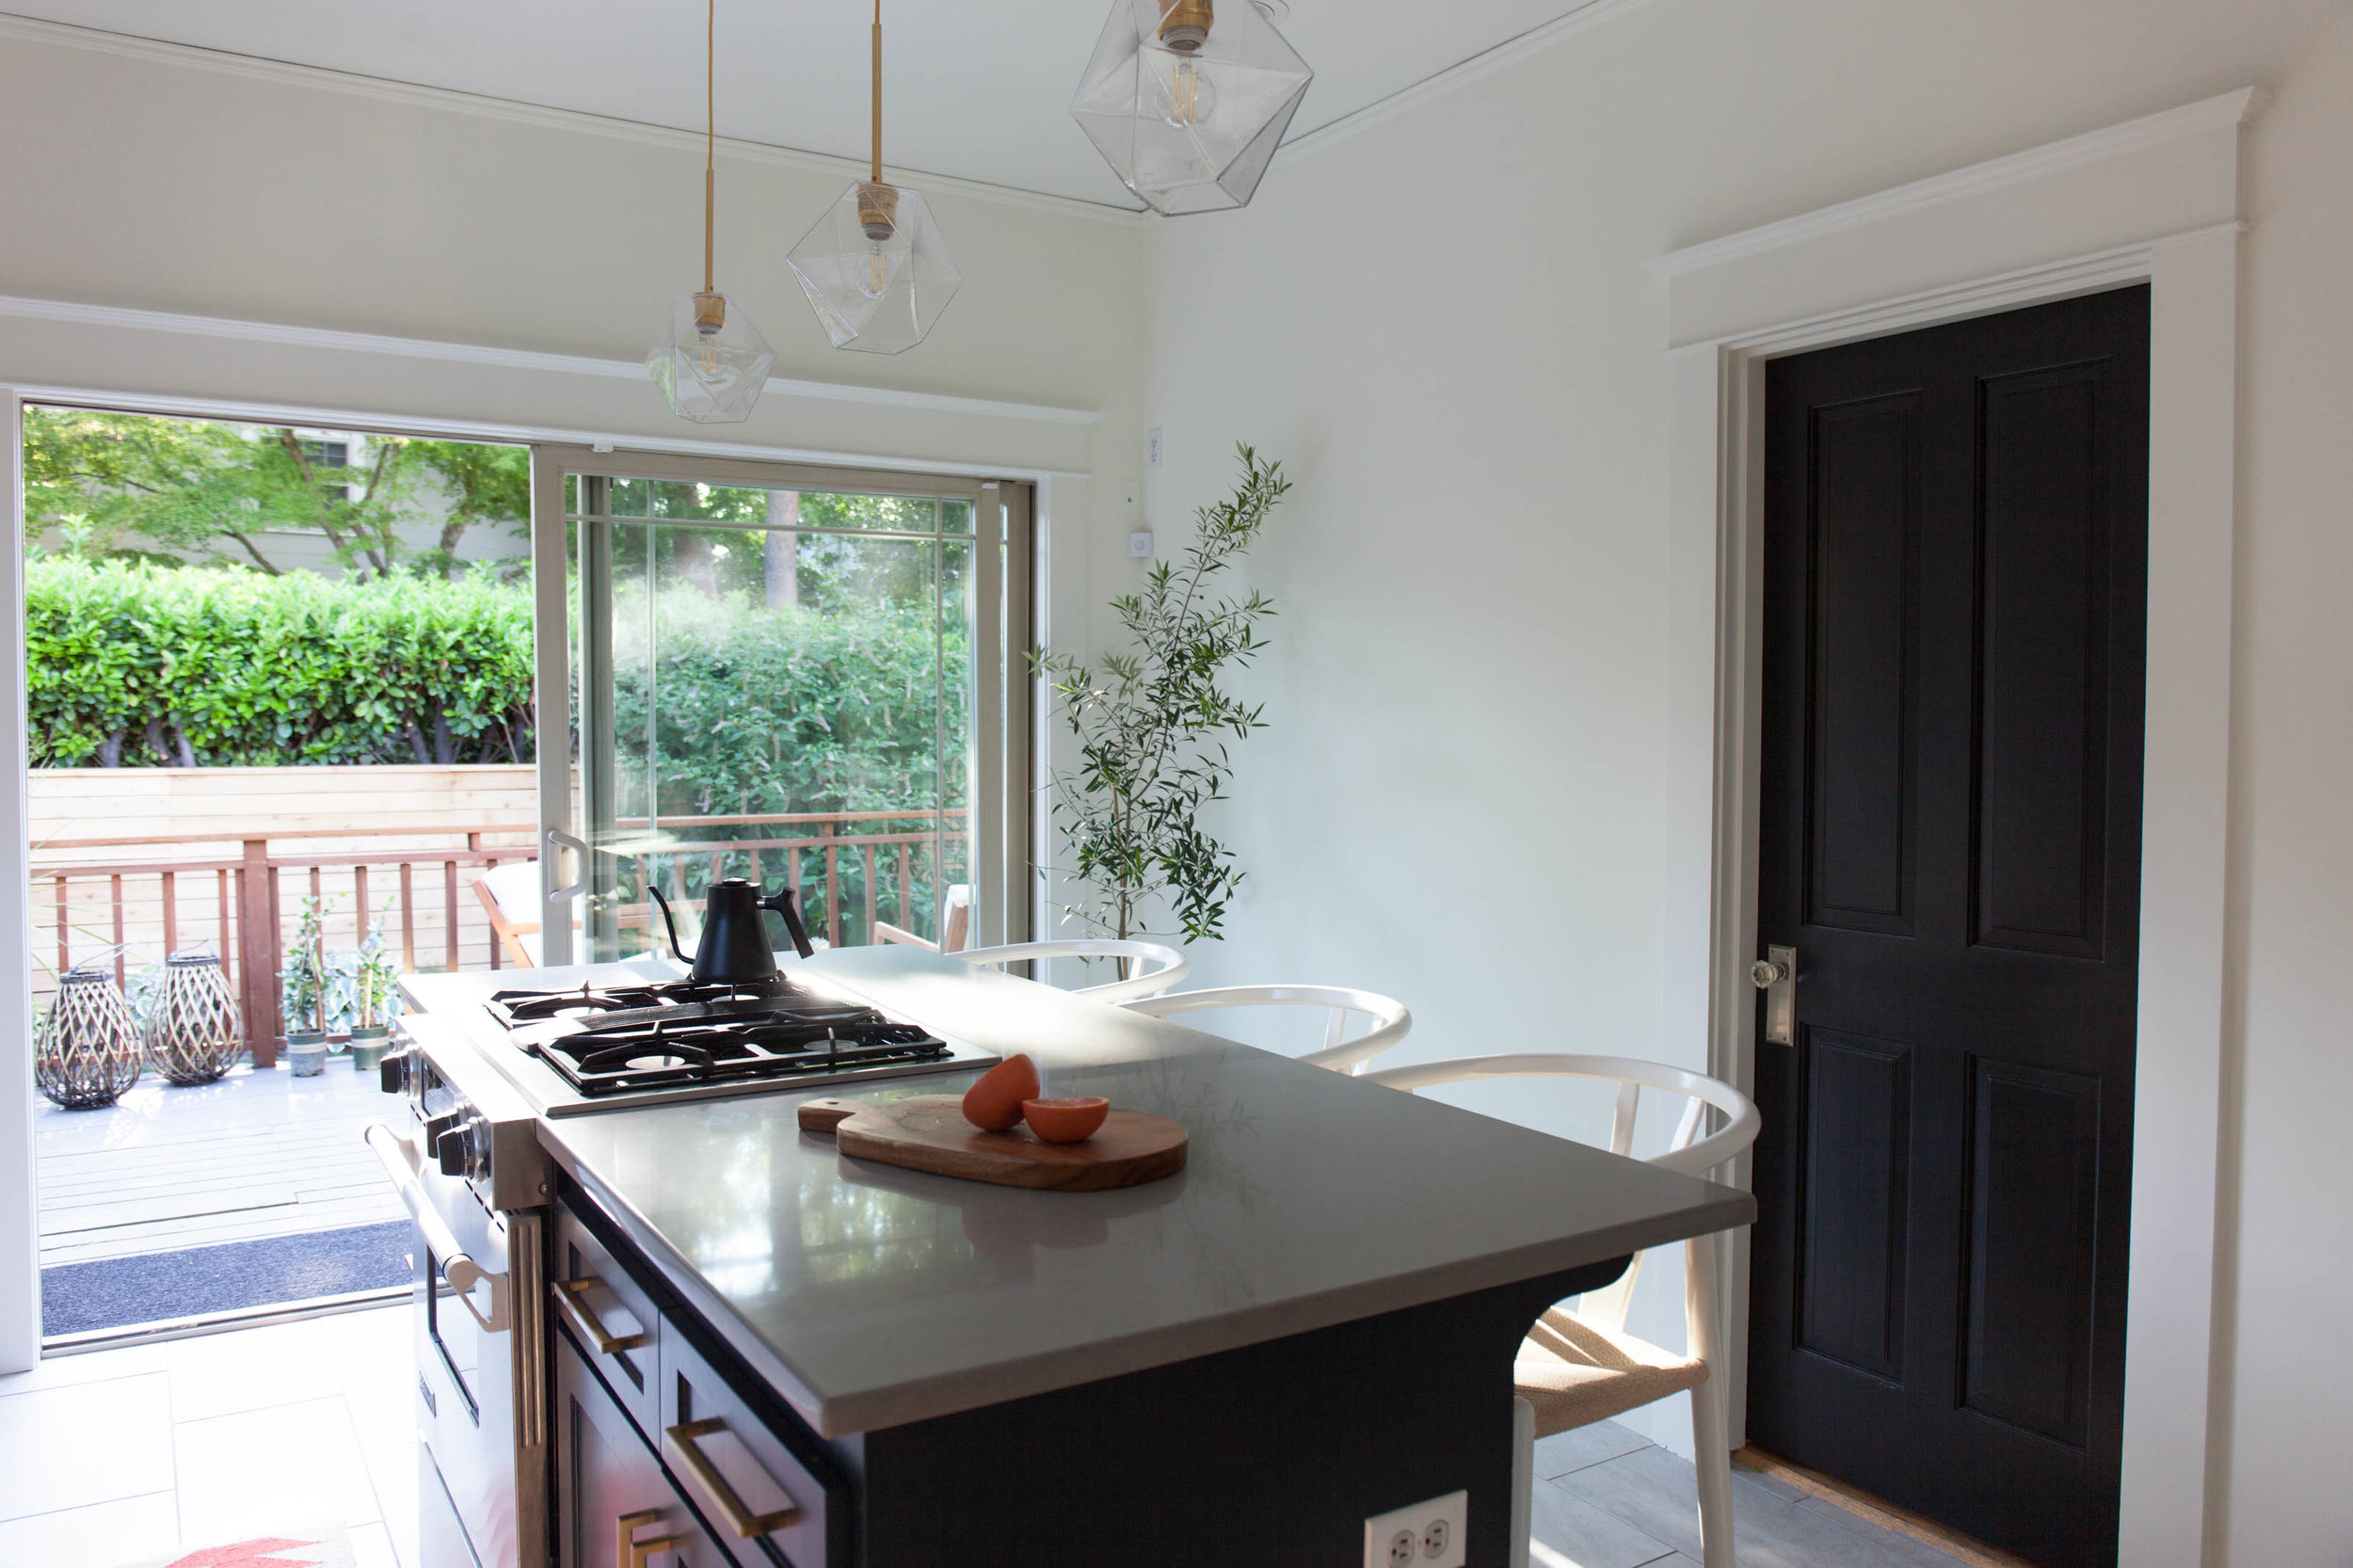
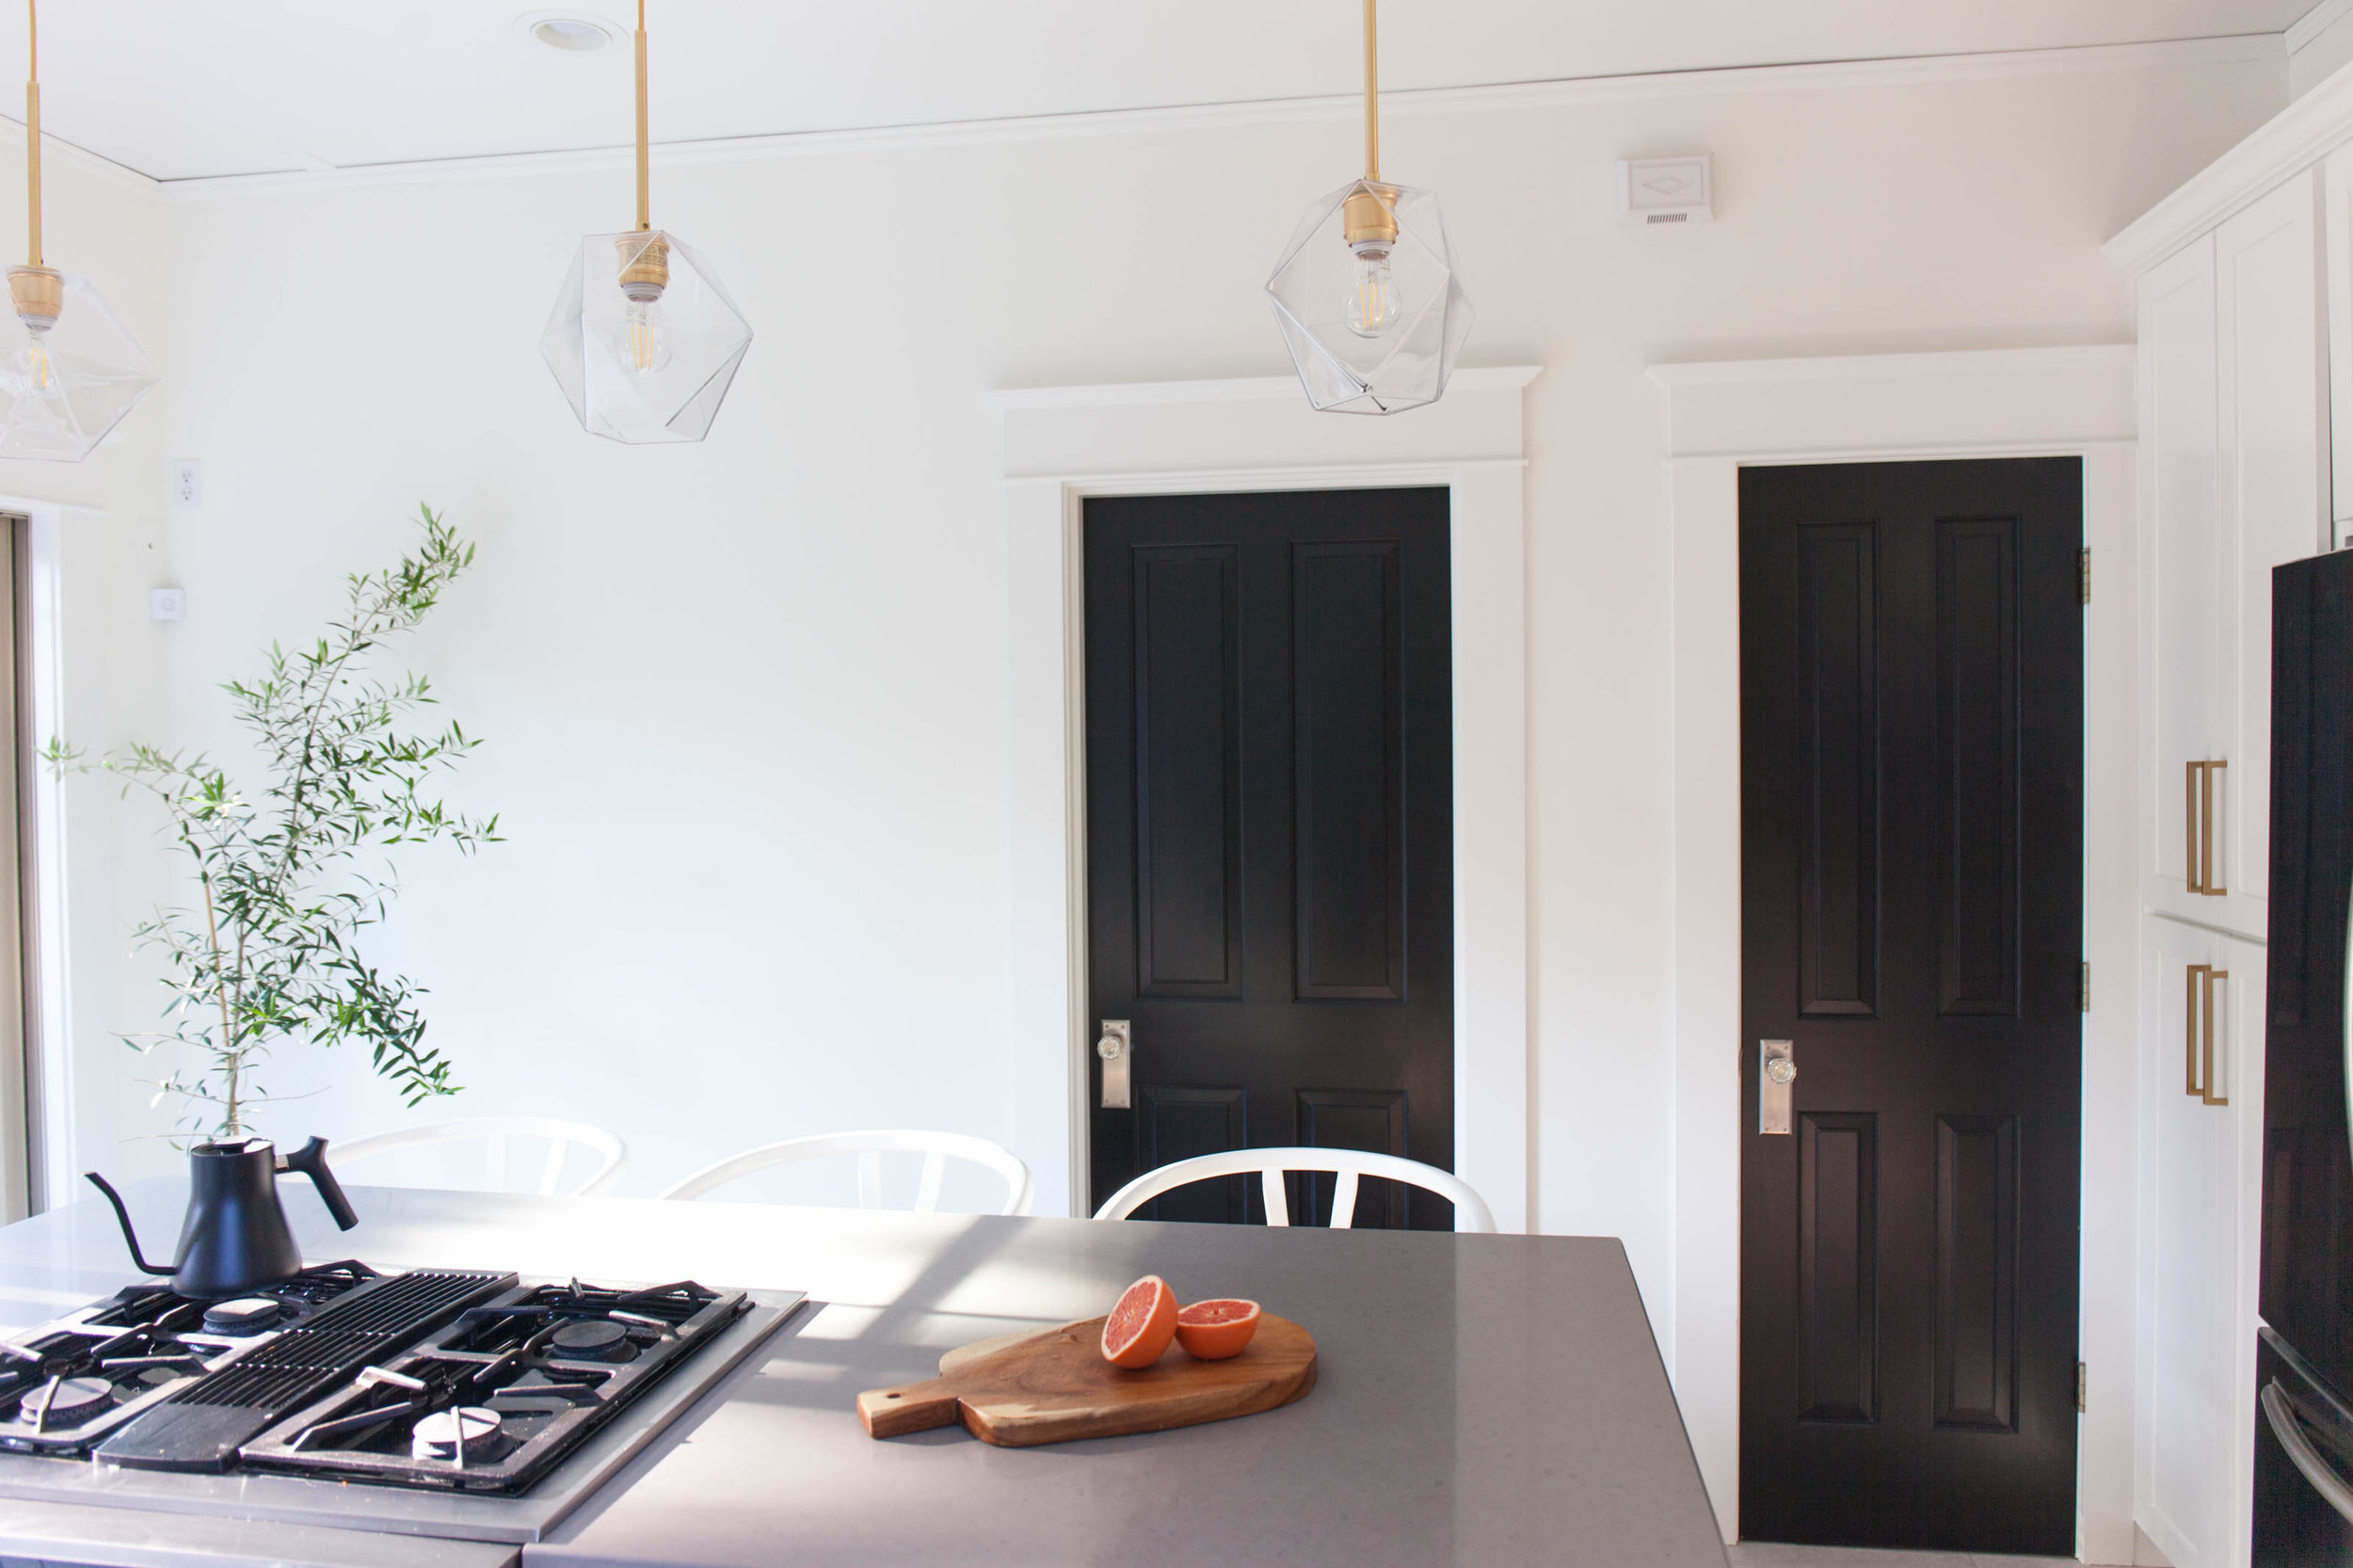
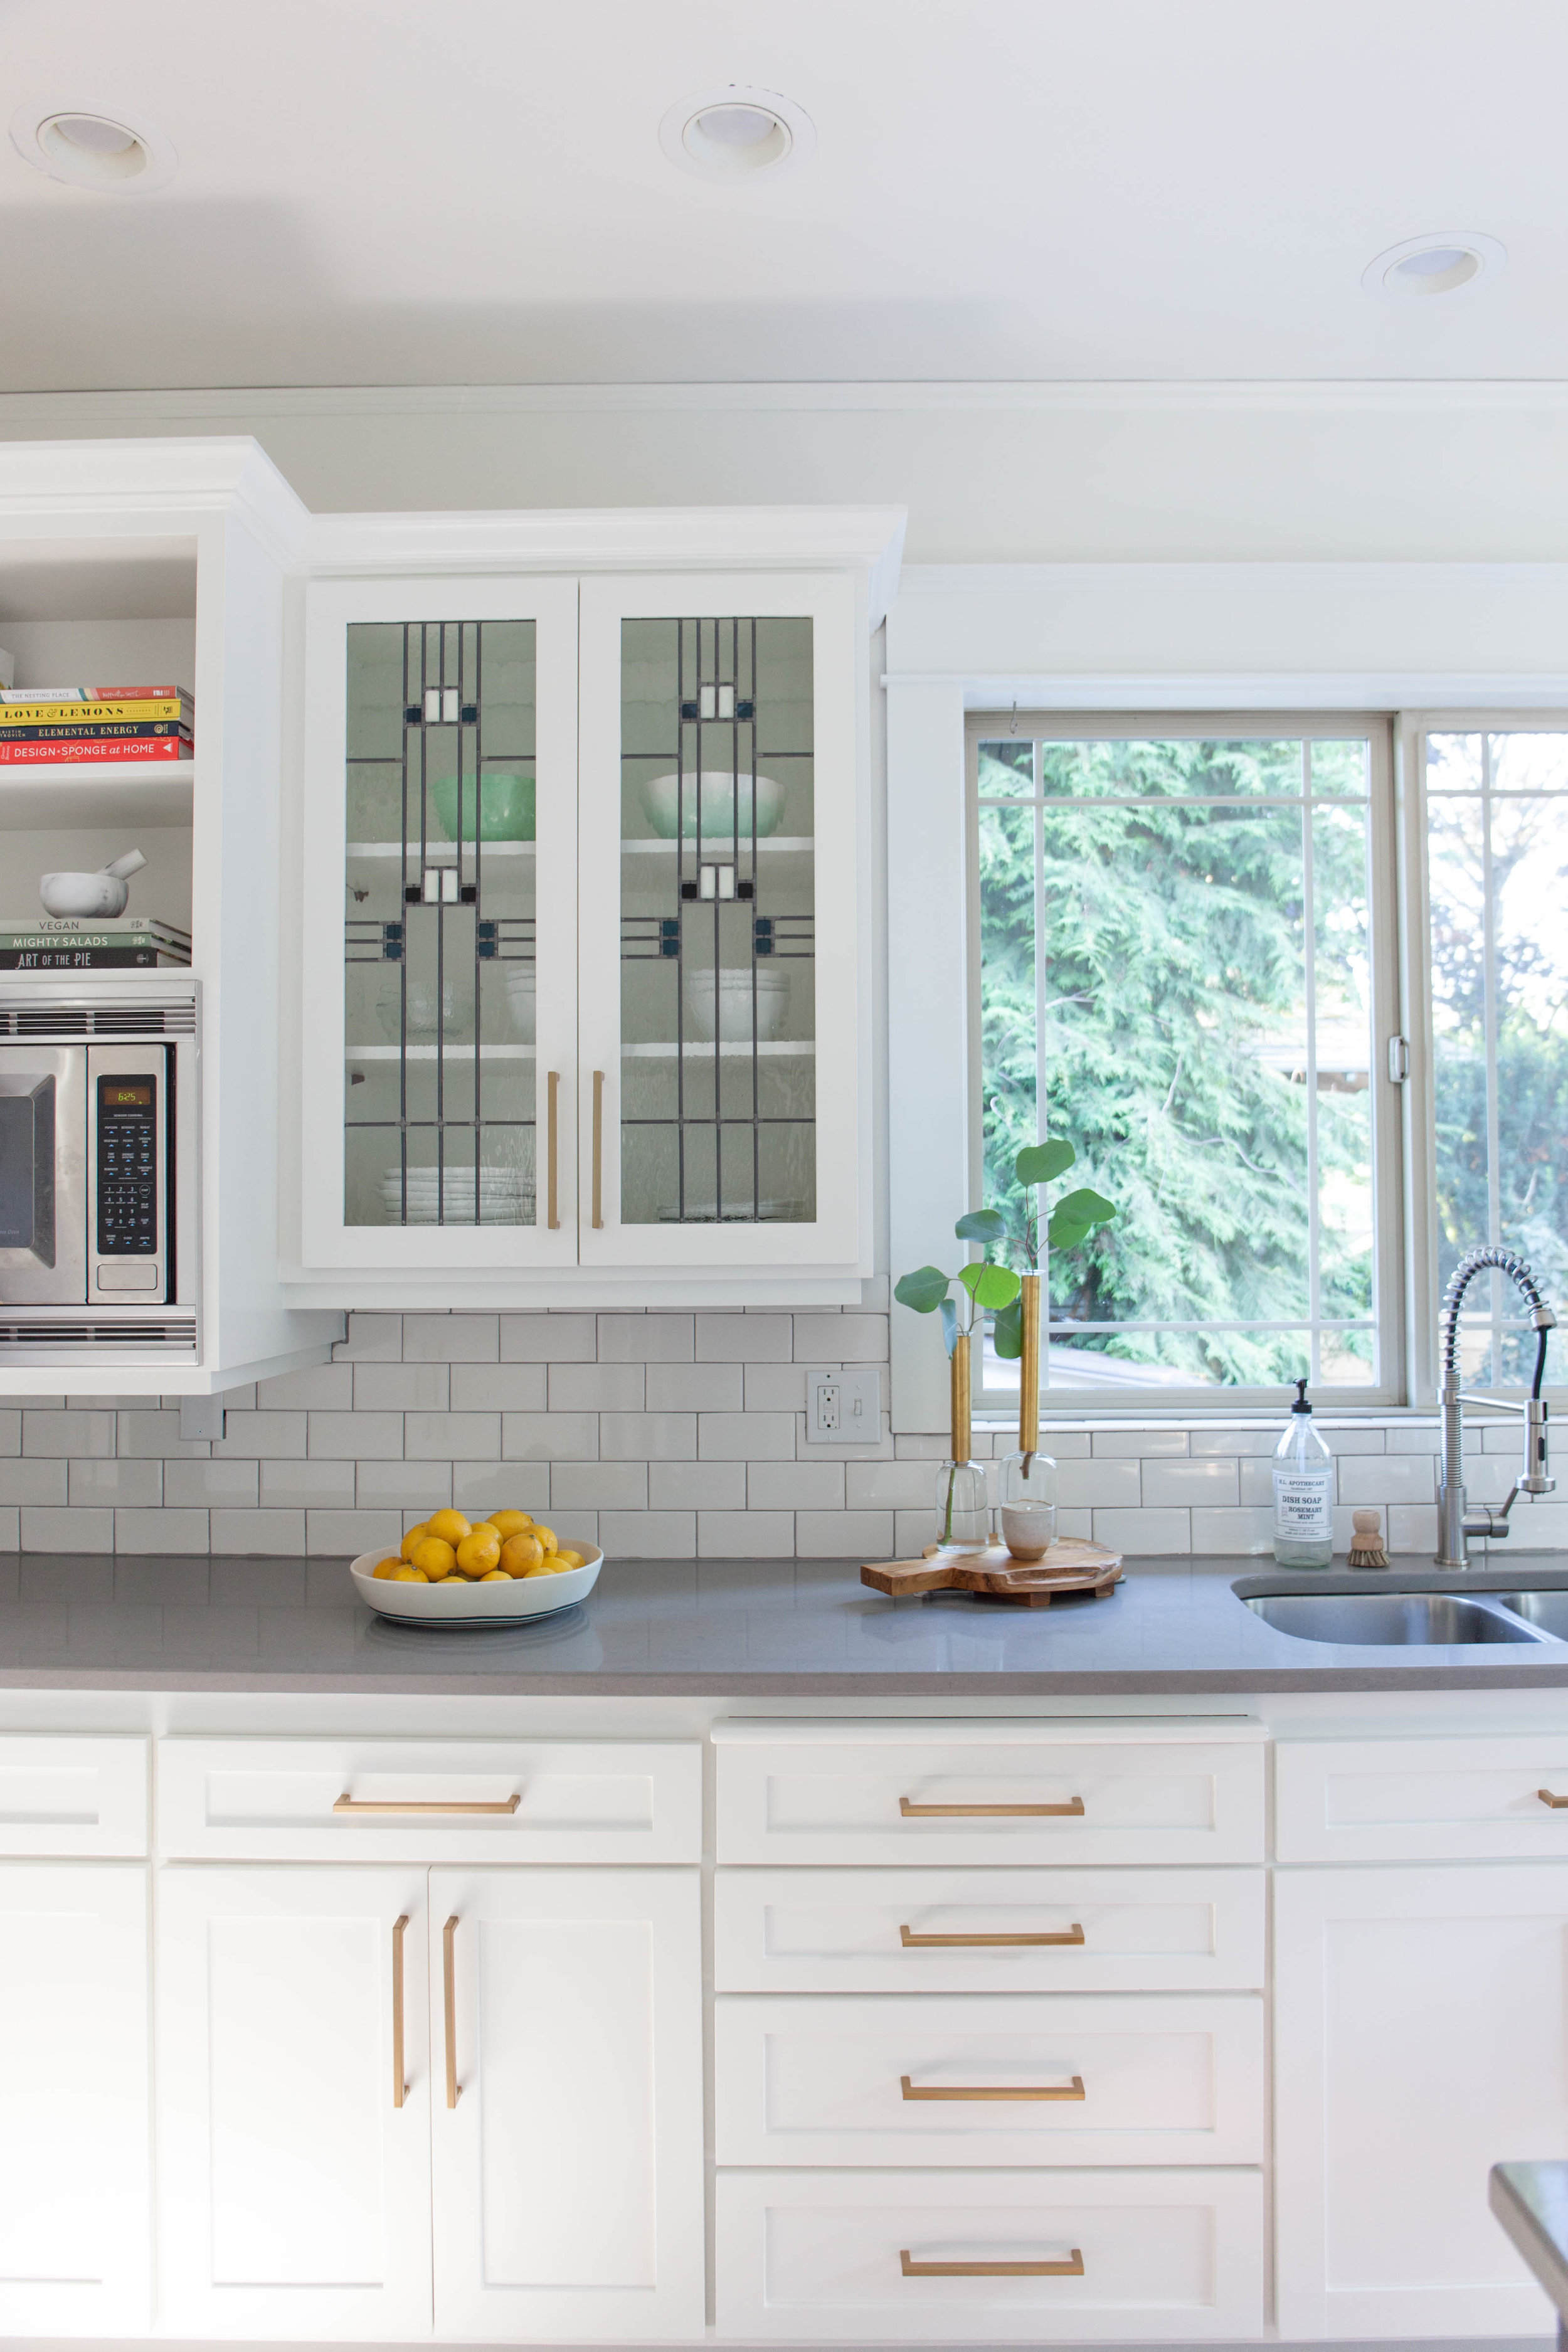
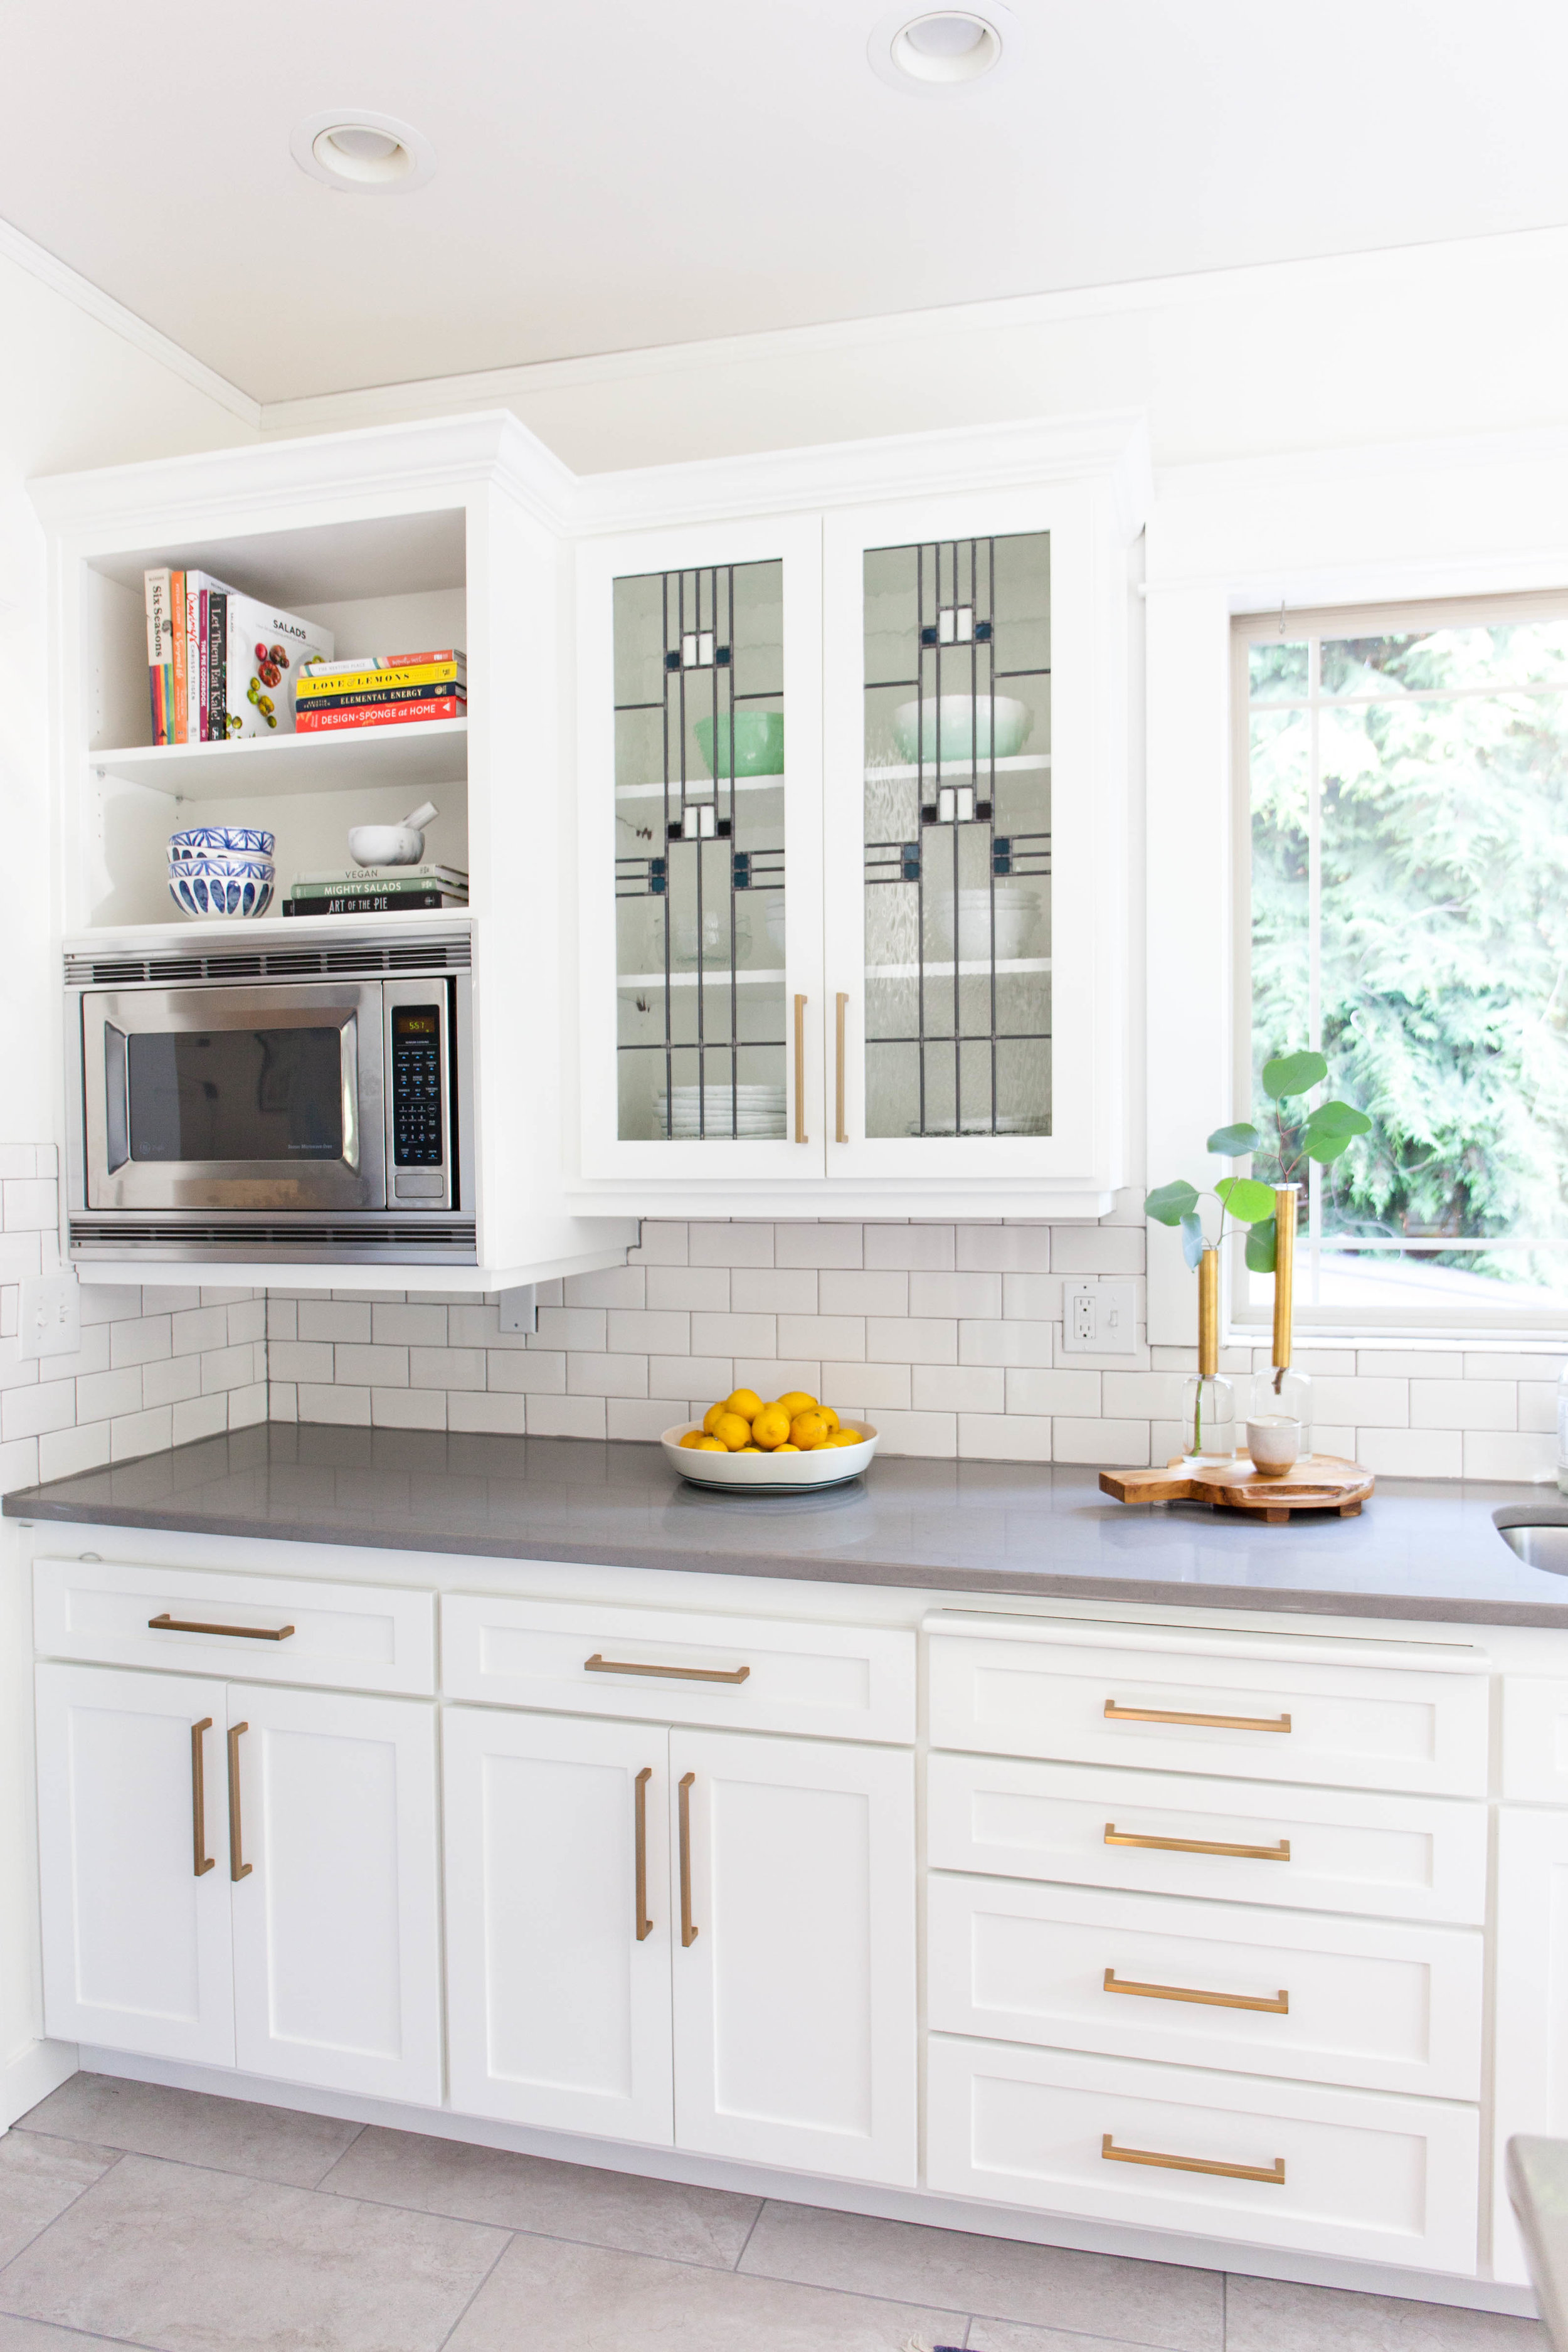
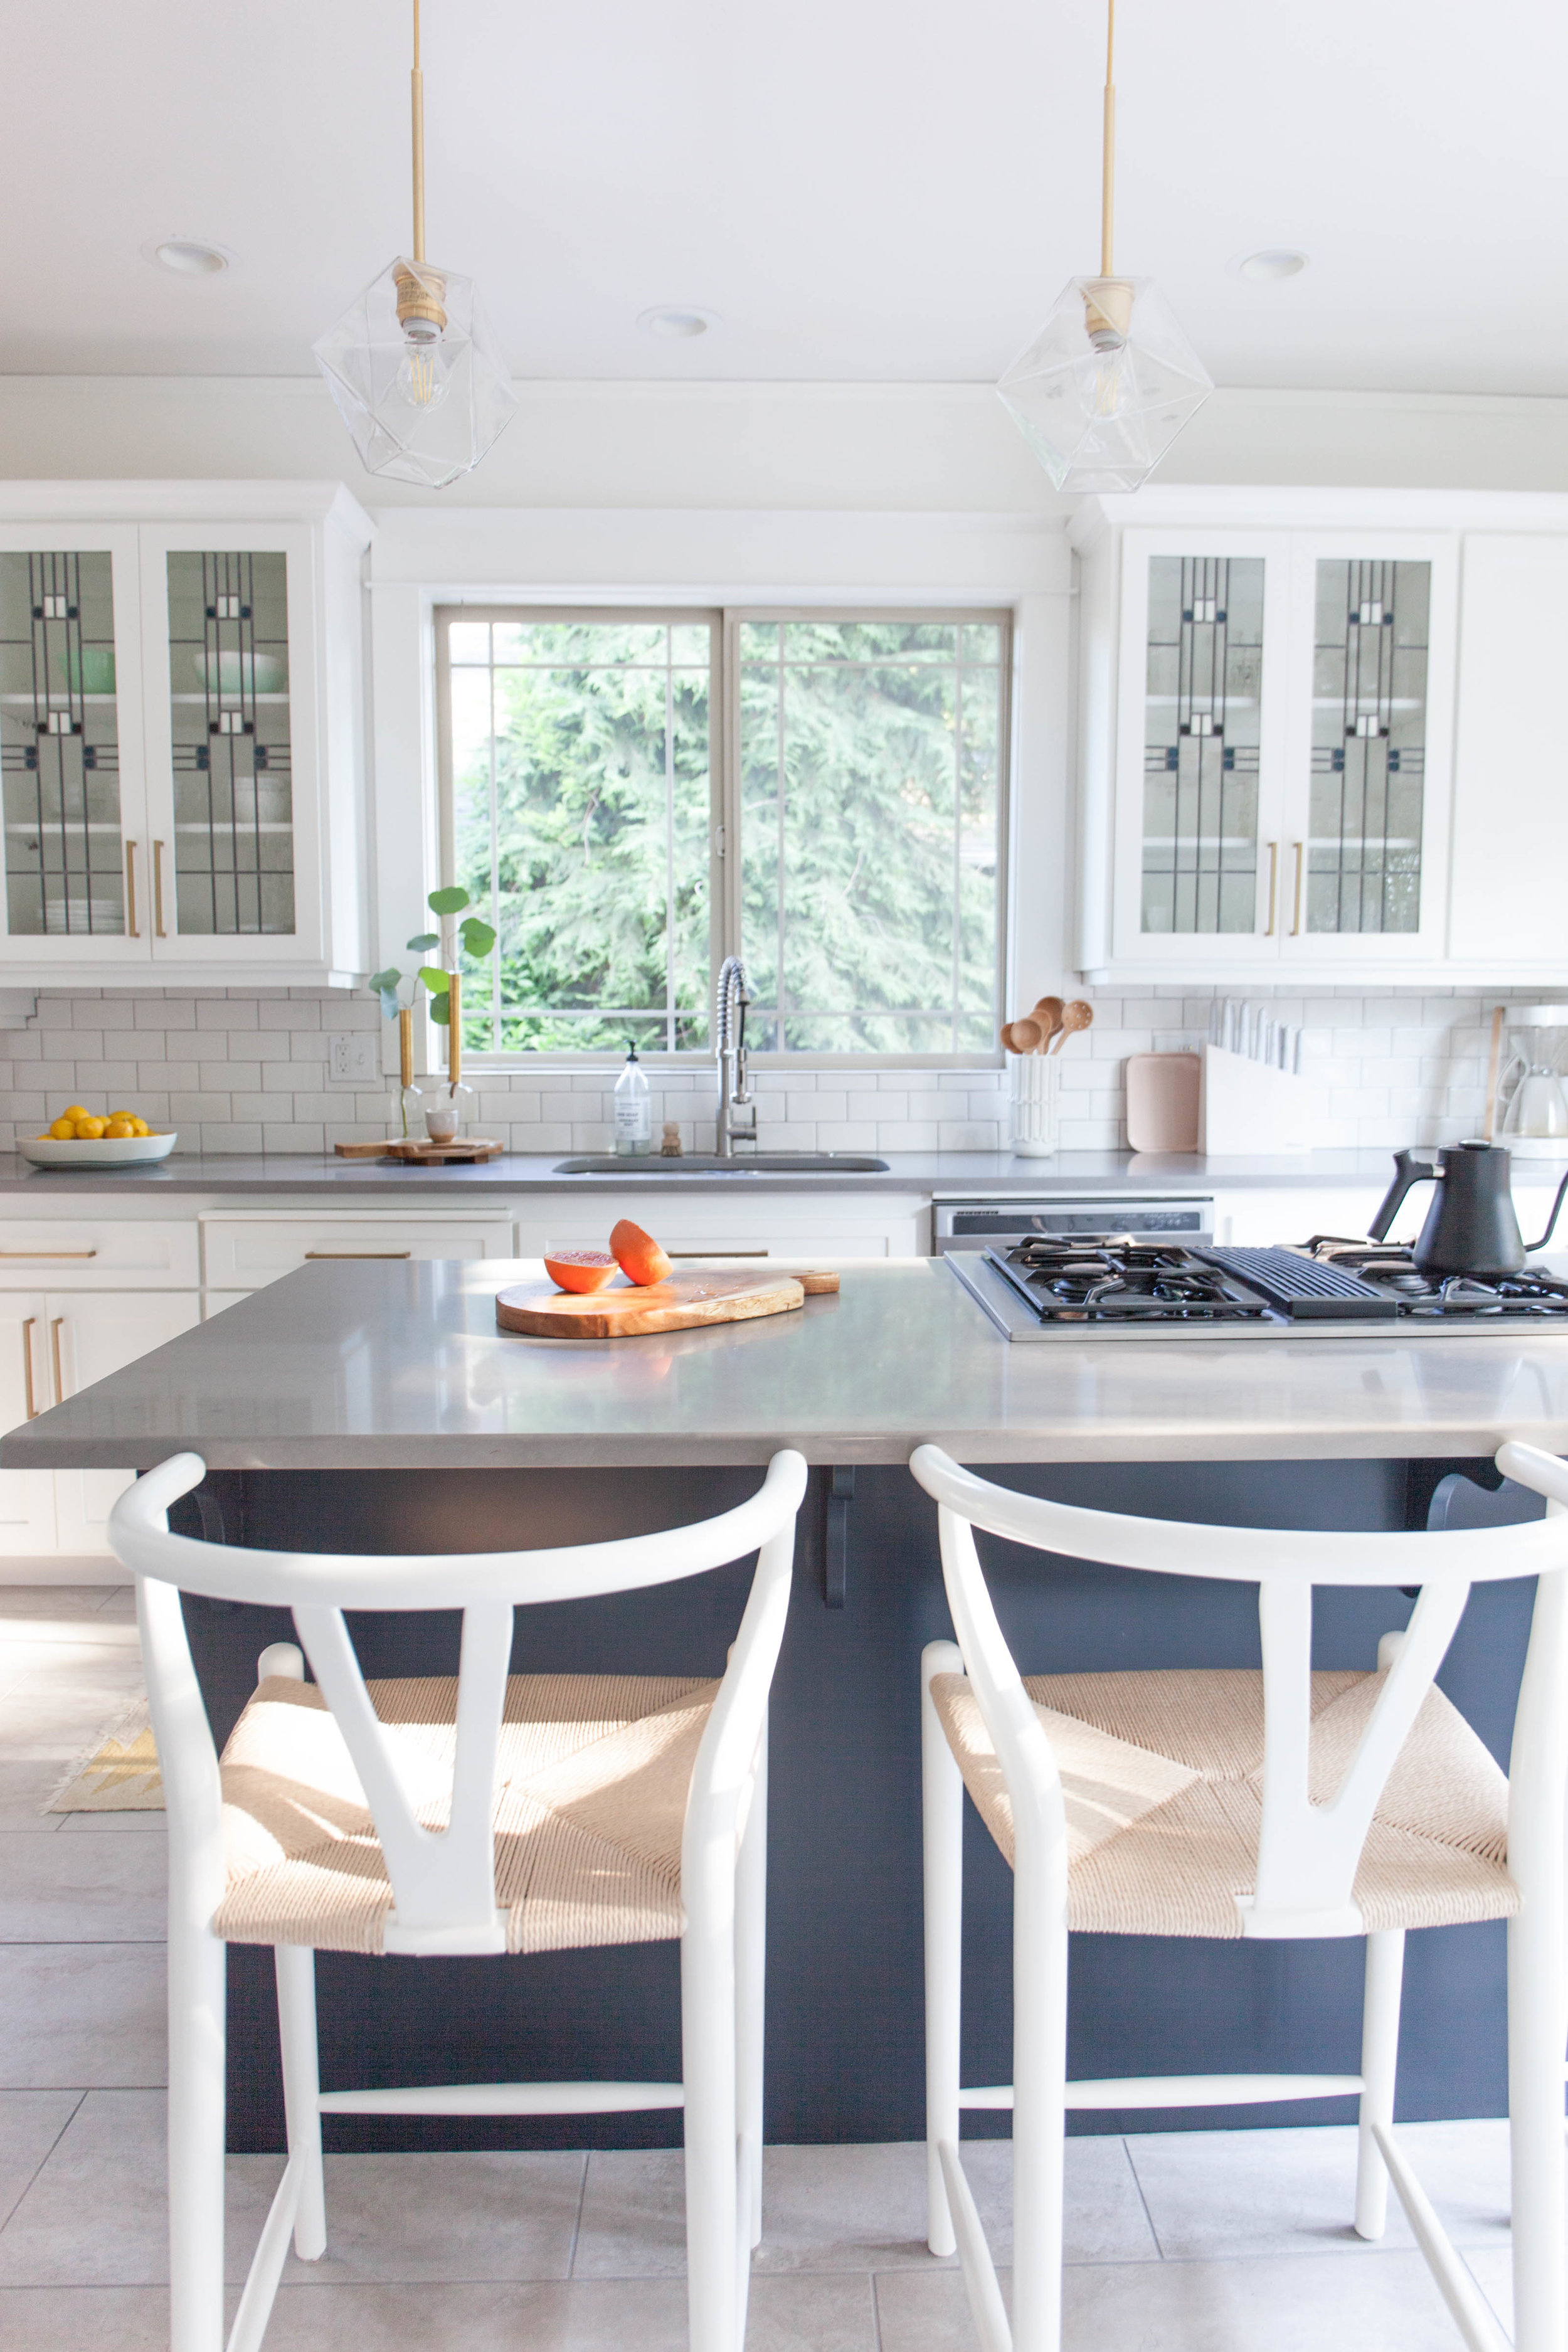
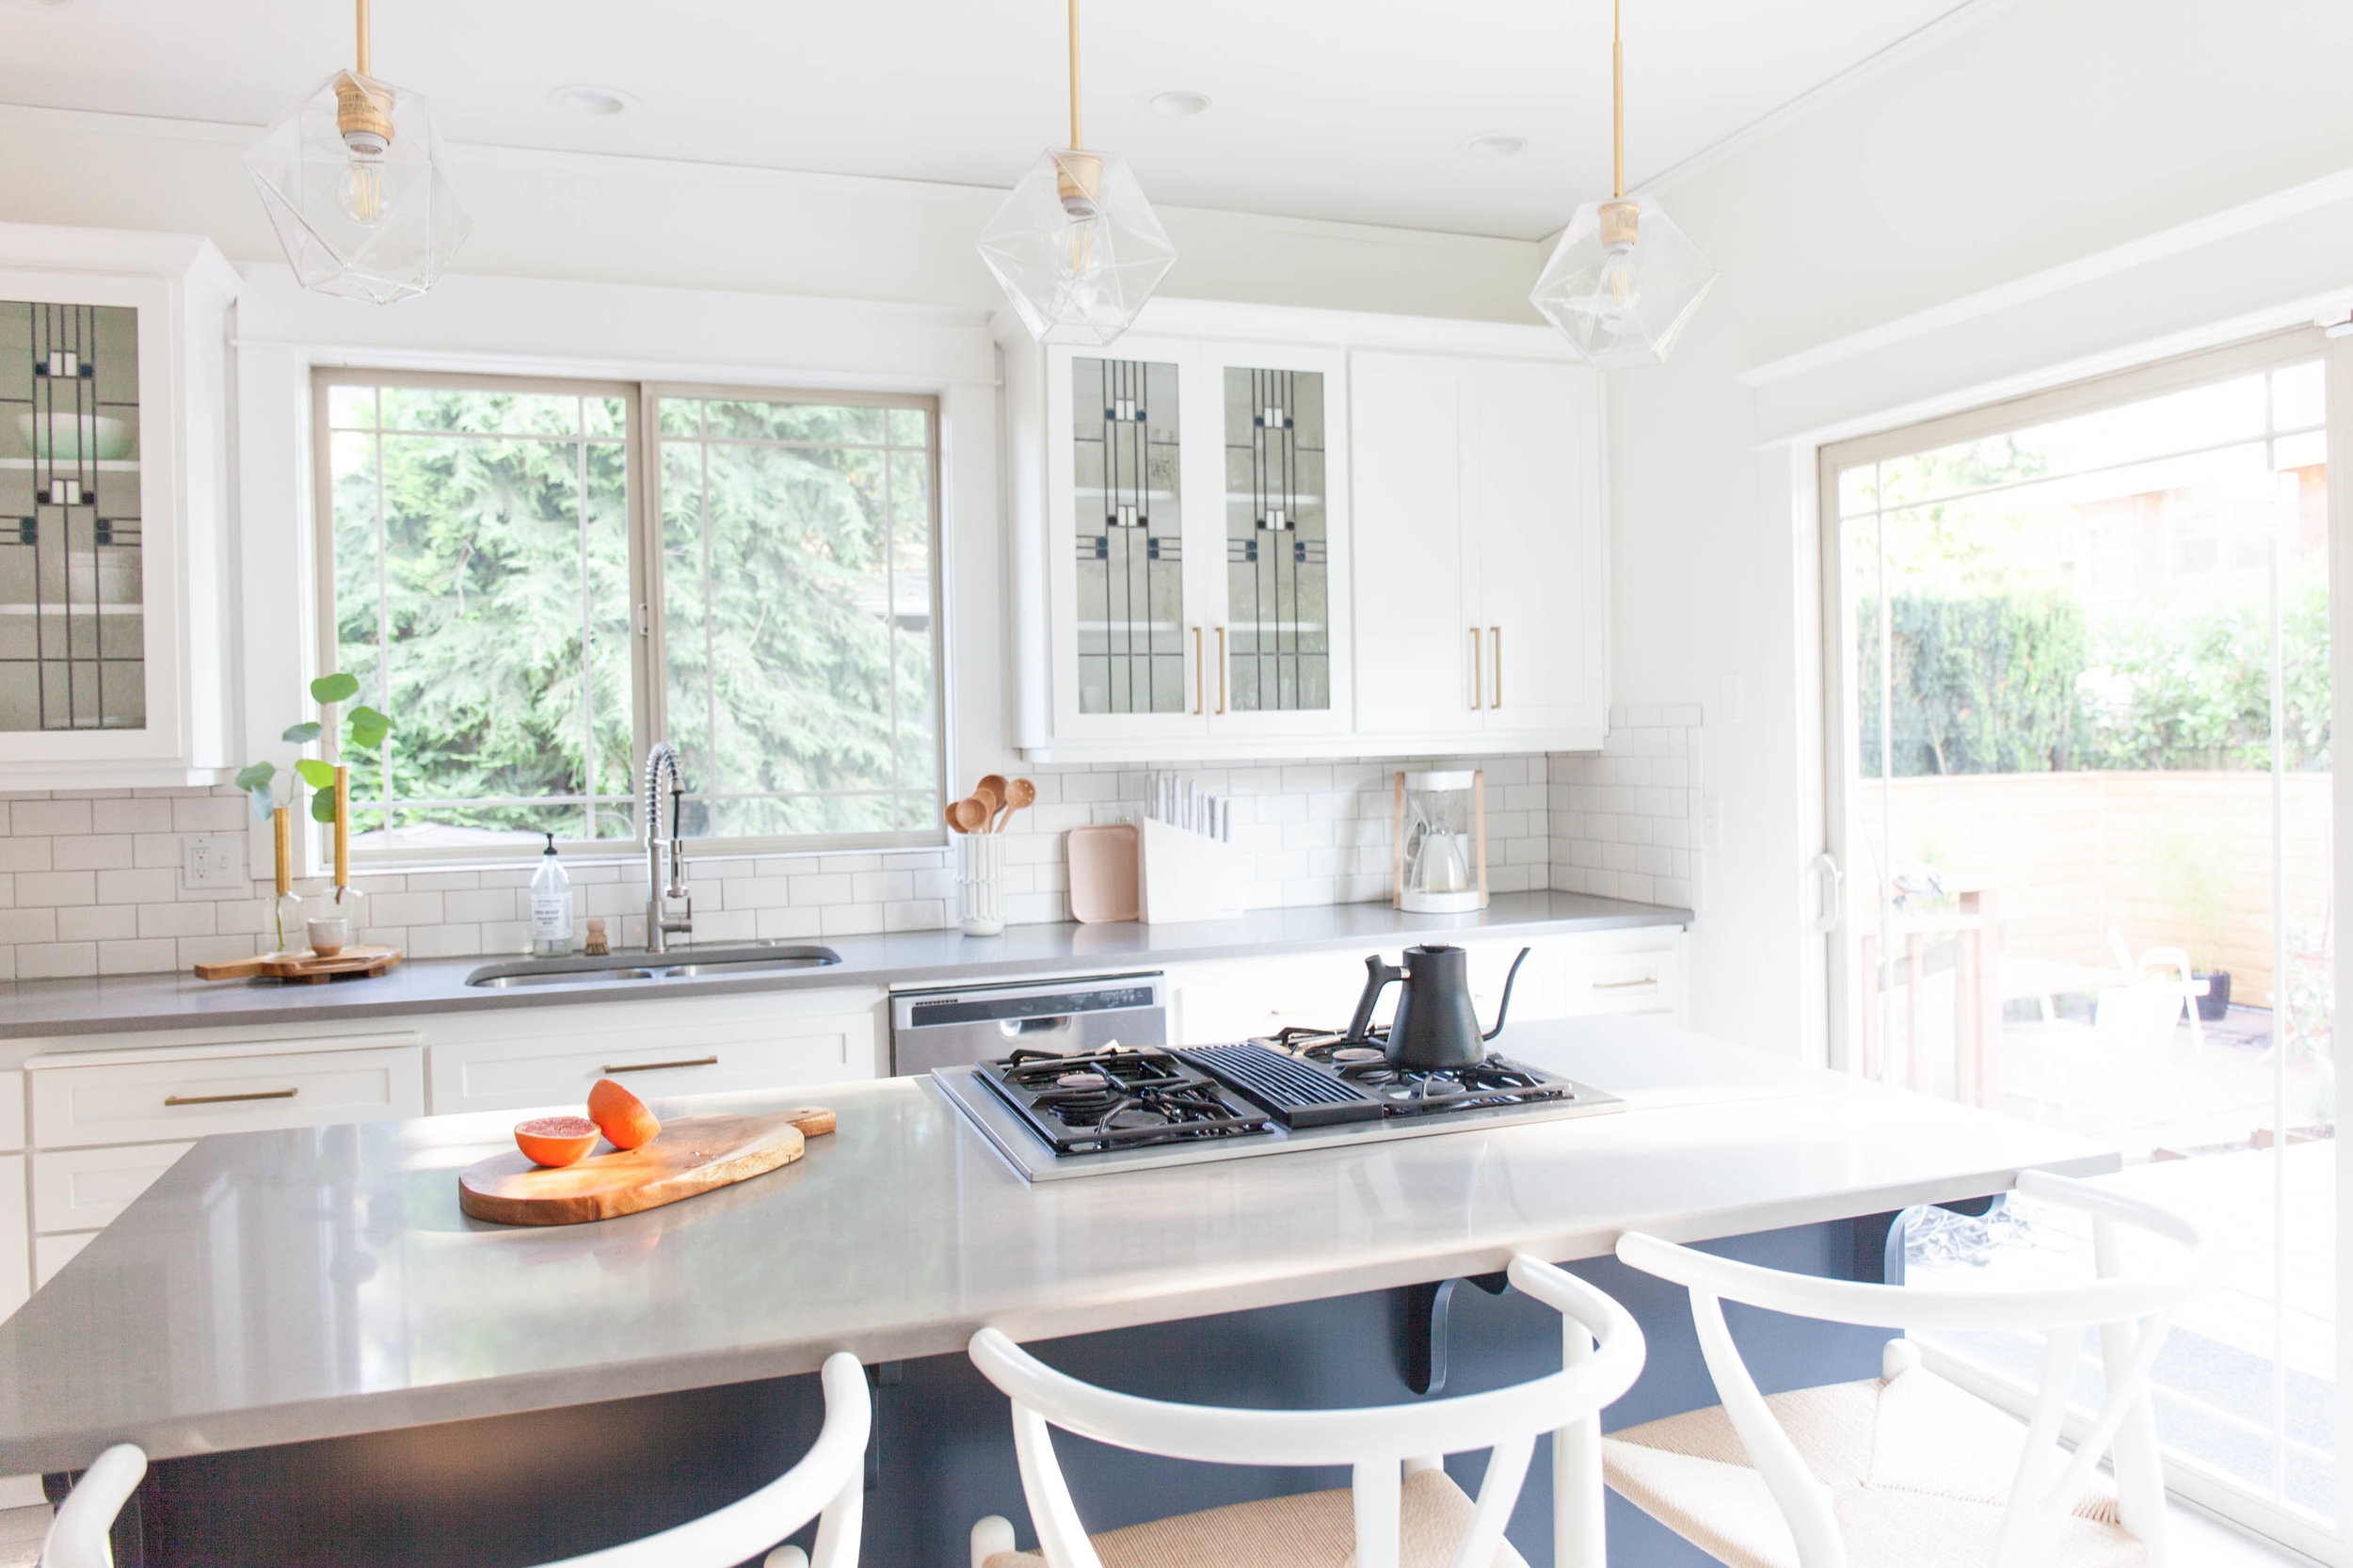
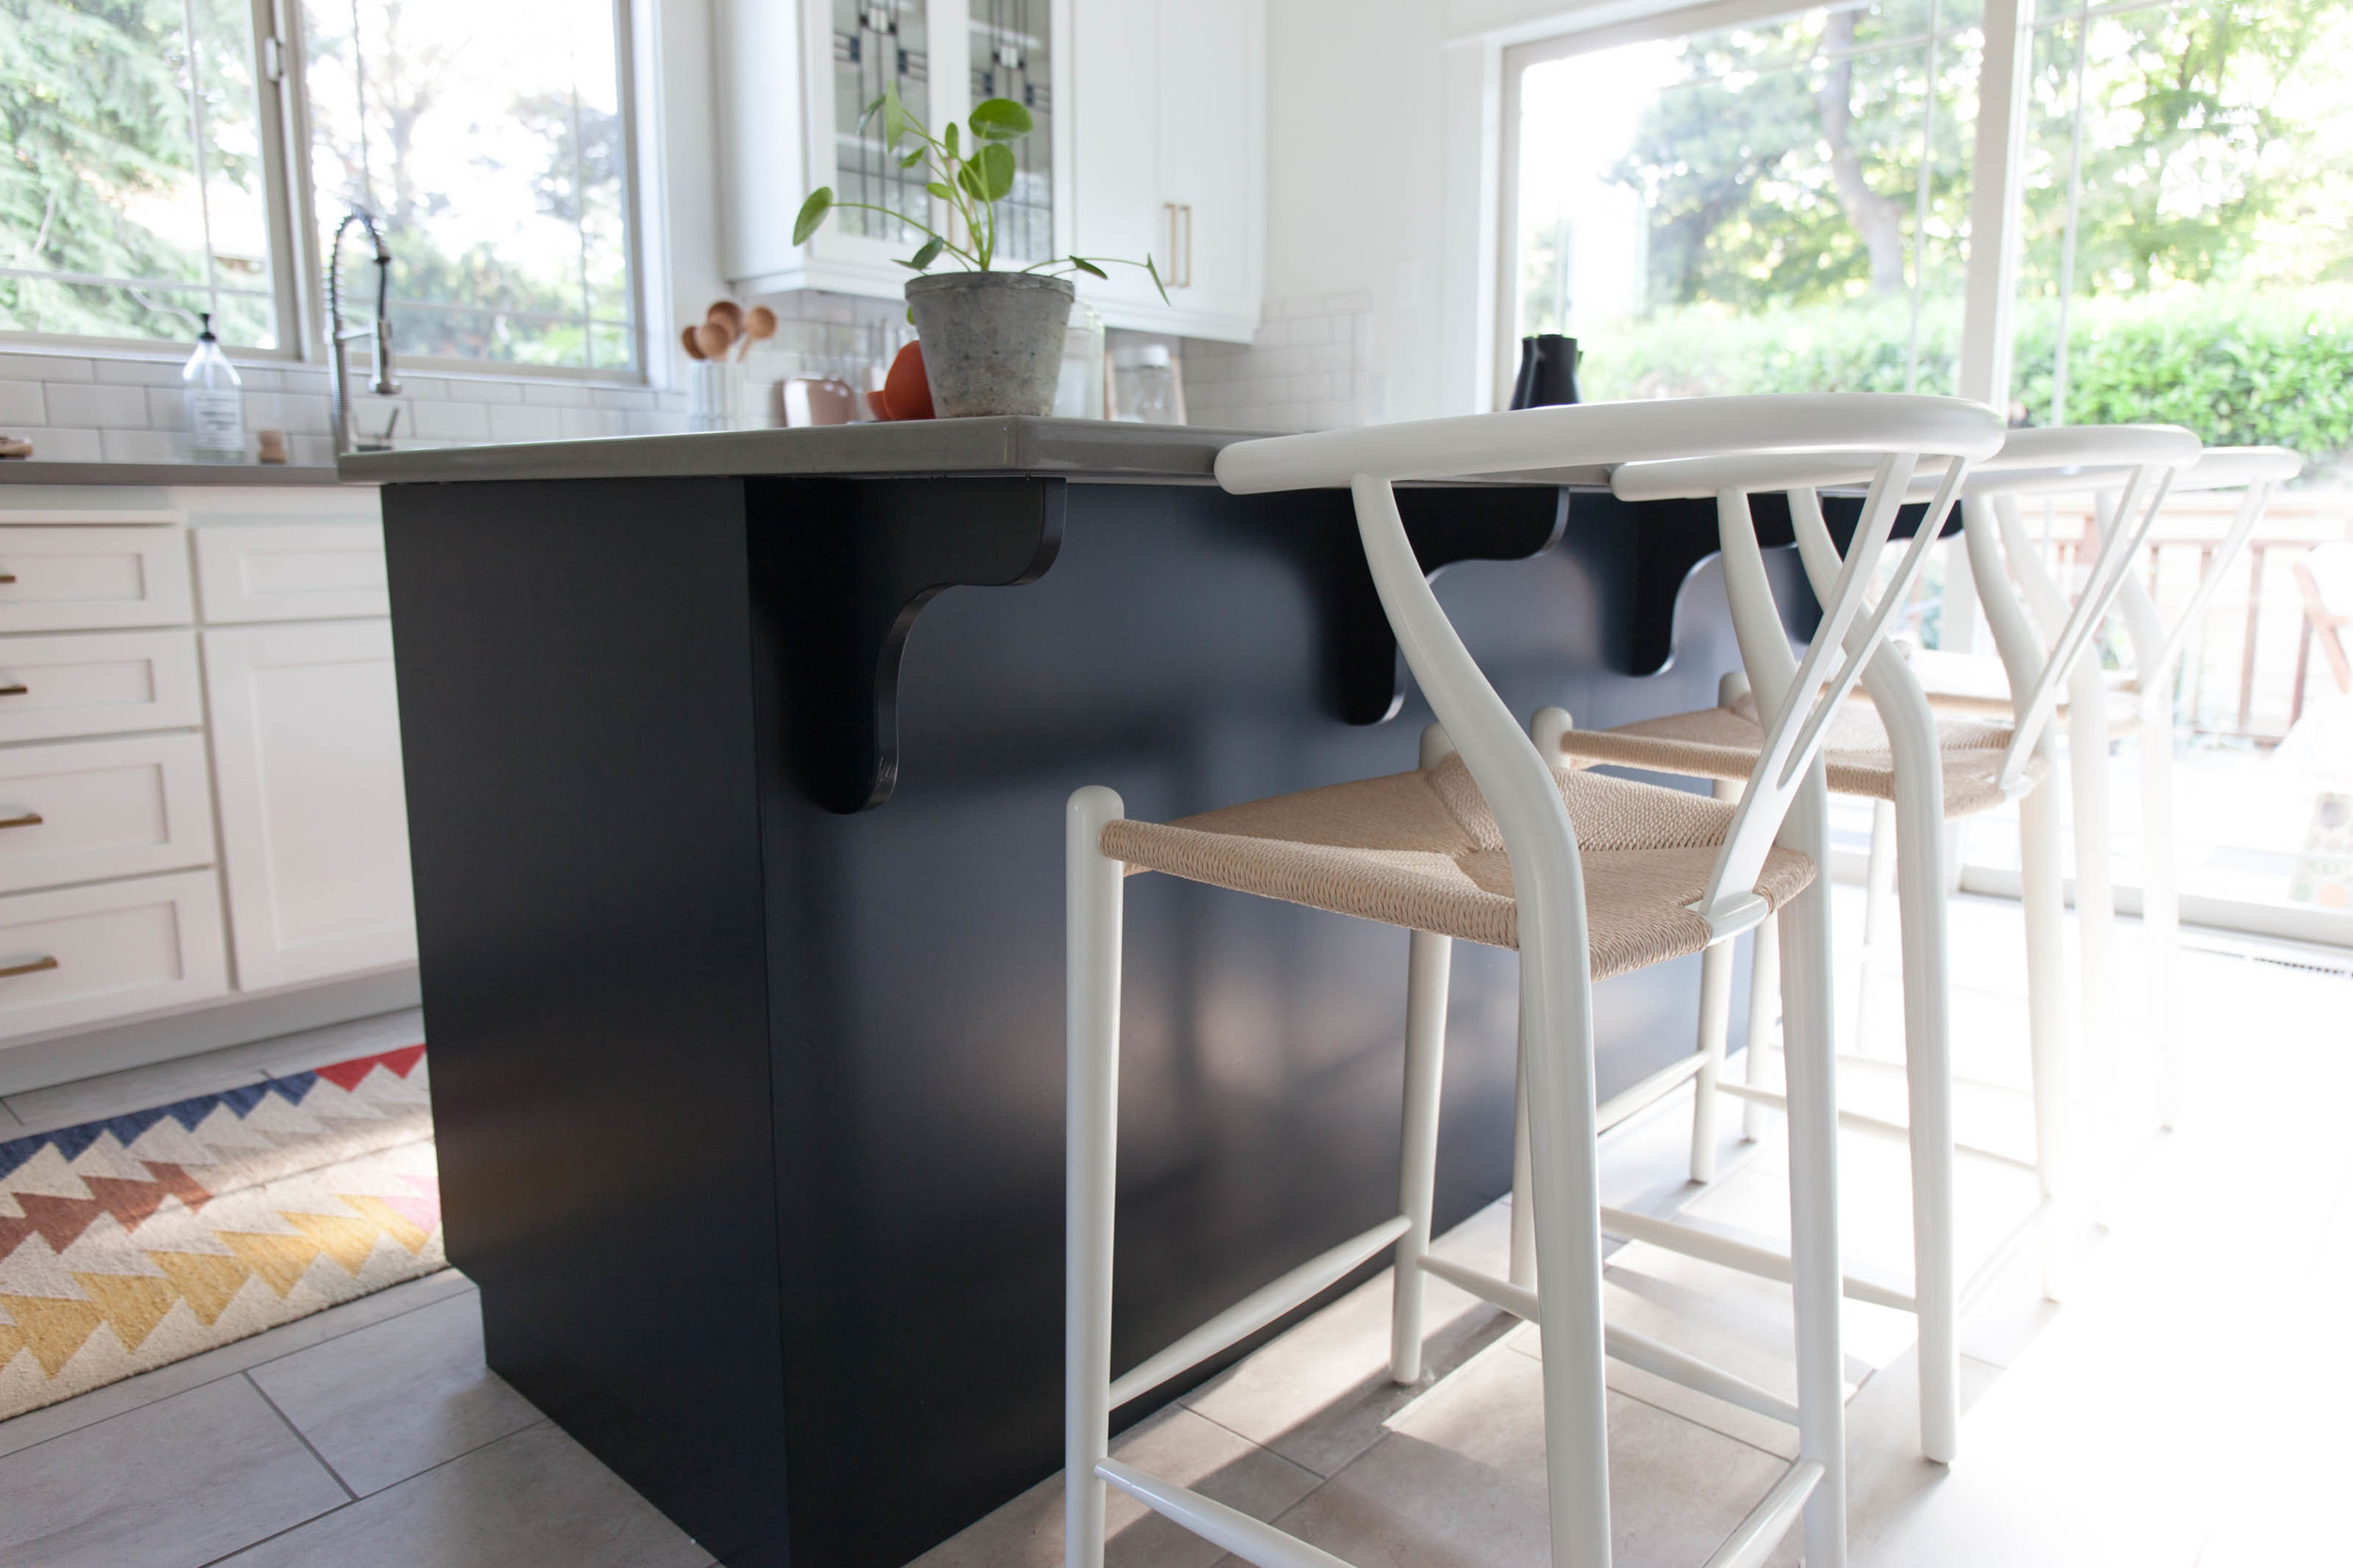
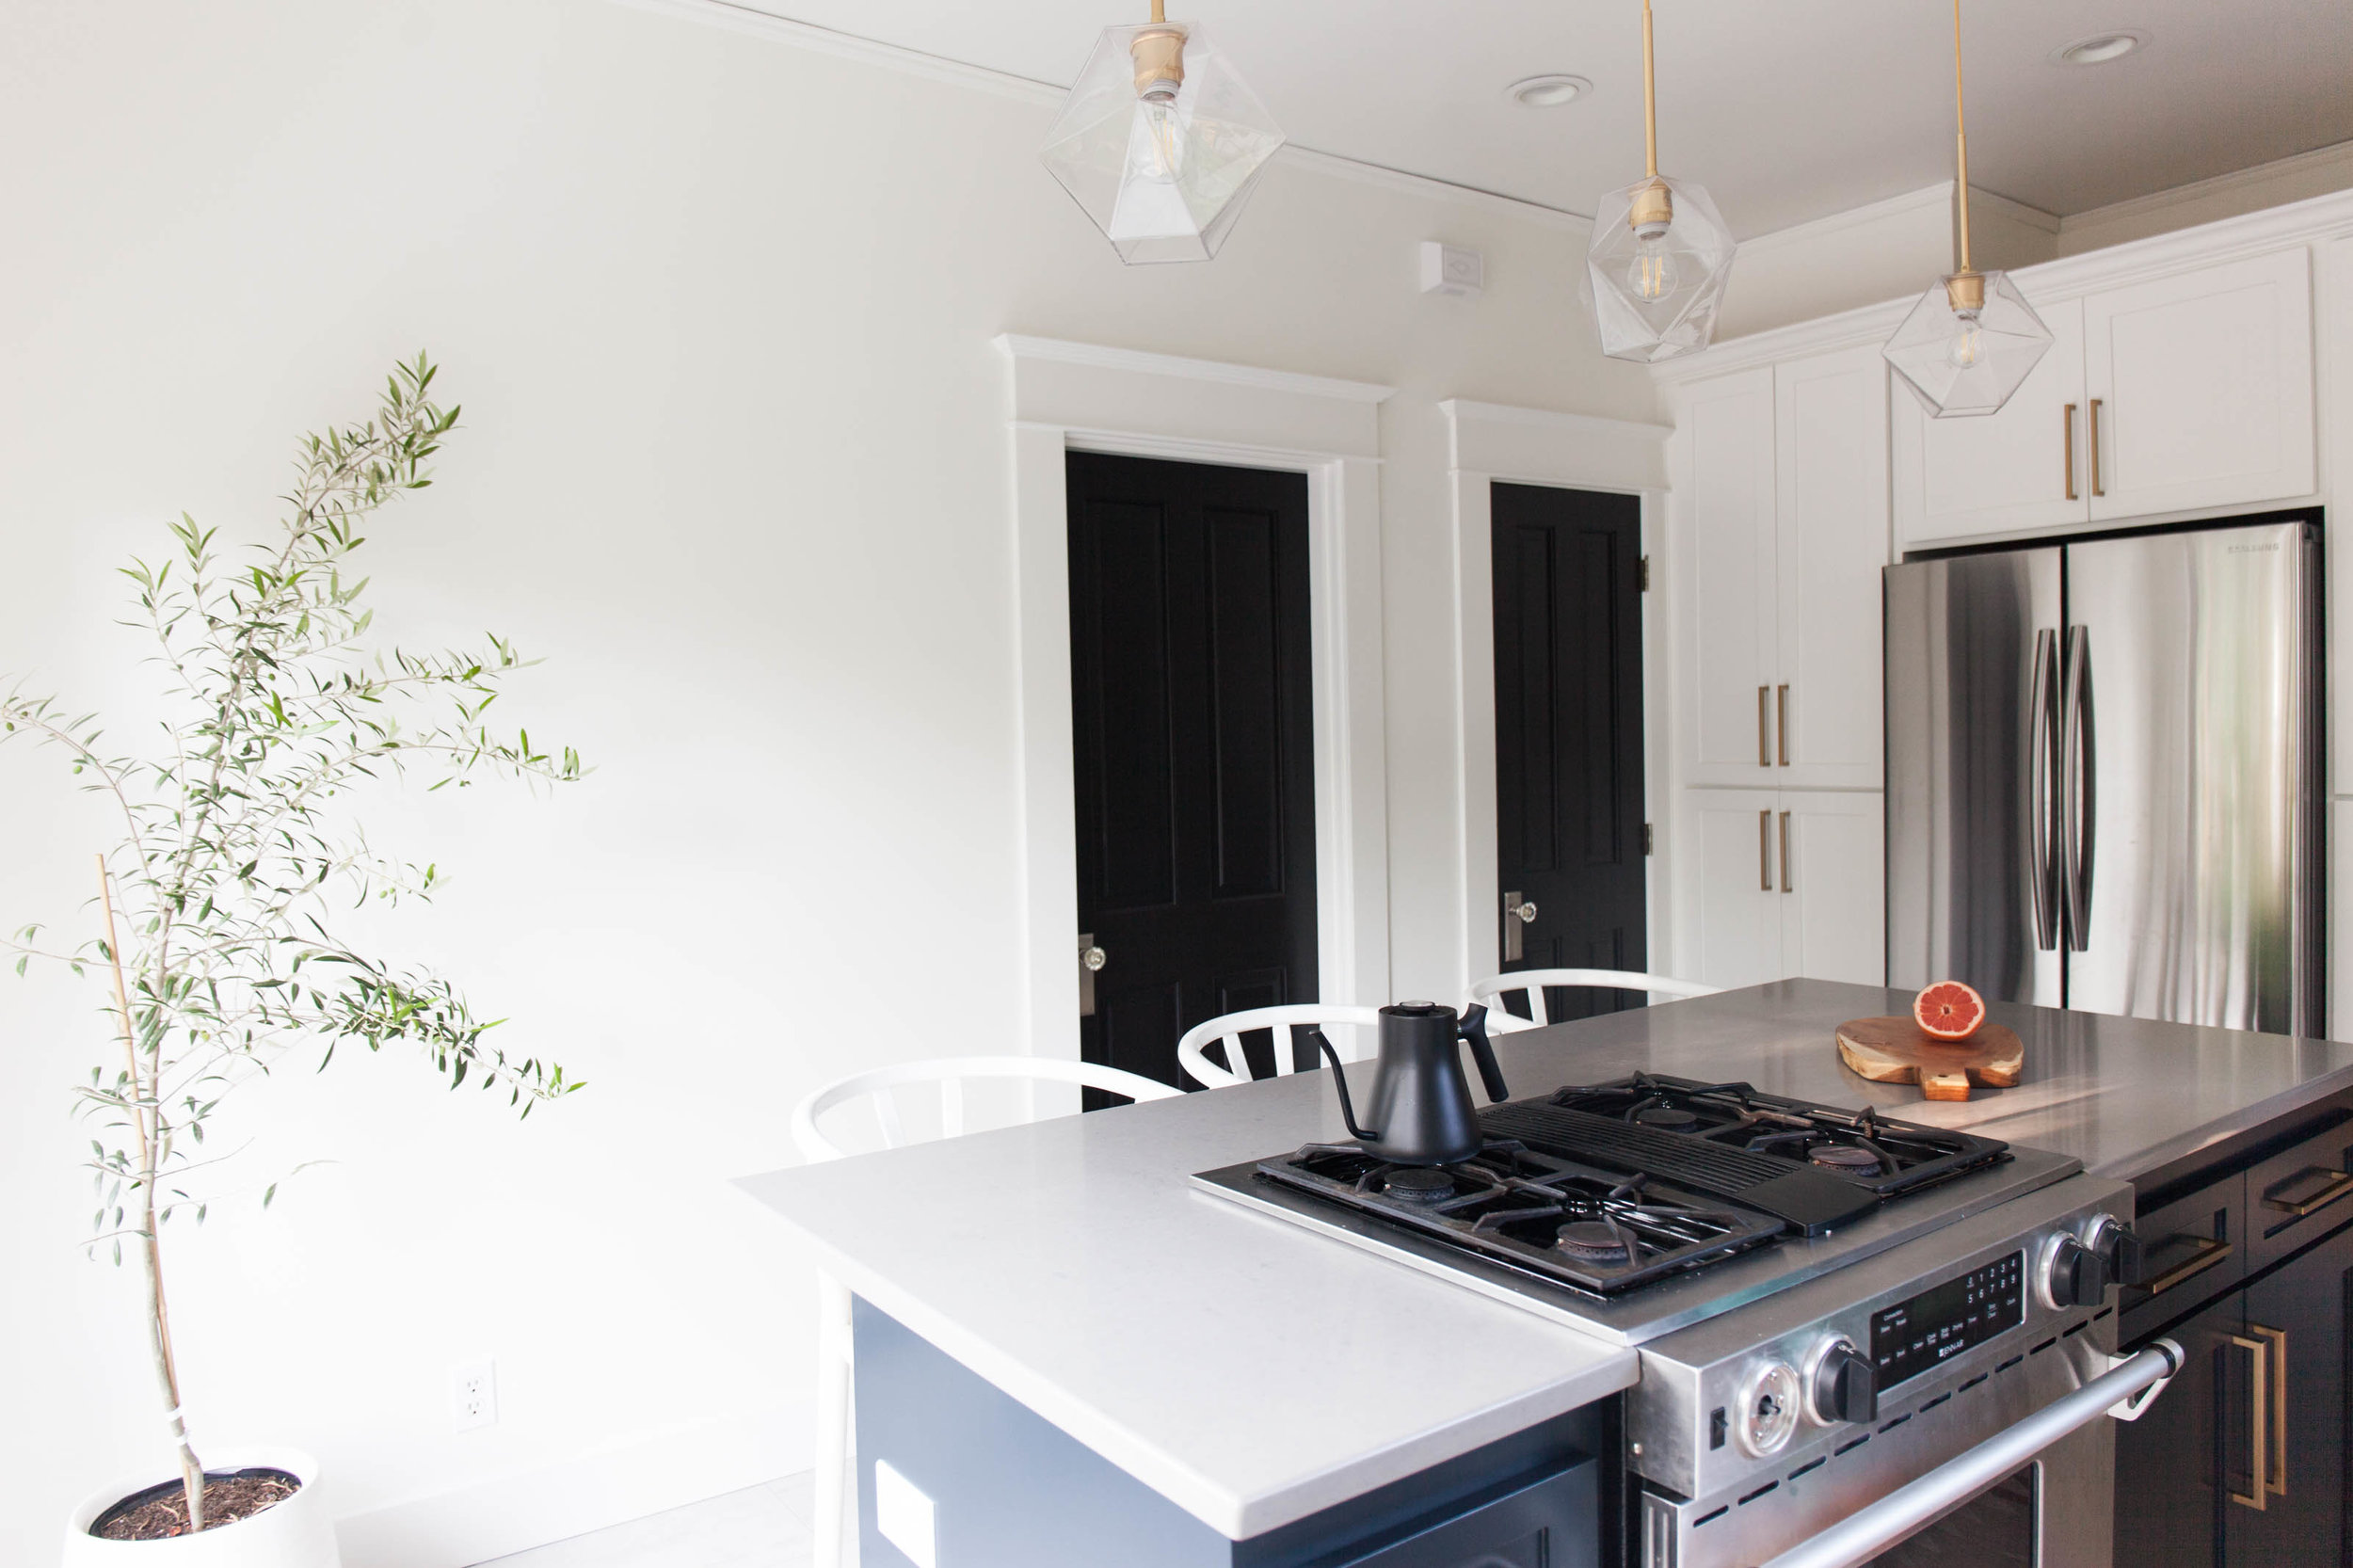
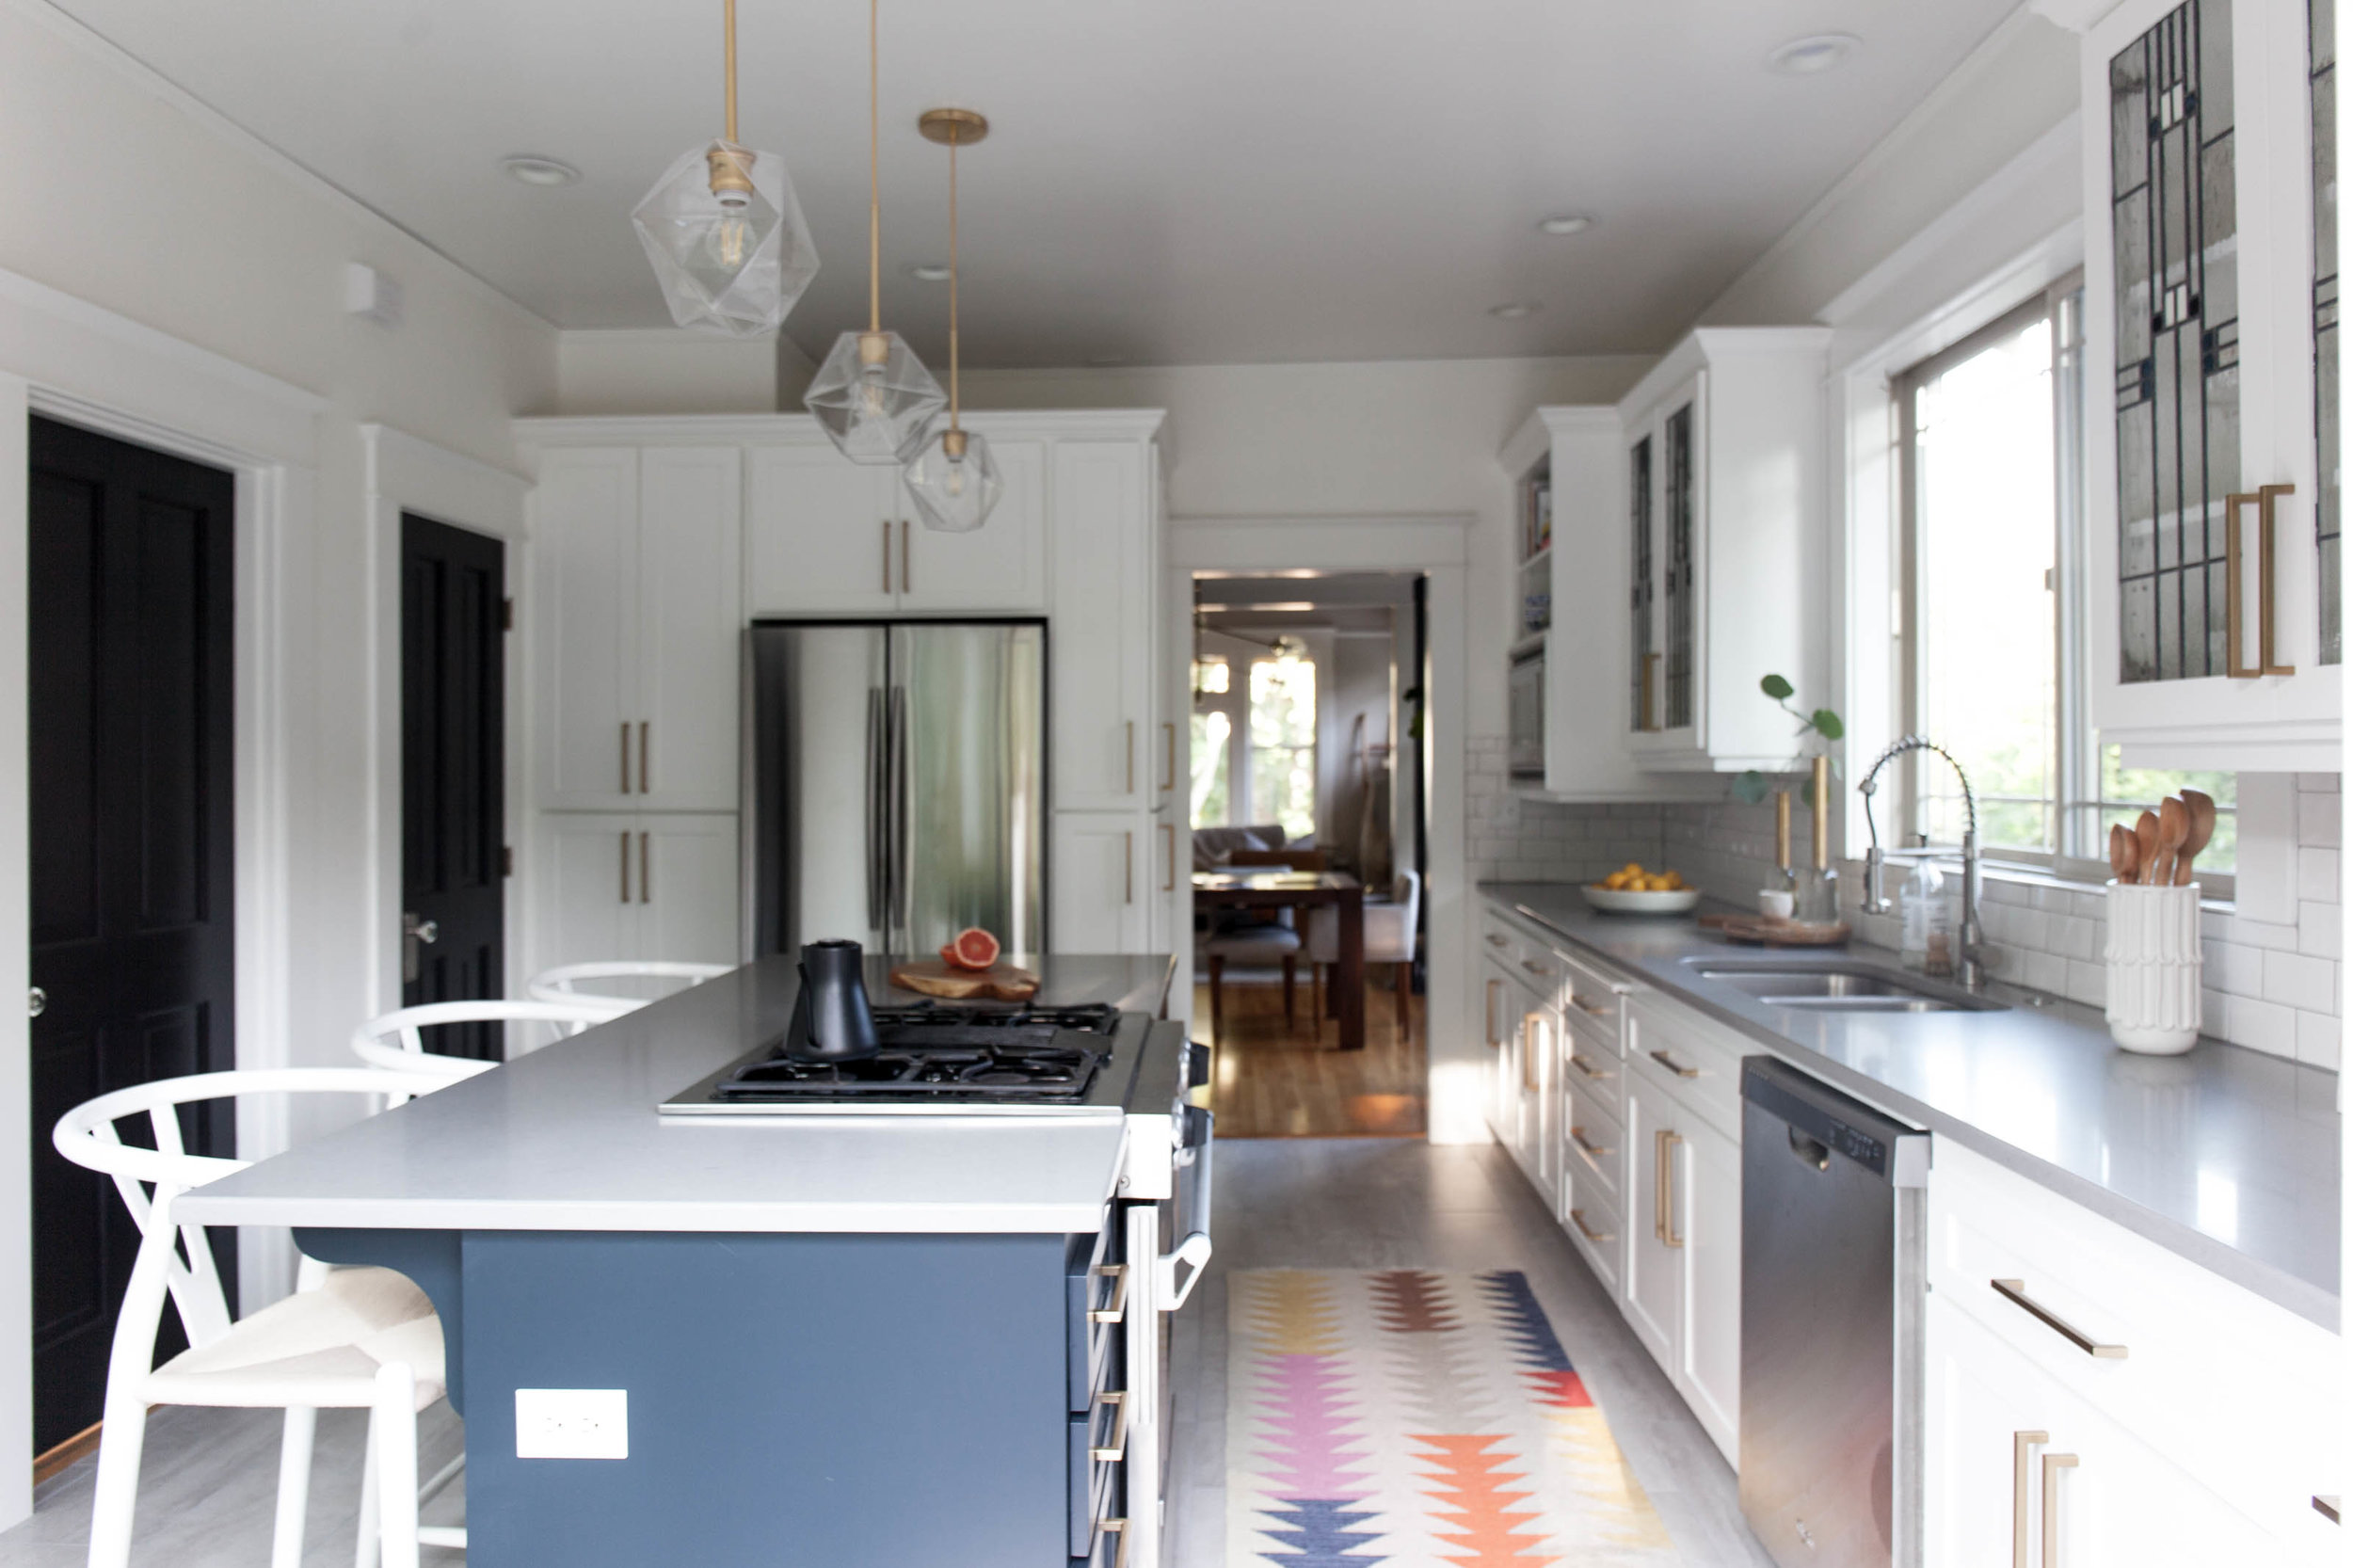
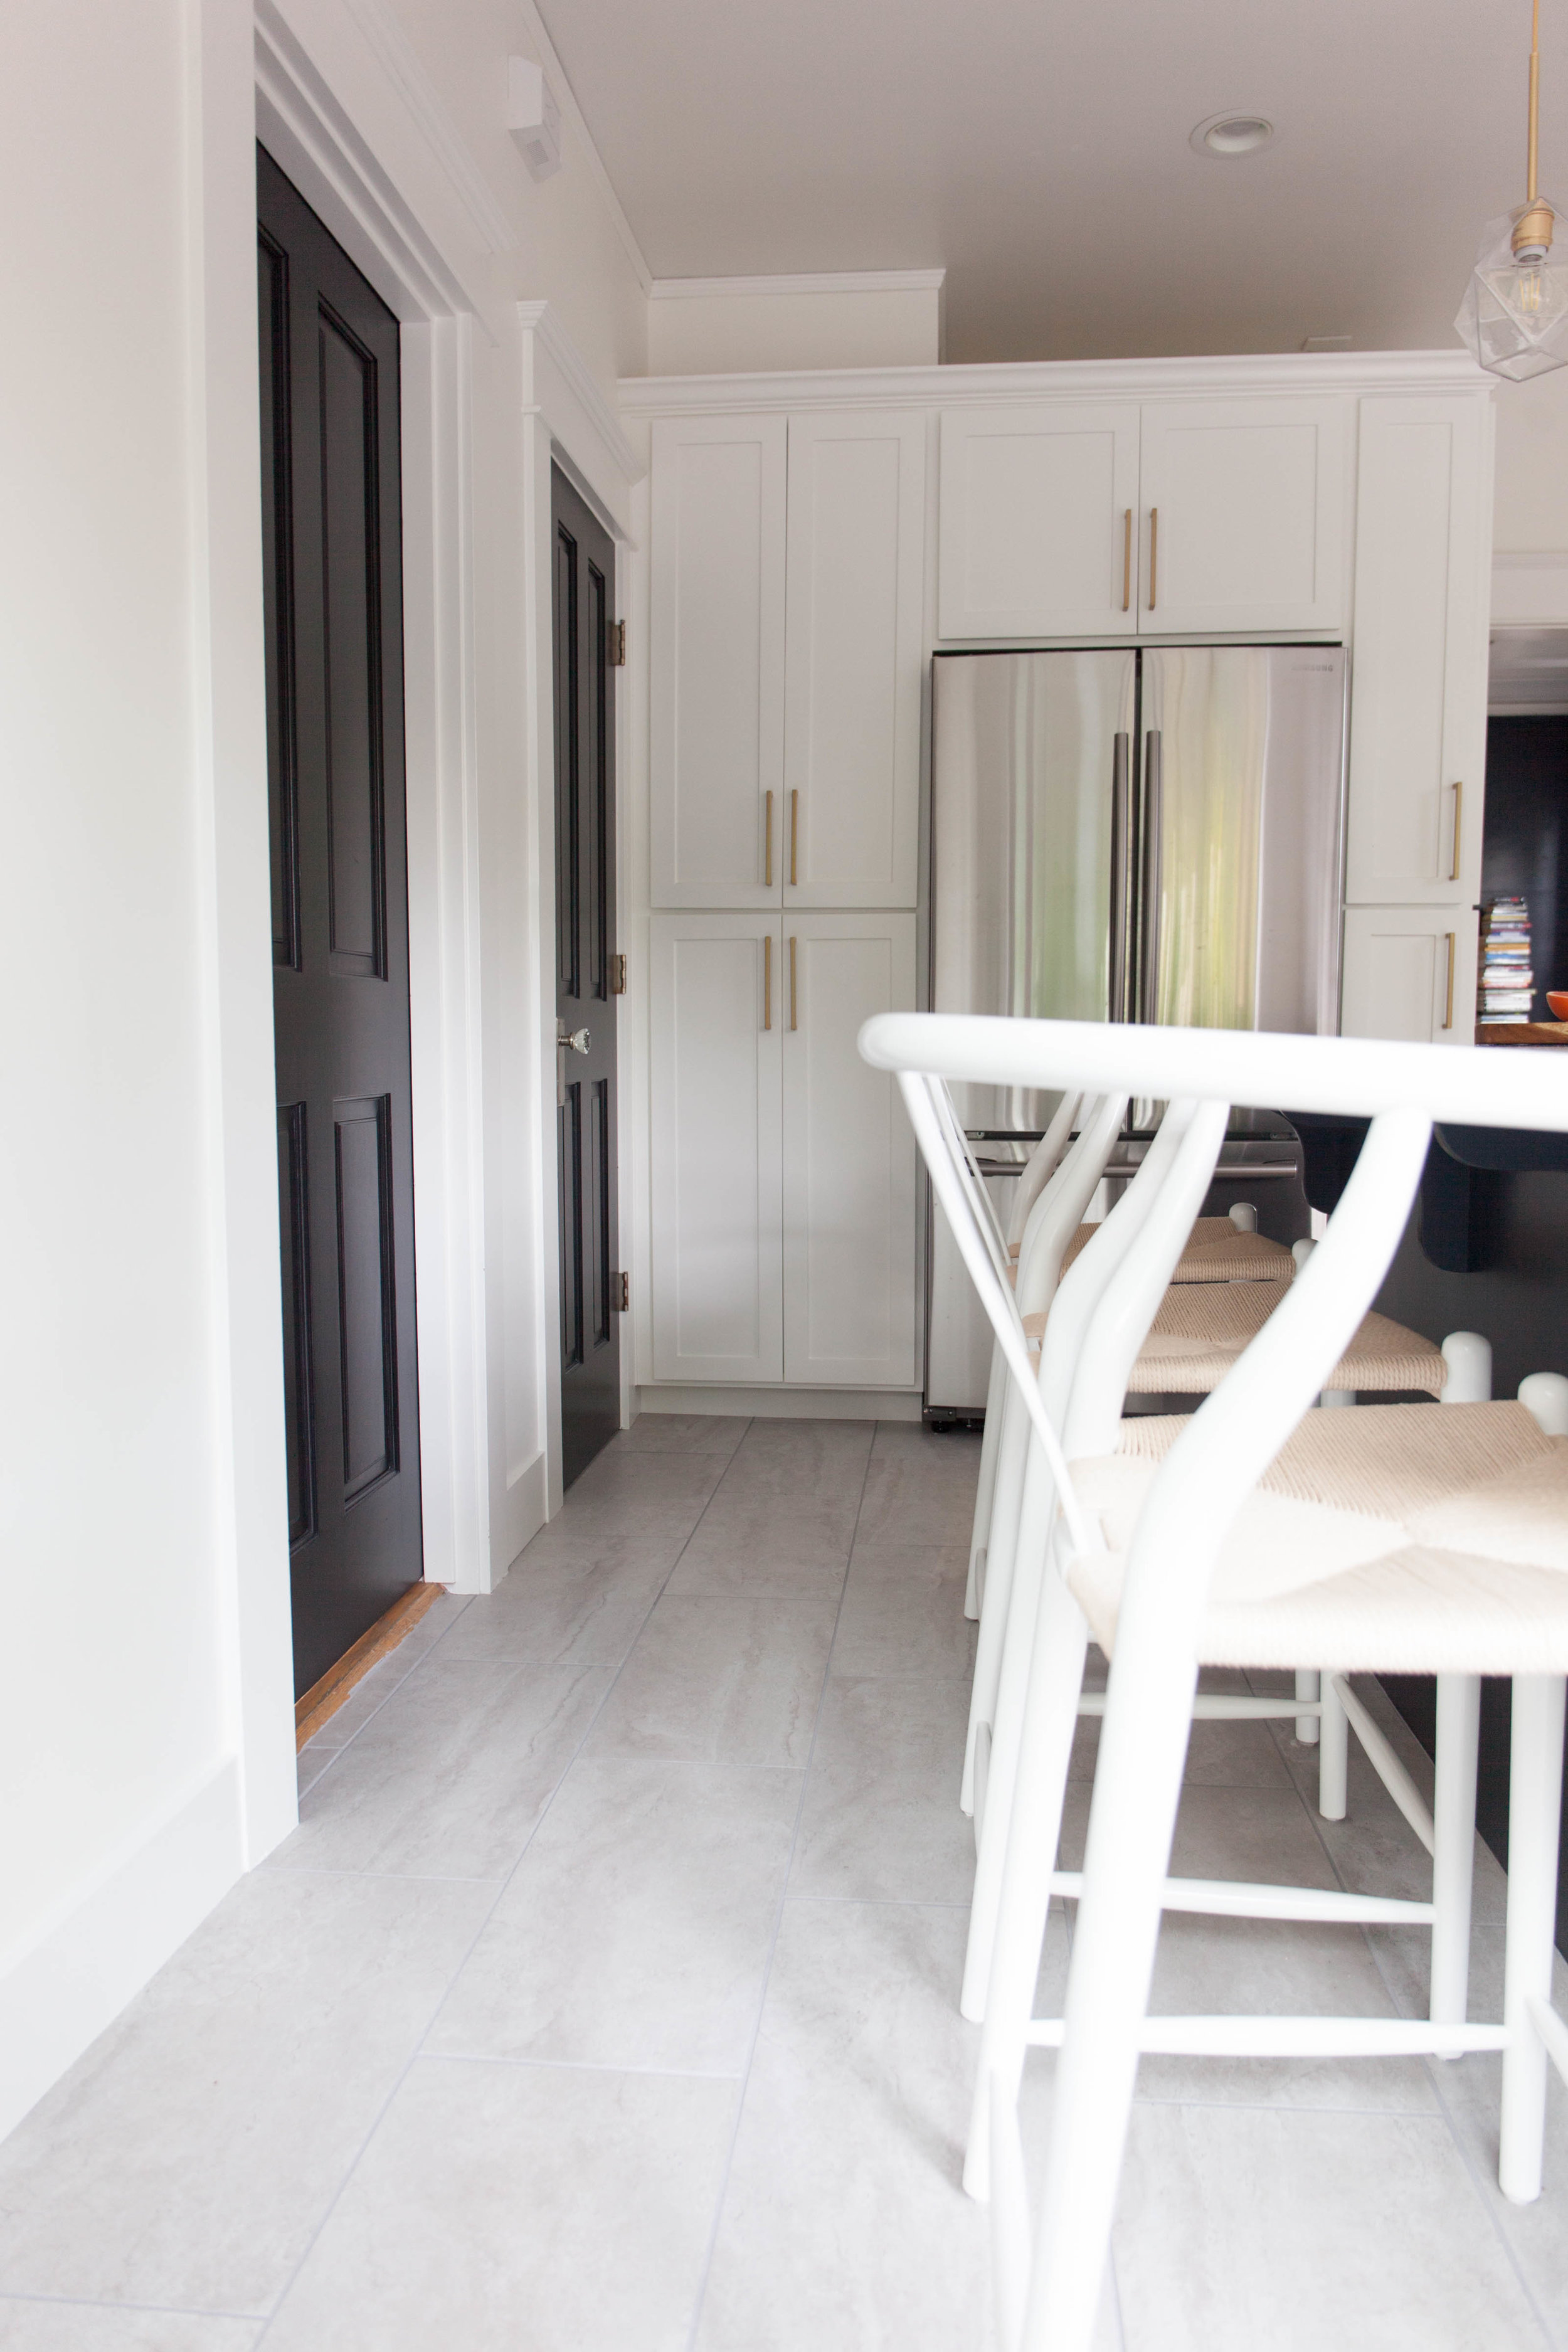
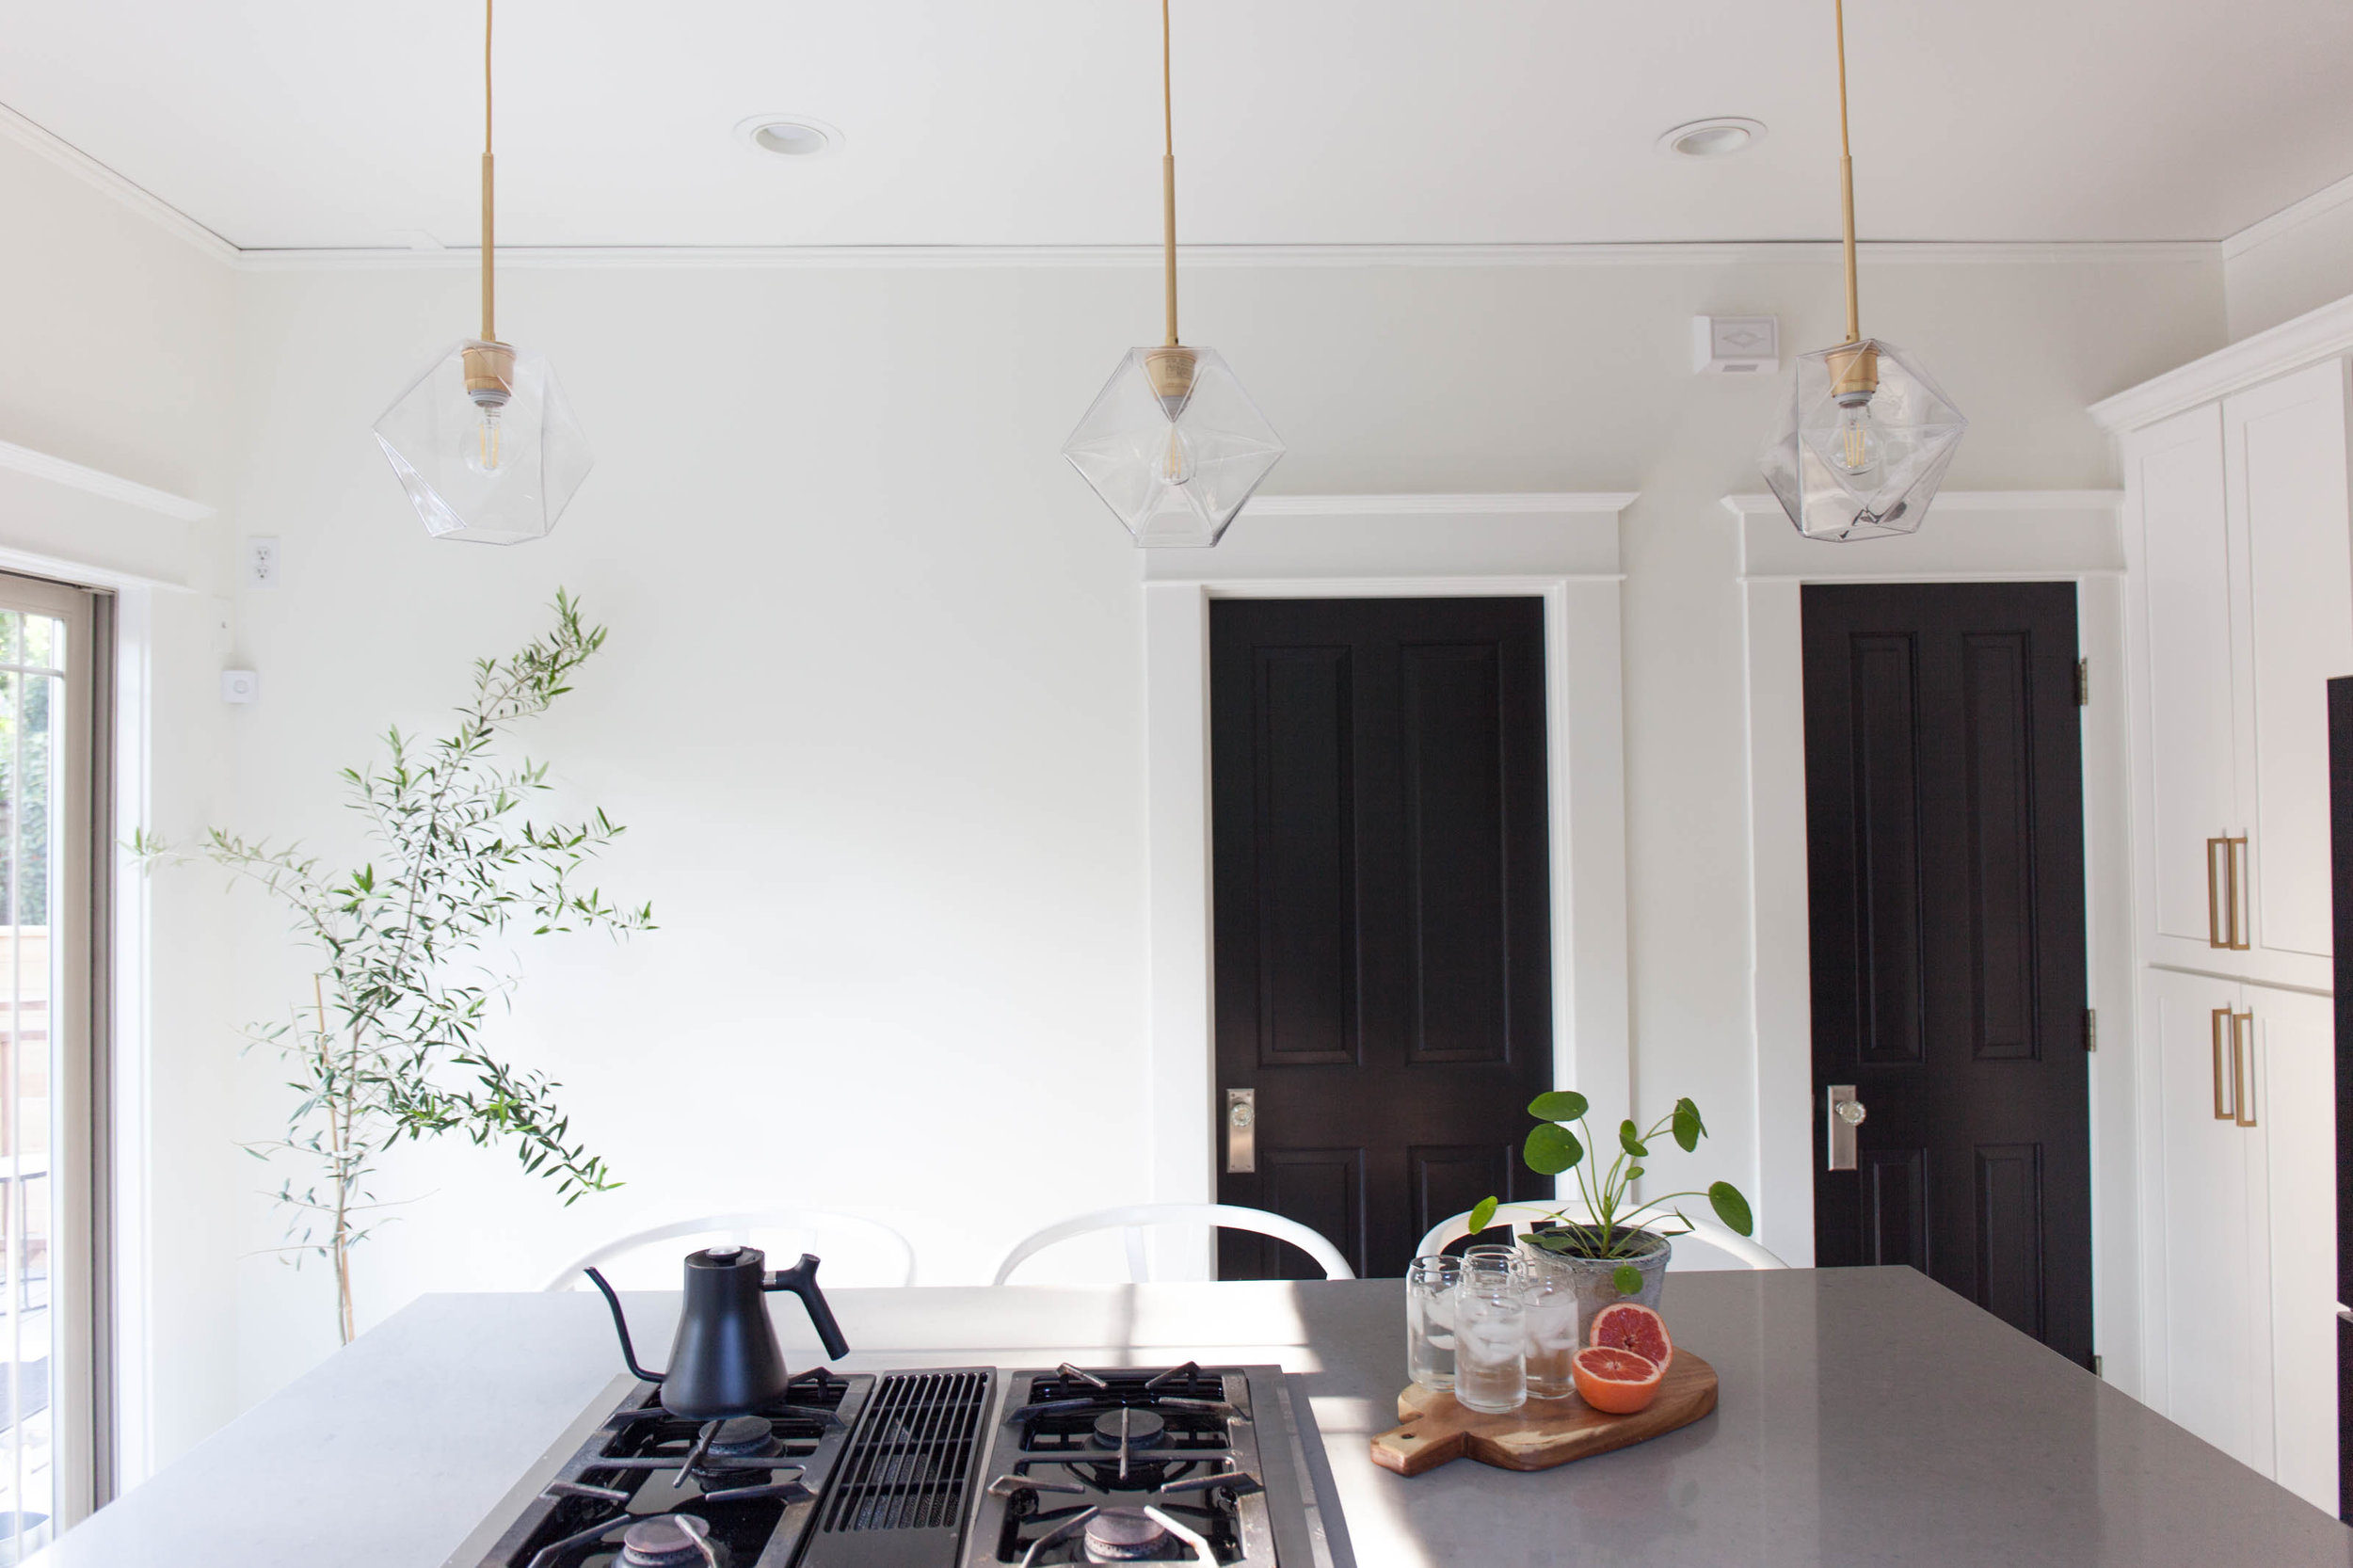
I have wanted a white kitchen for as long as I can remember :) I don’t care what anyone says about white kitchens going out of style, they will always be the cleanest, brightest, and most basic. Especially if you plan to sell your house one day, it’s always good to play it a little safe with a touch of “vanilla” design. However, being a designer, I myself cannot have a basic as* kitchen. I contrasted our island using a dark grey / navy that is the perfect accent color and really anchors in the center of our kitchen. I almost painted the doors in out kitchen that same navy color, but once I saw black doors.. I was in love. Once you go black.. whats the saying??
Main Cabinets: Farrow and Ball “All White” for our main cabinets, walls, ceiling, and trim. Once you see the before photos, you’ll know why I wanted to surround the kitchen in white.
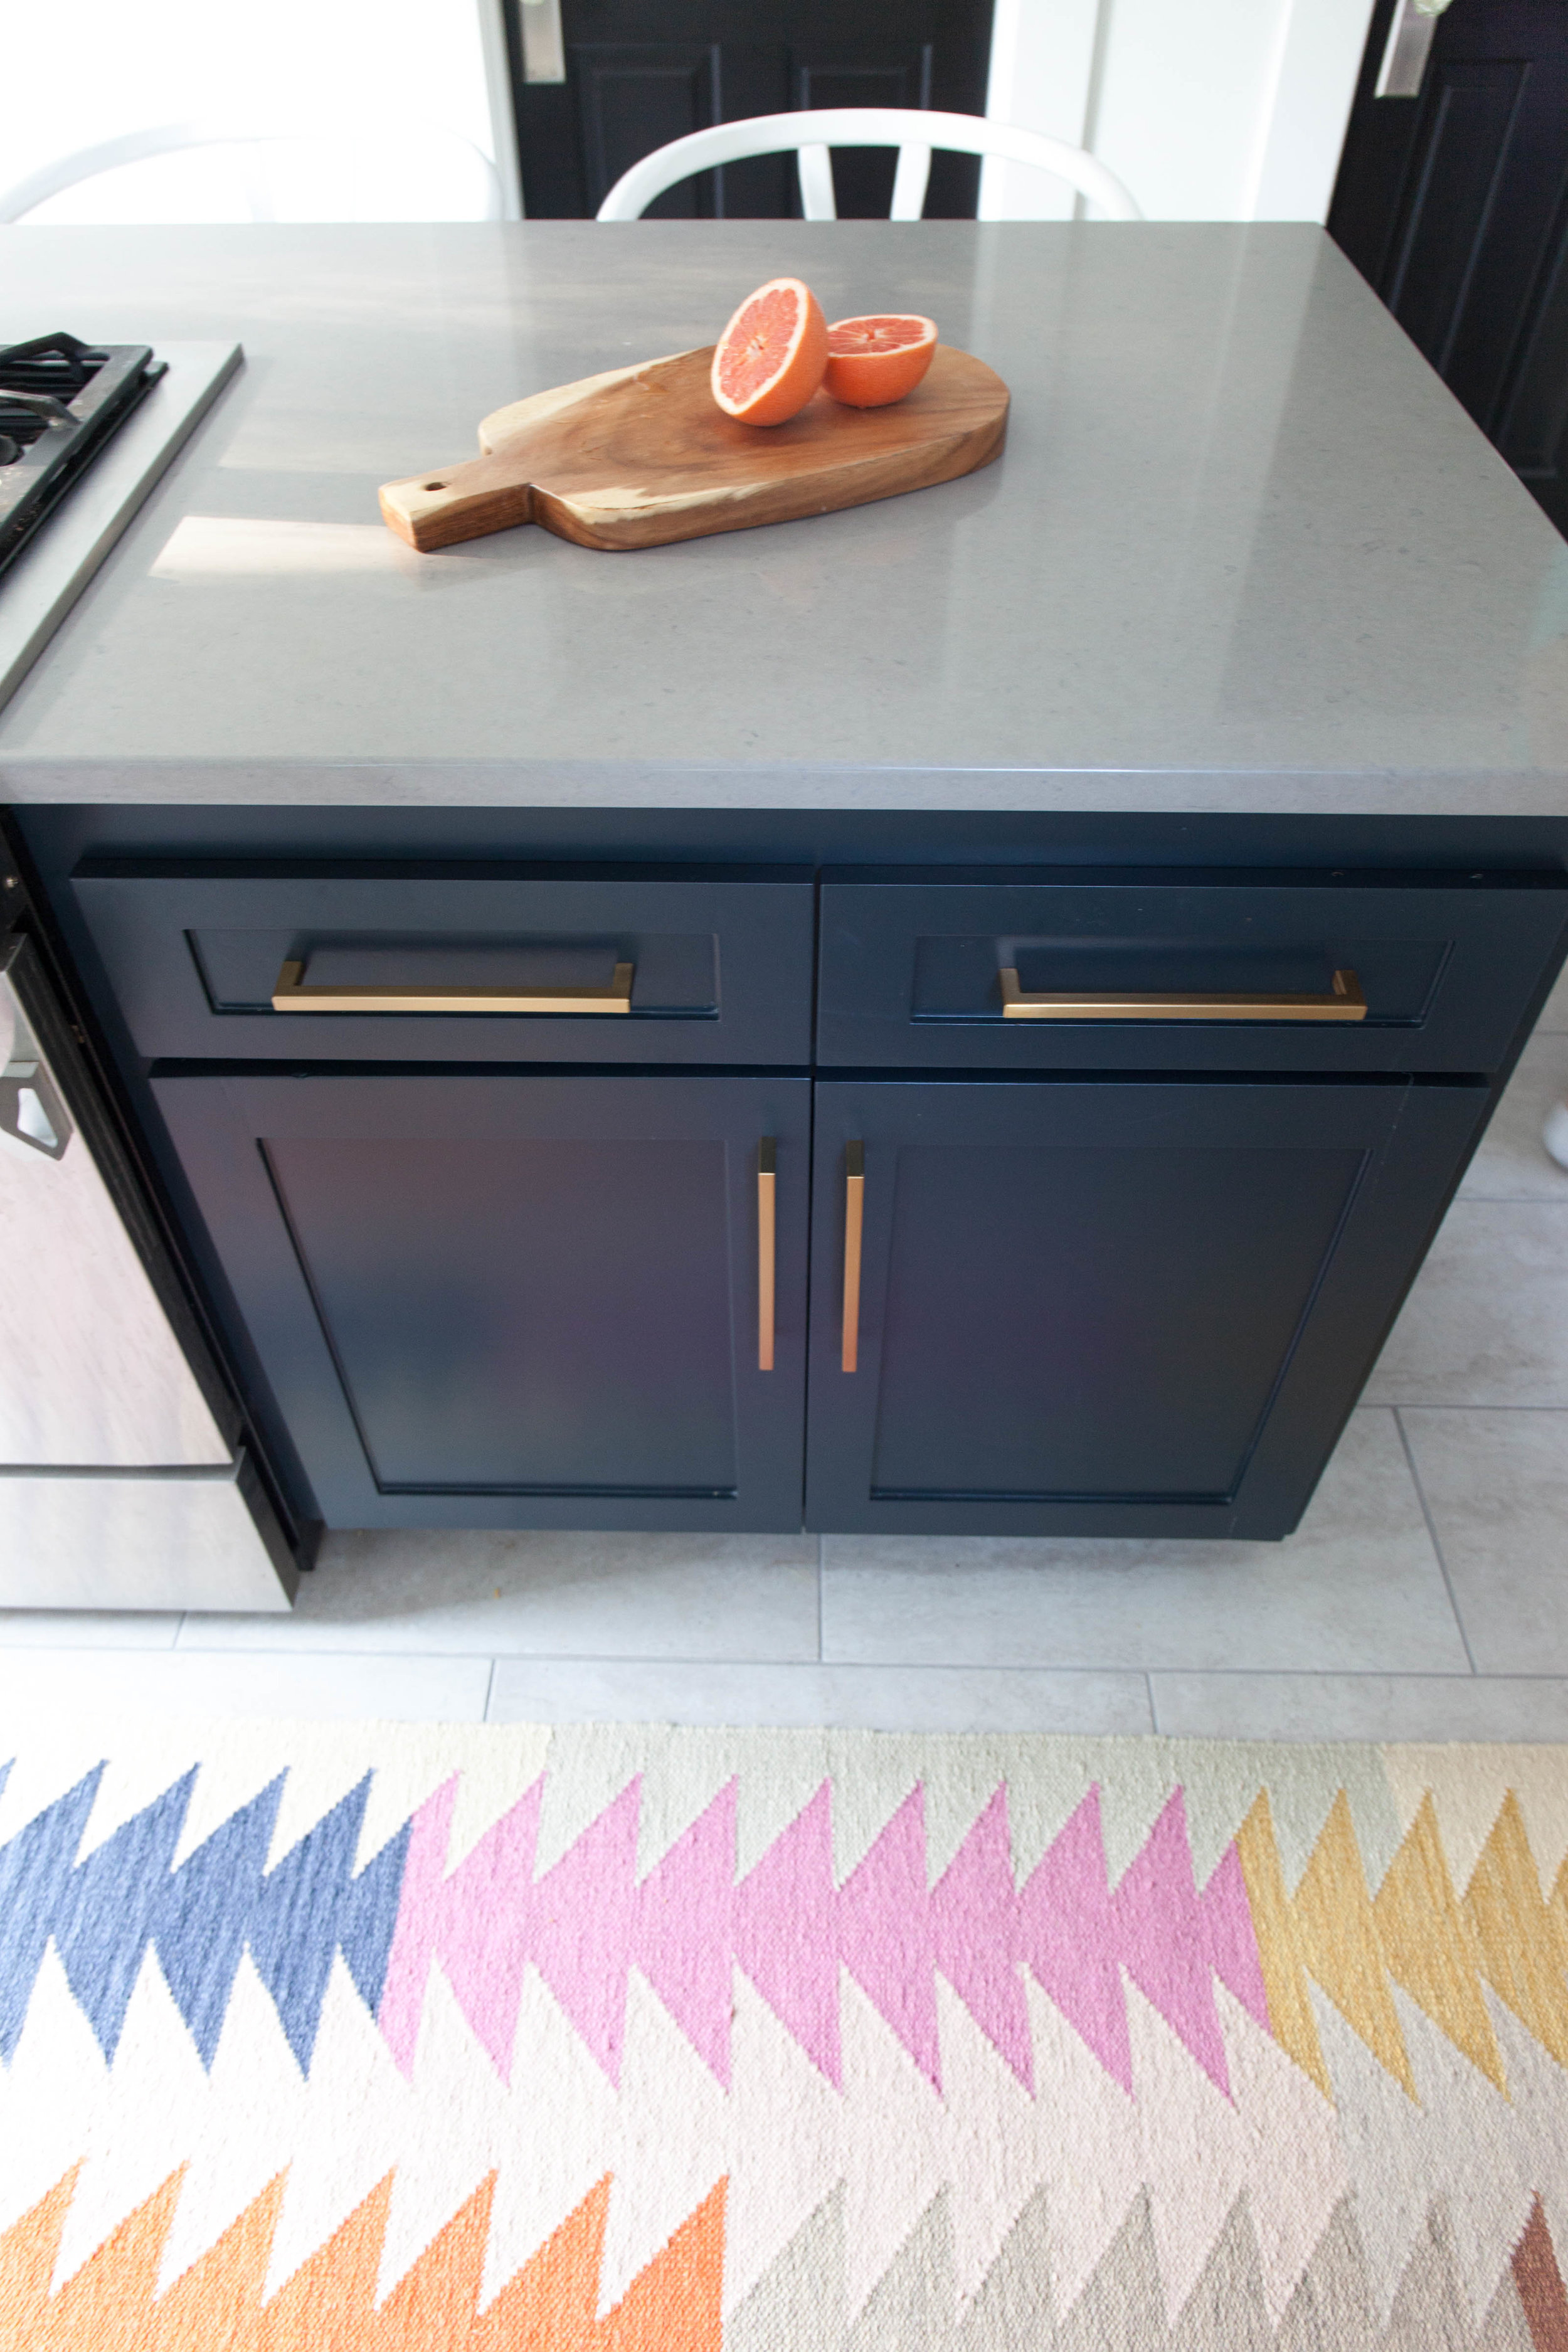
Island : Farrow and Ball “Railings” a beautiful dark navy with touch of grey.
Doors: Farrow and Ball “Pitch Black”.
Walls, Trim, Ceiling: Farrow and Ball “All white” *NOTE- different sheens should be used for walls, ceiling and trim. Cabinets and Trim (woodwork) should be semi-gloss. Walls should be eggshell. Ceiling should be flat.
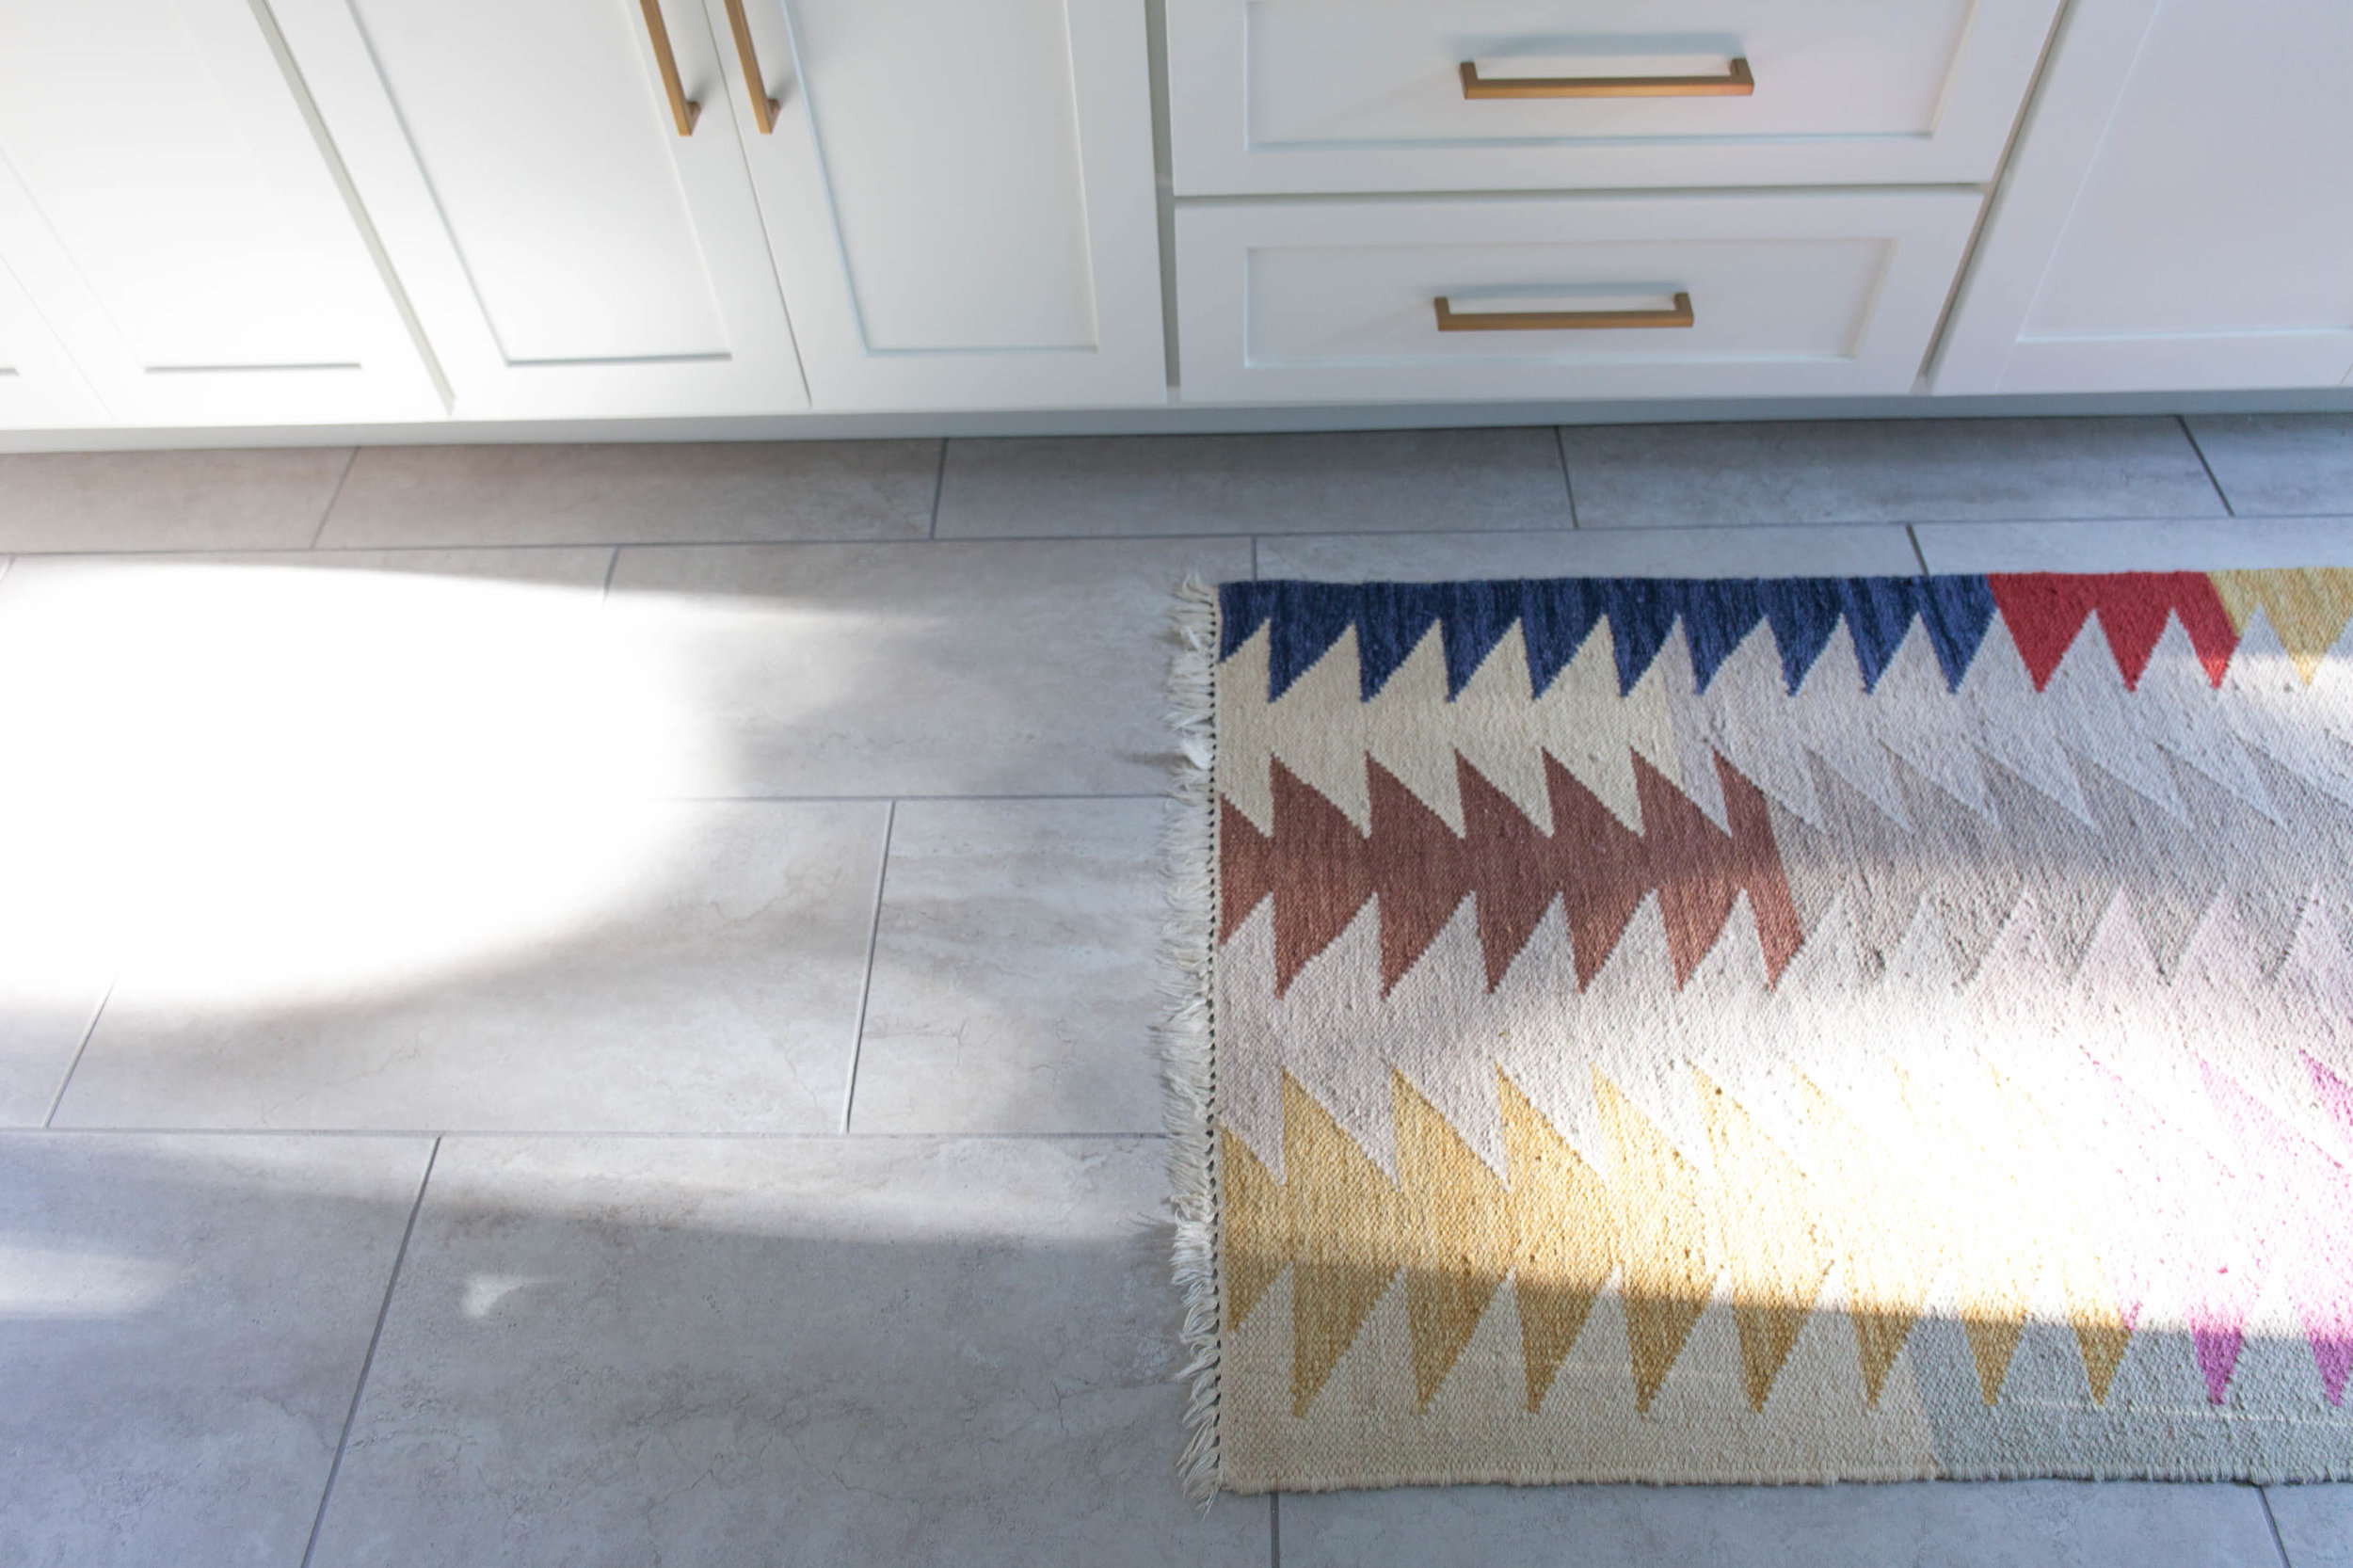
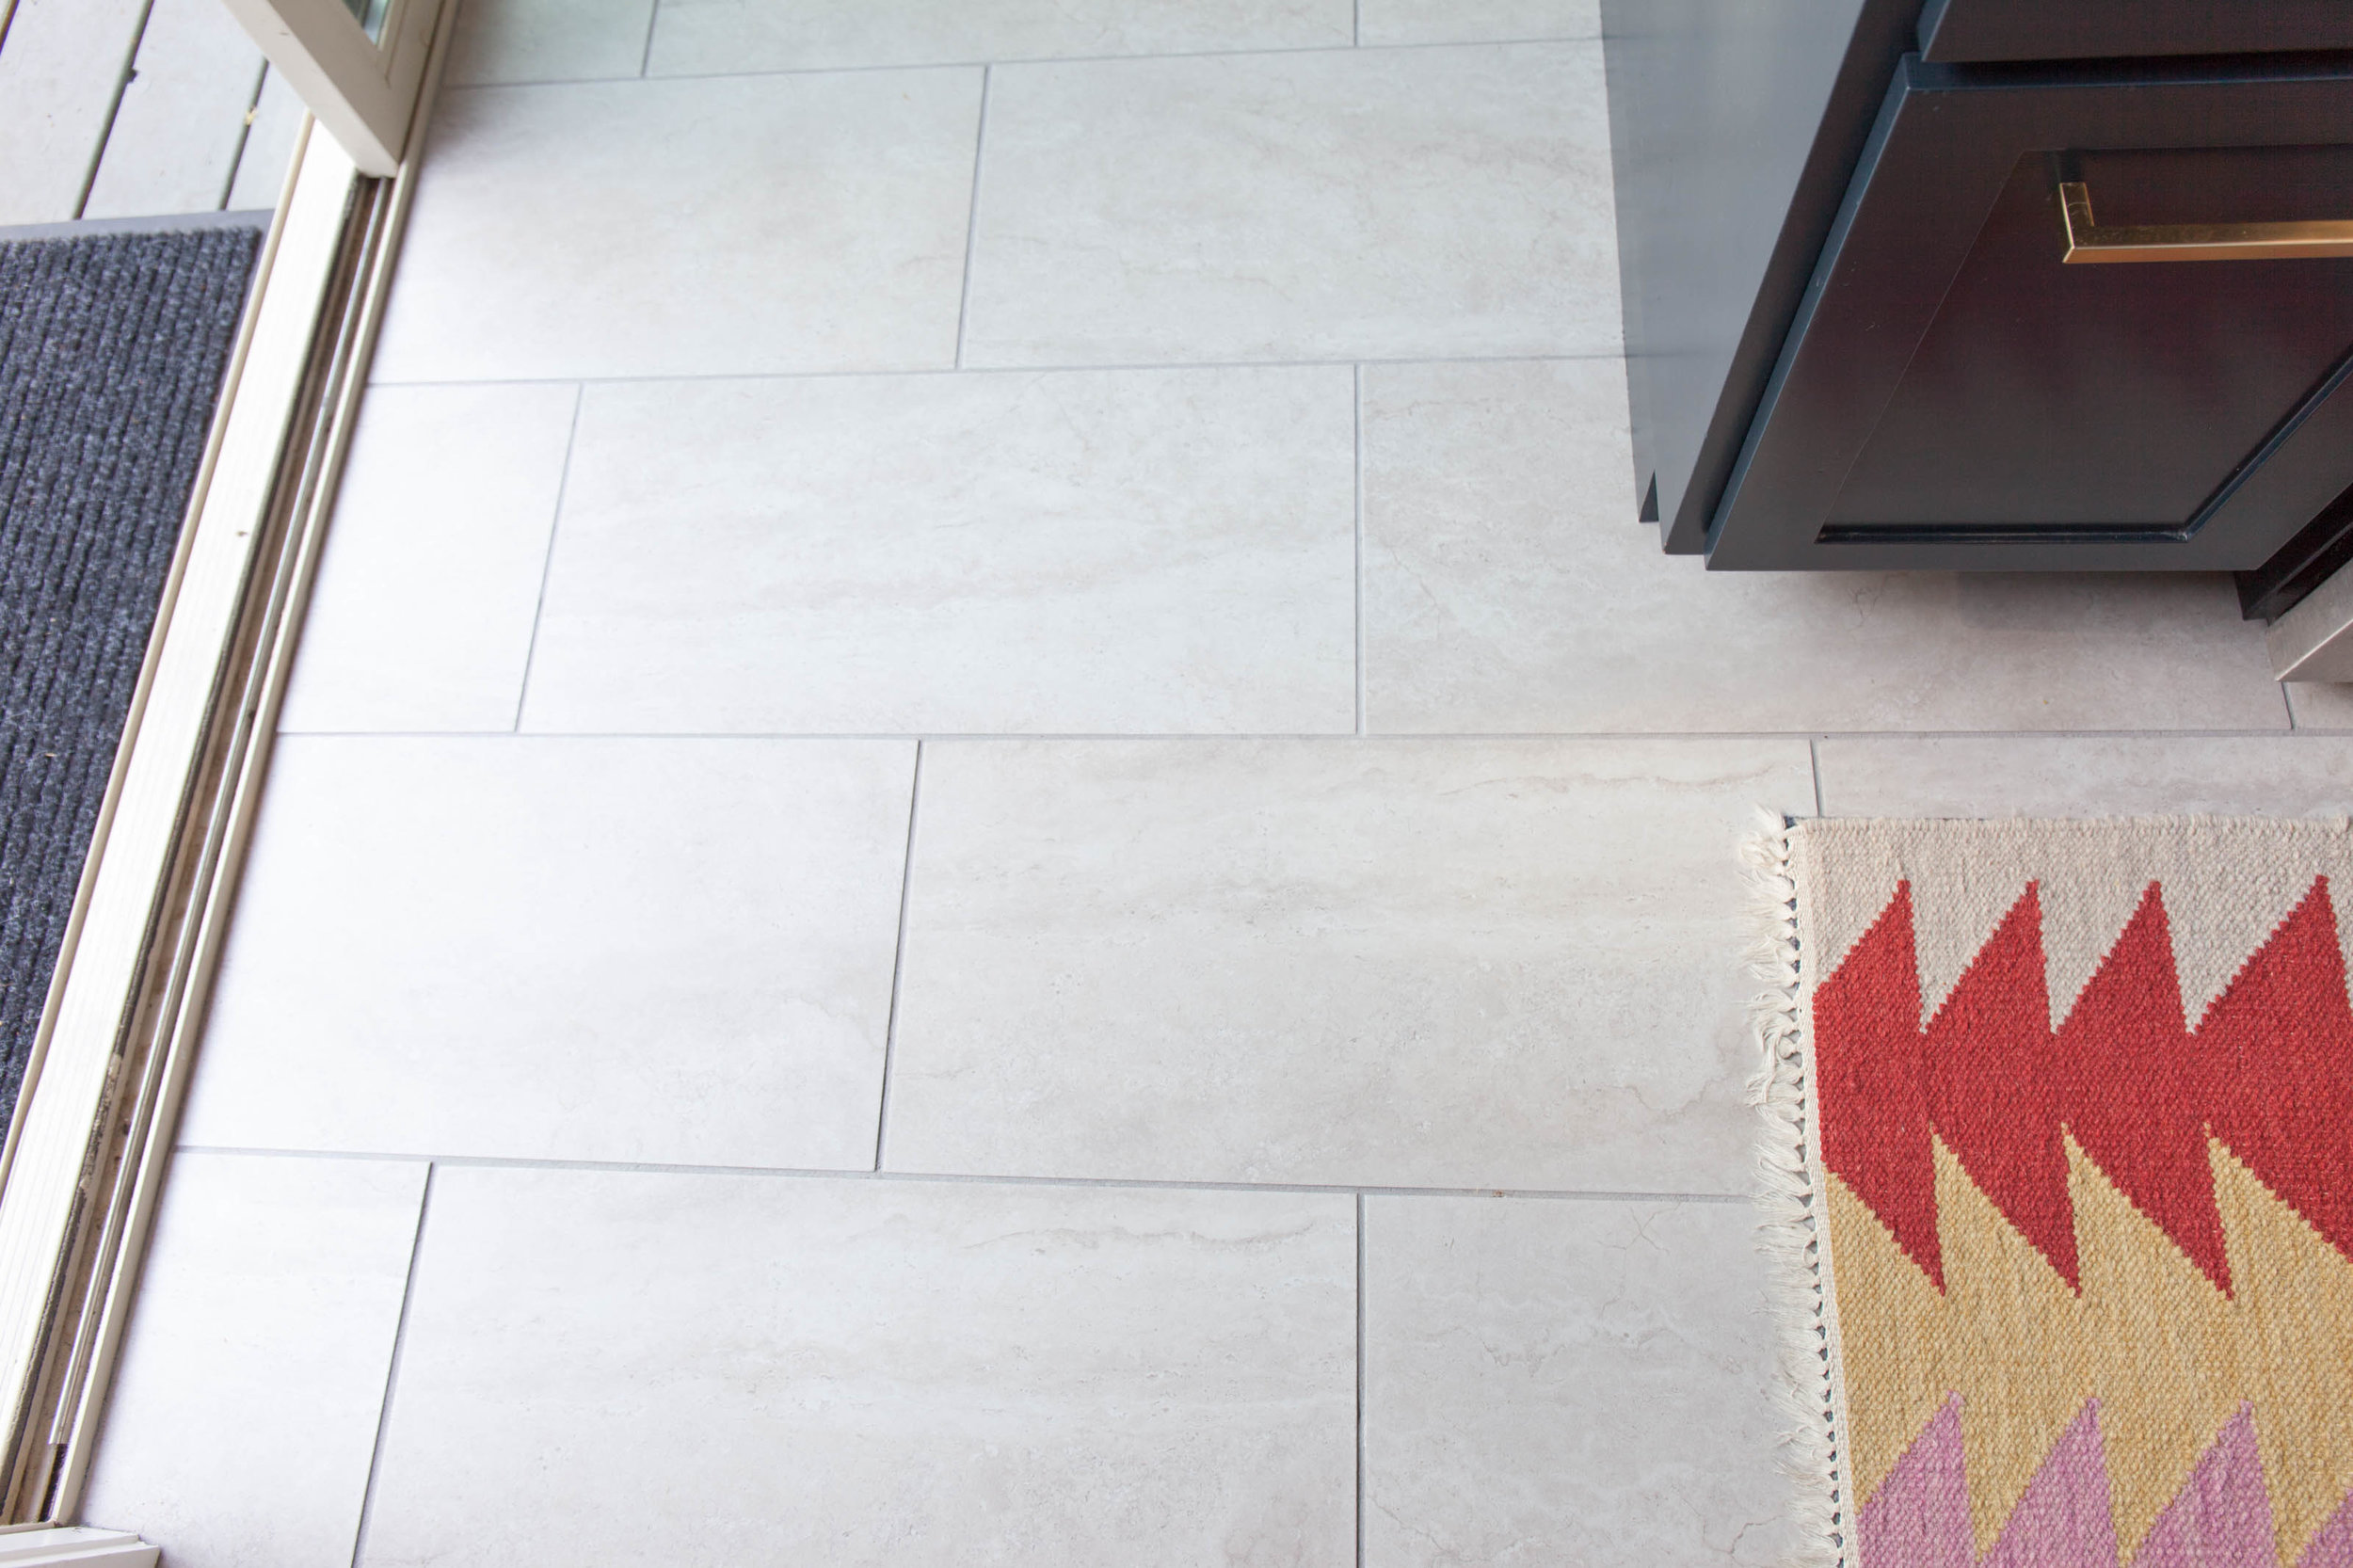
Flooring -
I chose this light grey, 12x24 tile from Home Depot that was $1.99/sqft. totaling around $300 for the whole kitchen floor. We needed to get this flooring fast, and I wanted something simple, clean, and light. It looks a little more creamy/beige online but in person it is a true light grey with some subtle veins + waves for texture.
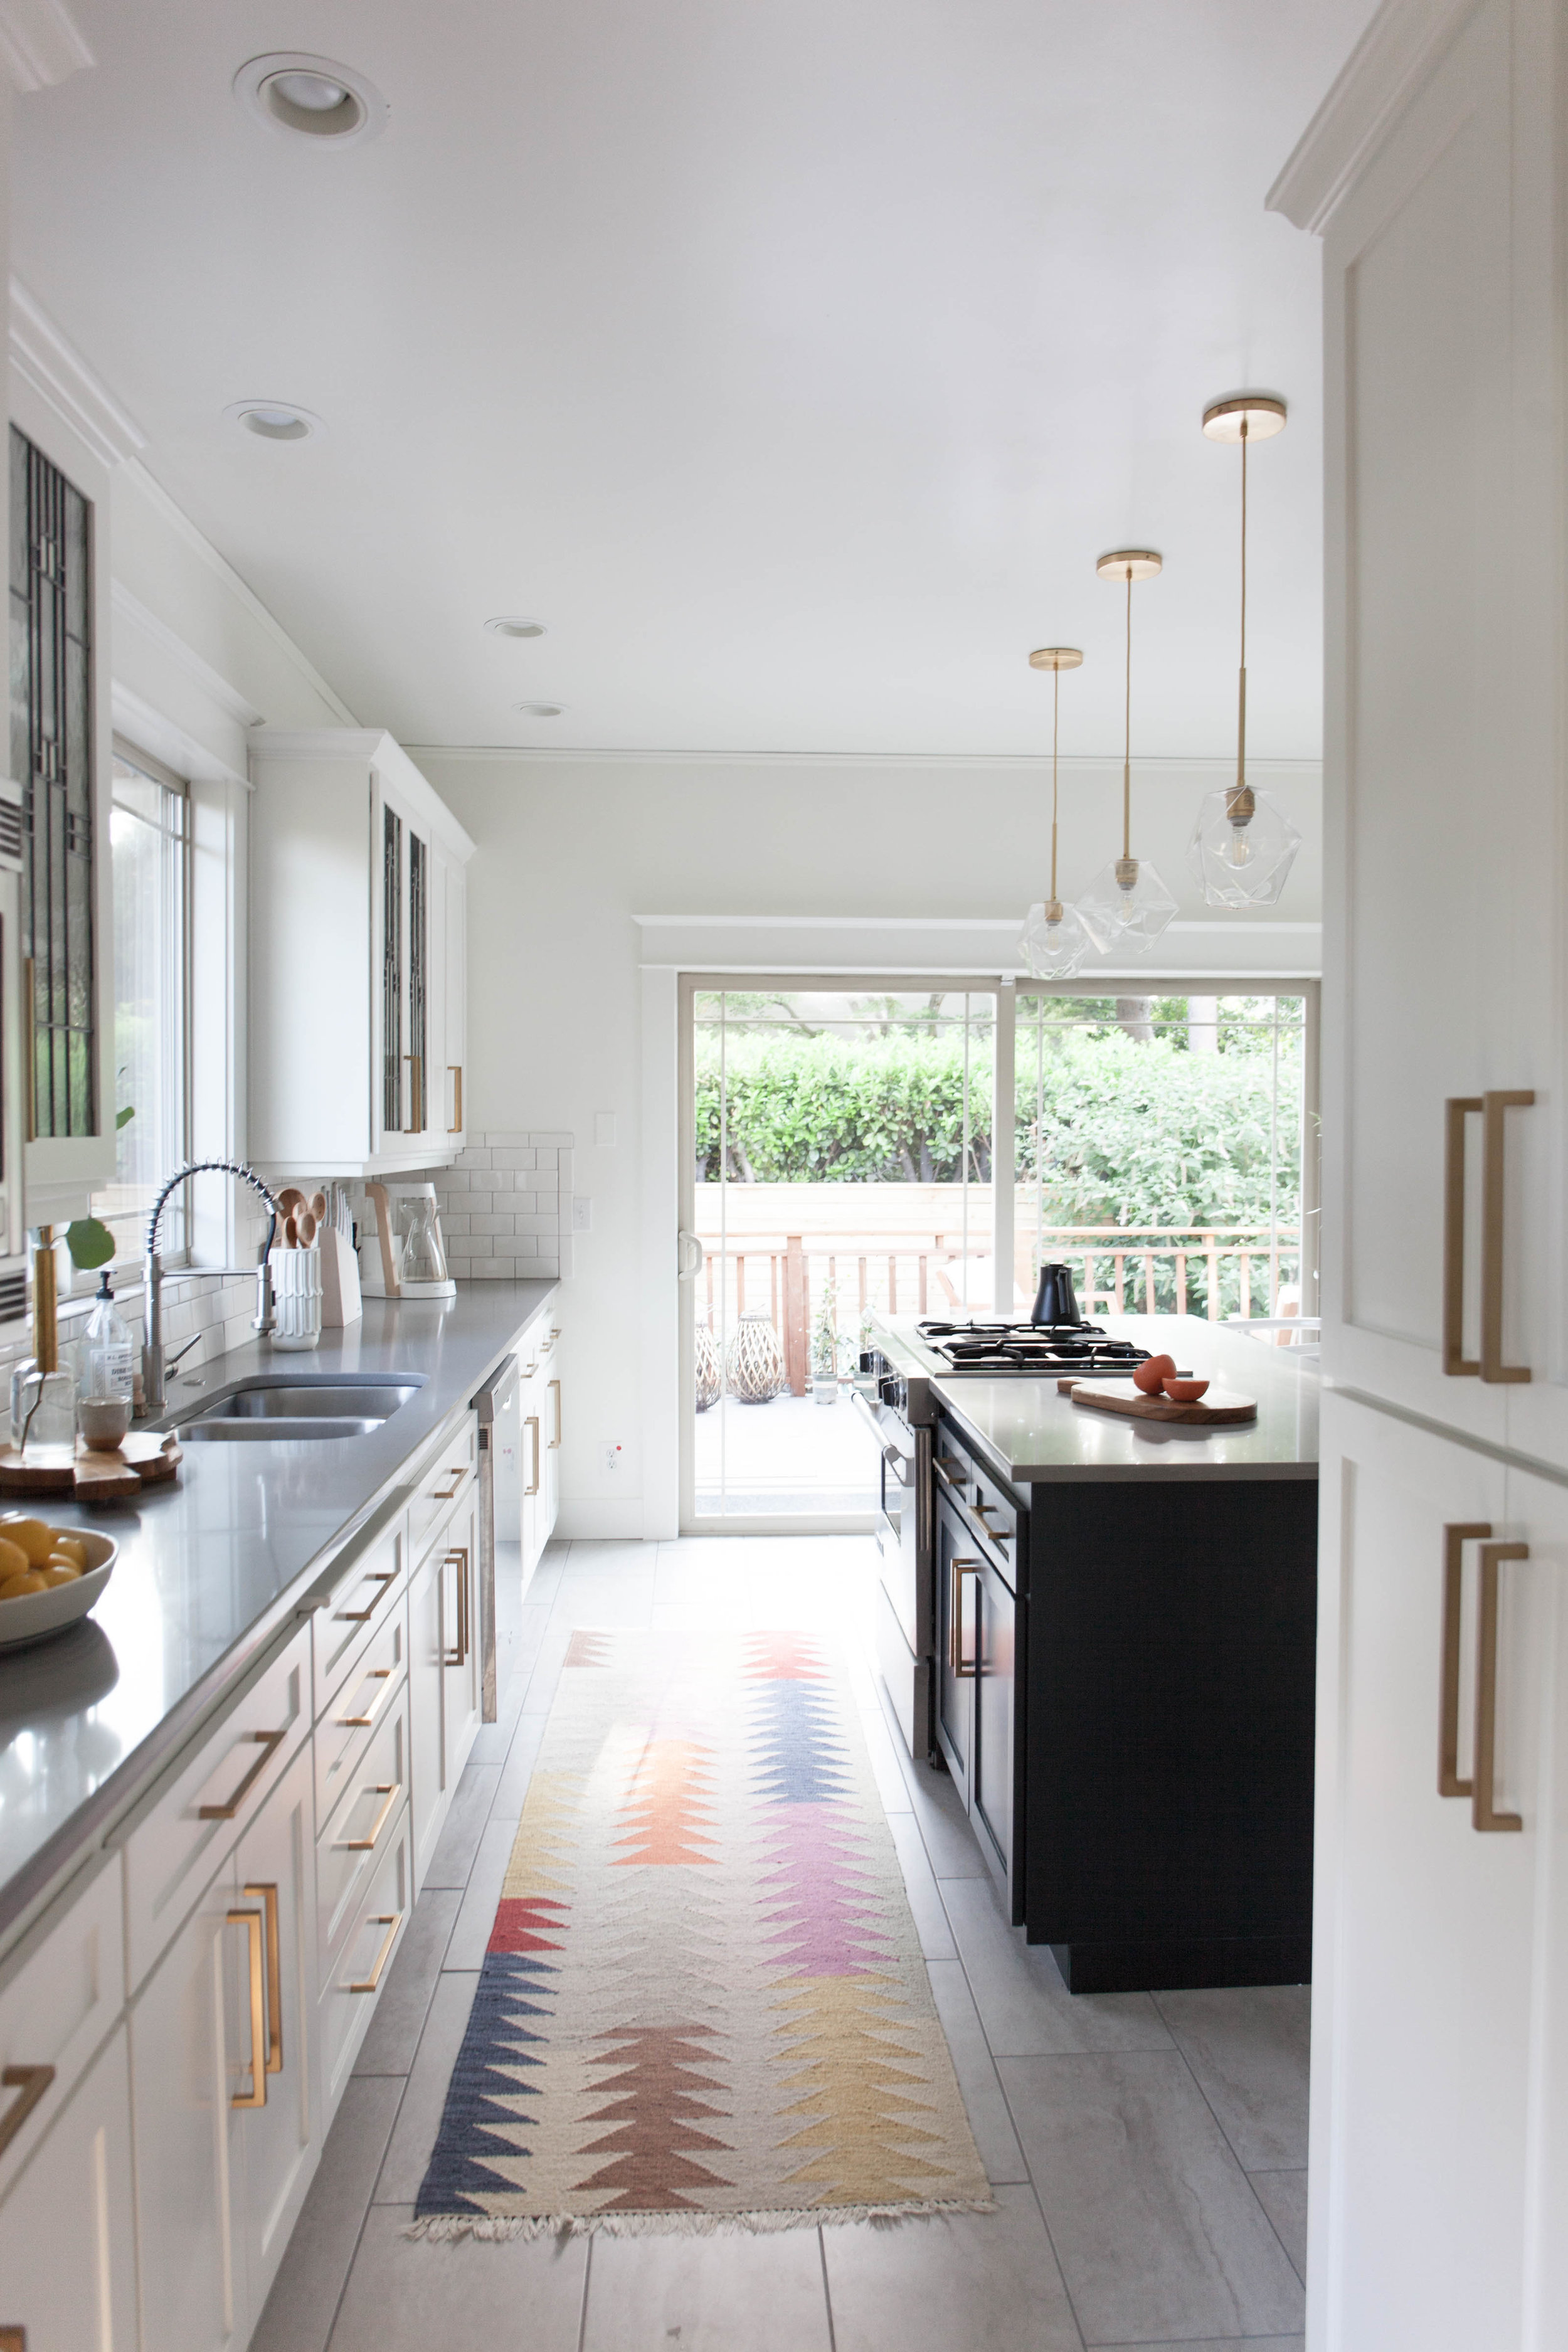
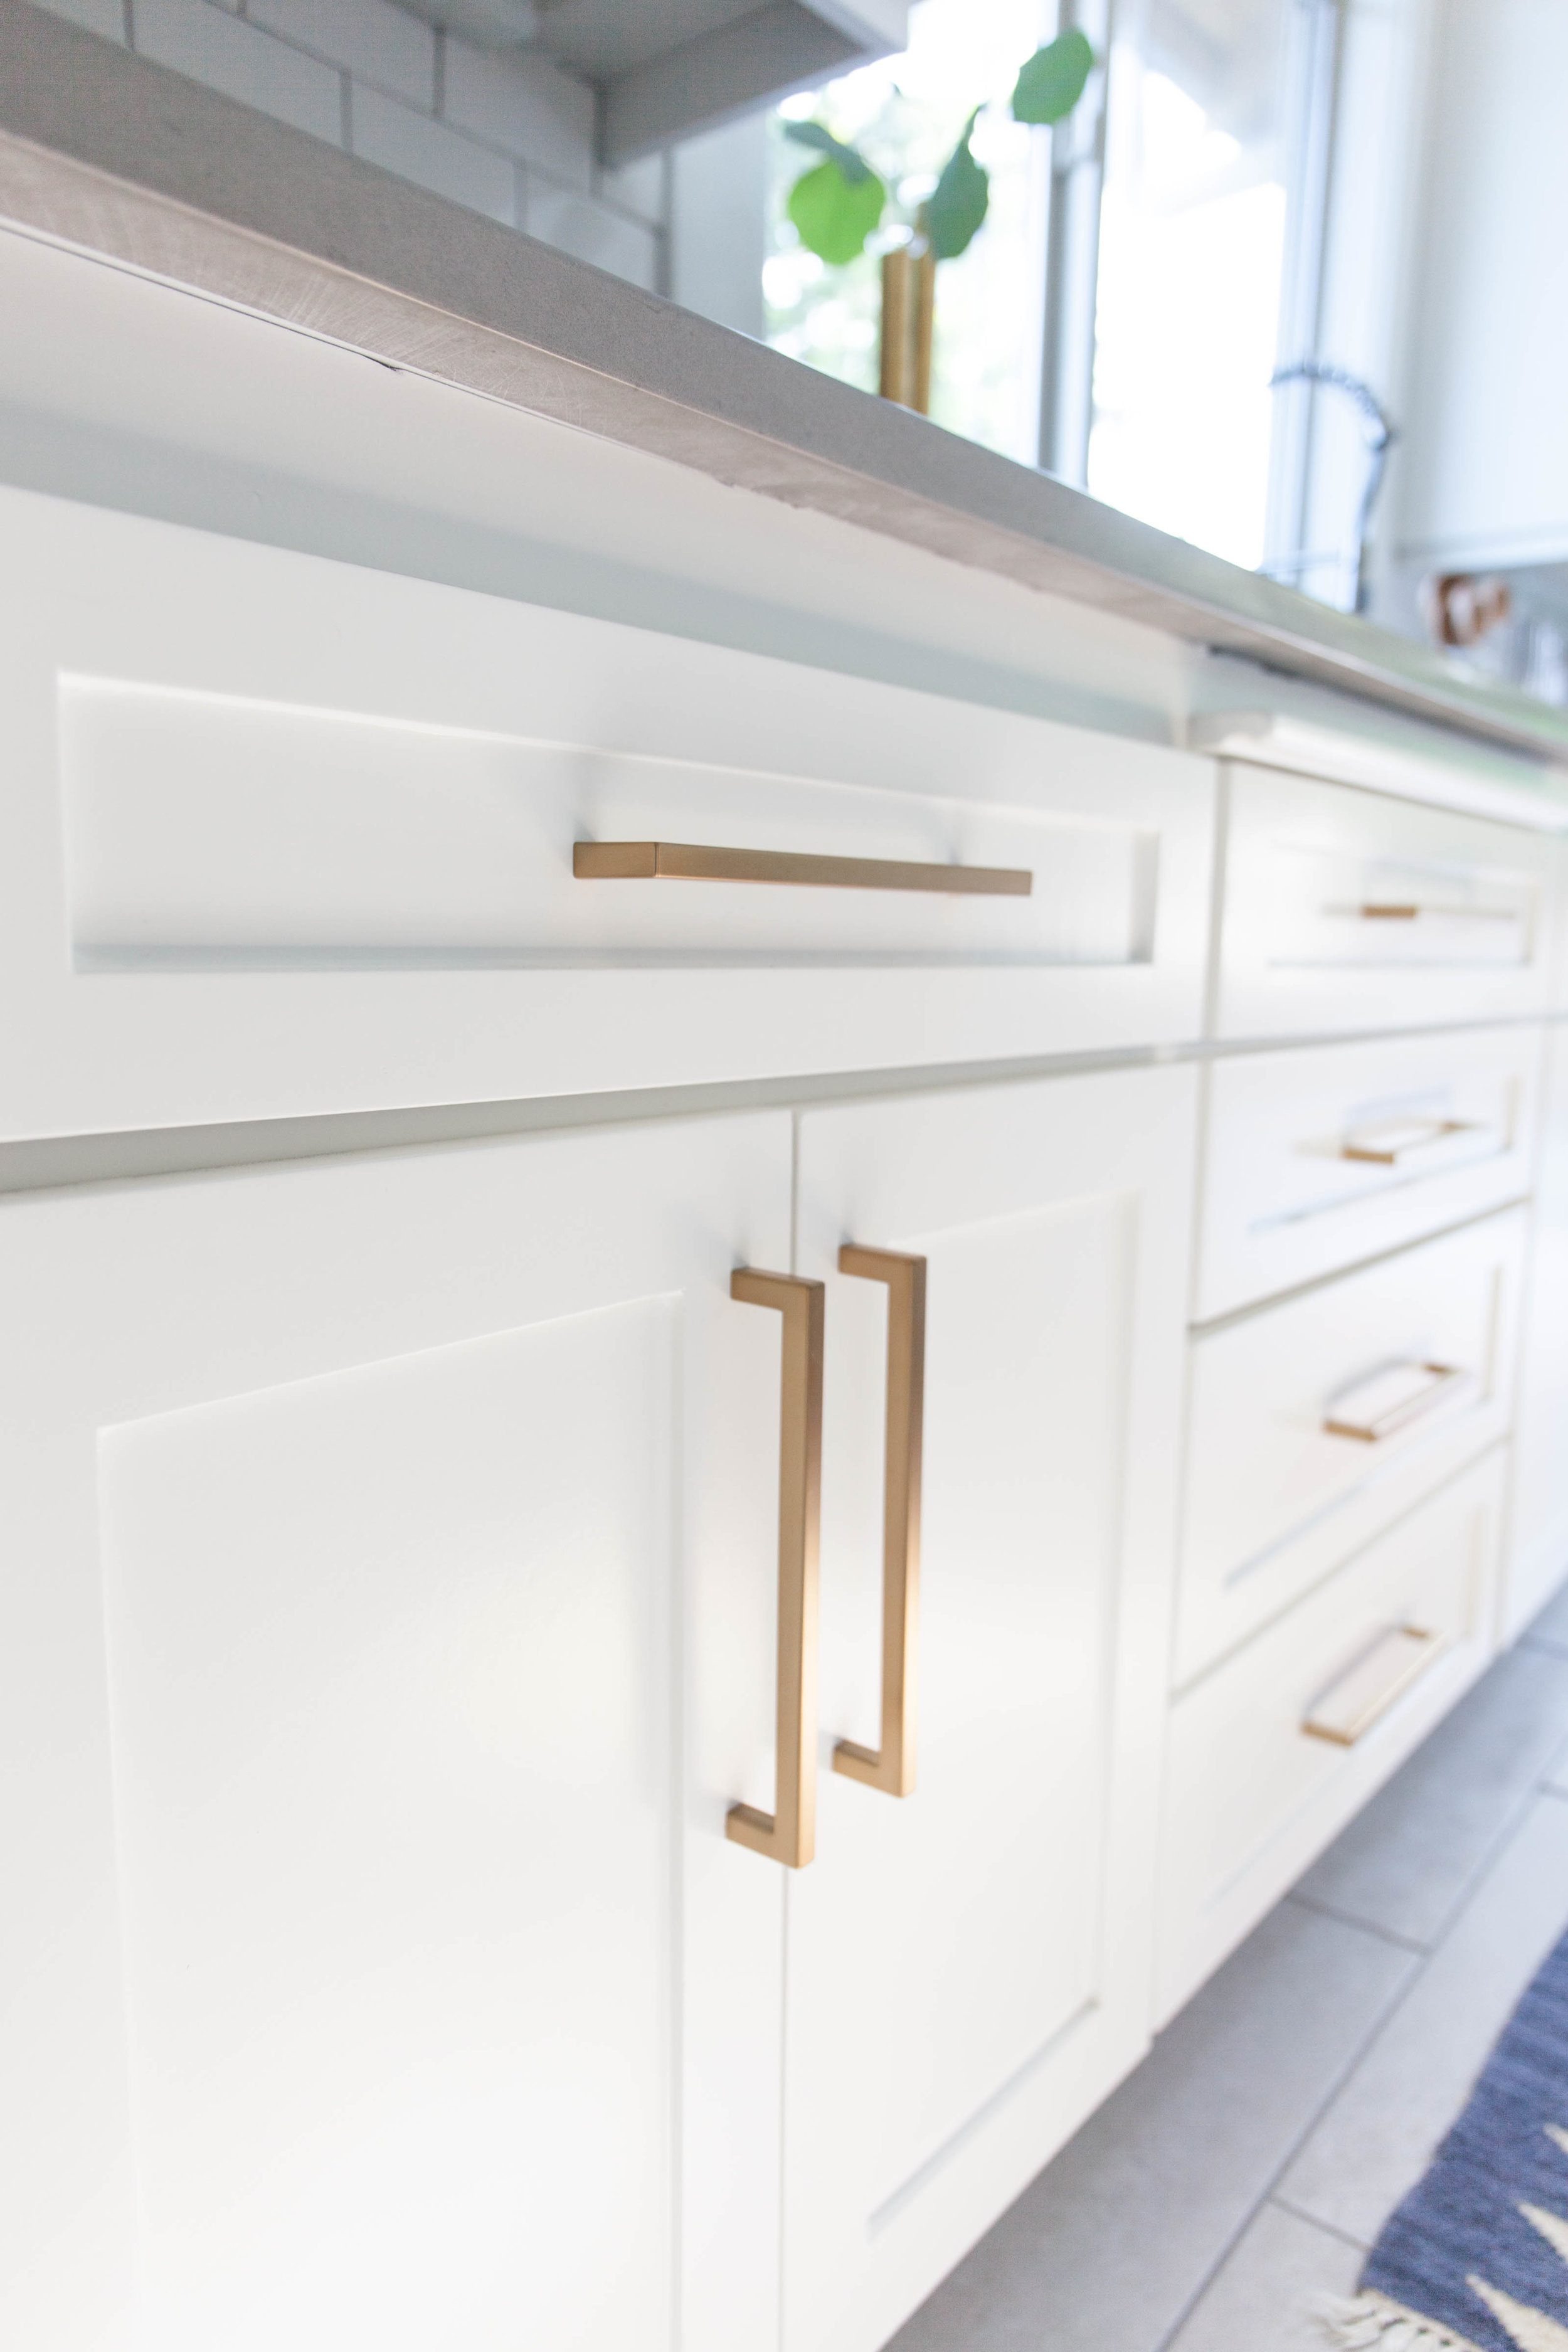
Hardware -
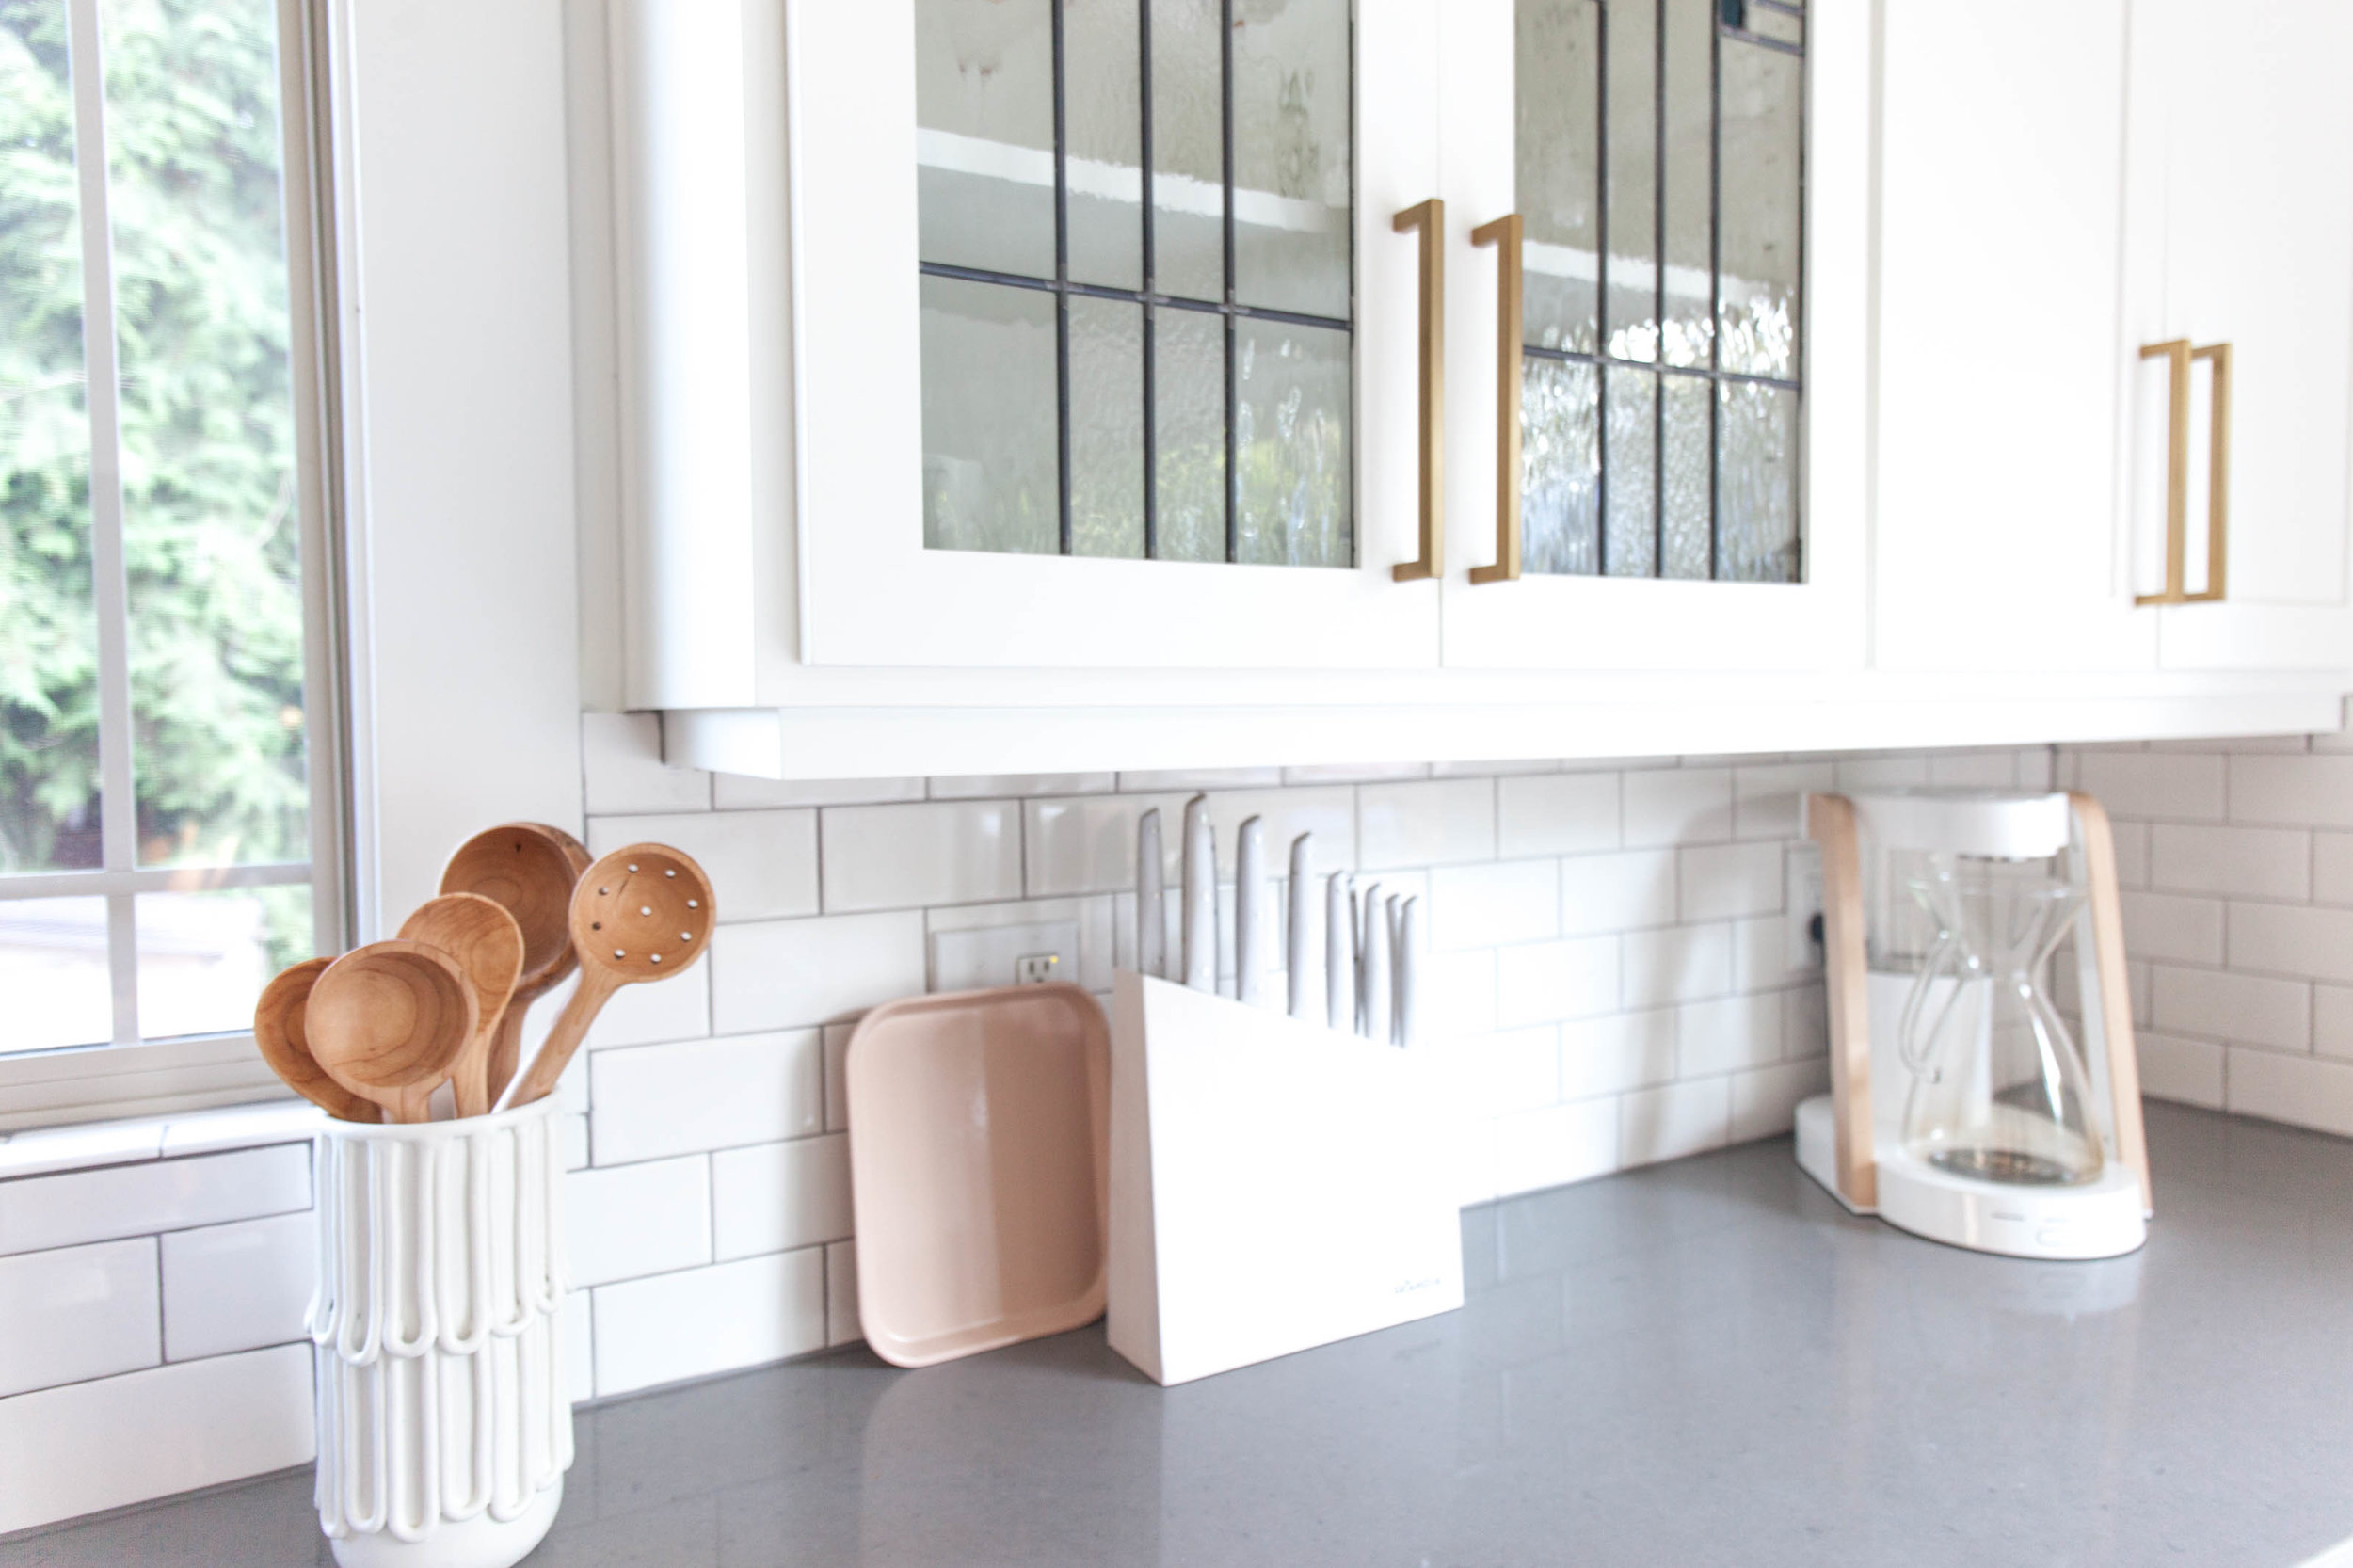
I wanted grand, oversized, modern gold pulls and boy did I find them. Here is the Warwick Pull. It’s an amazing dupe of my all time favorites from Schoolhouse Electric Pull - the Edgecliff. Honestly it just wasn’t in the budget for me to buy the real deal, so thats when I go hunting for the next best thing! I’m super happy with them and spent $600 vs $2k+
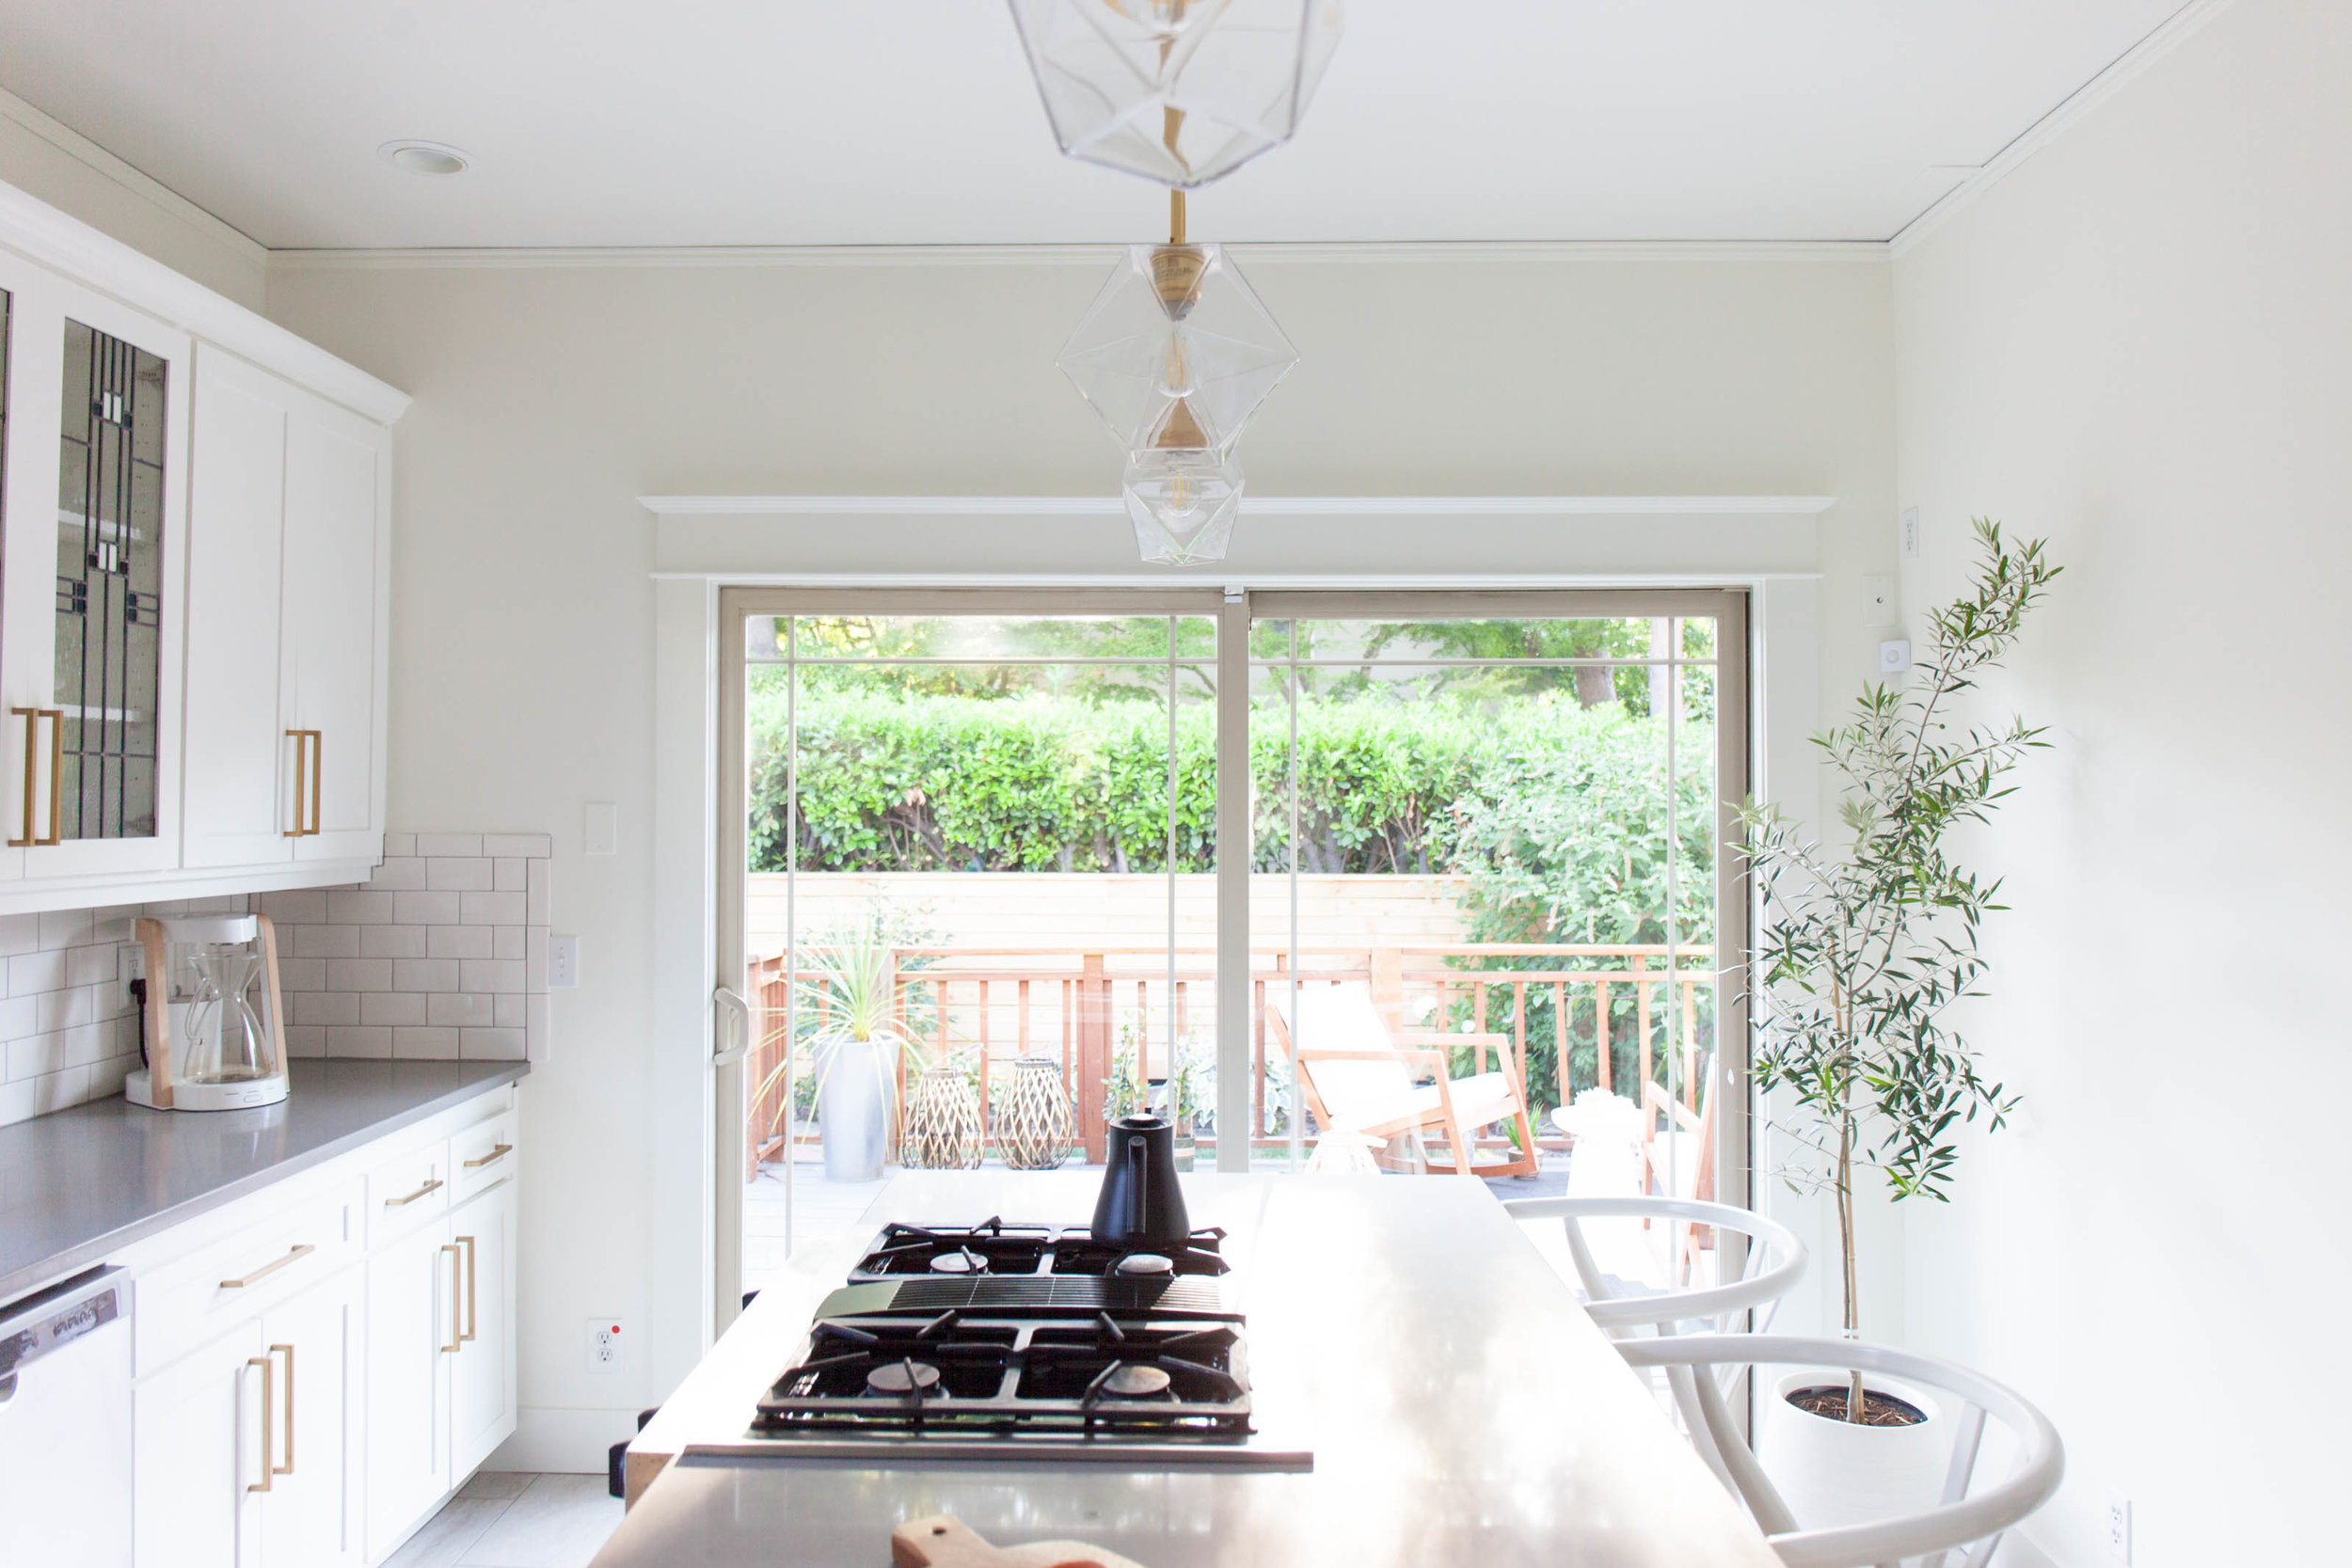
Lighting -
I changed the pendant lights almost immediately after moving in. These are West Elm’s Sculptural Glass Geo Pendant . I love how they’re subtle + unique.
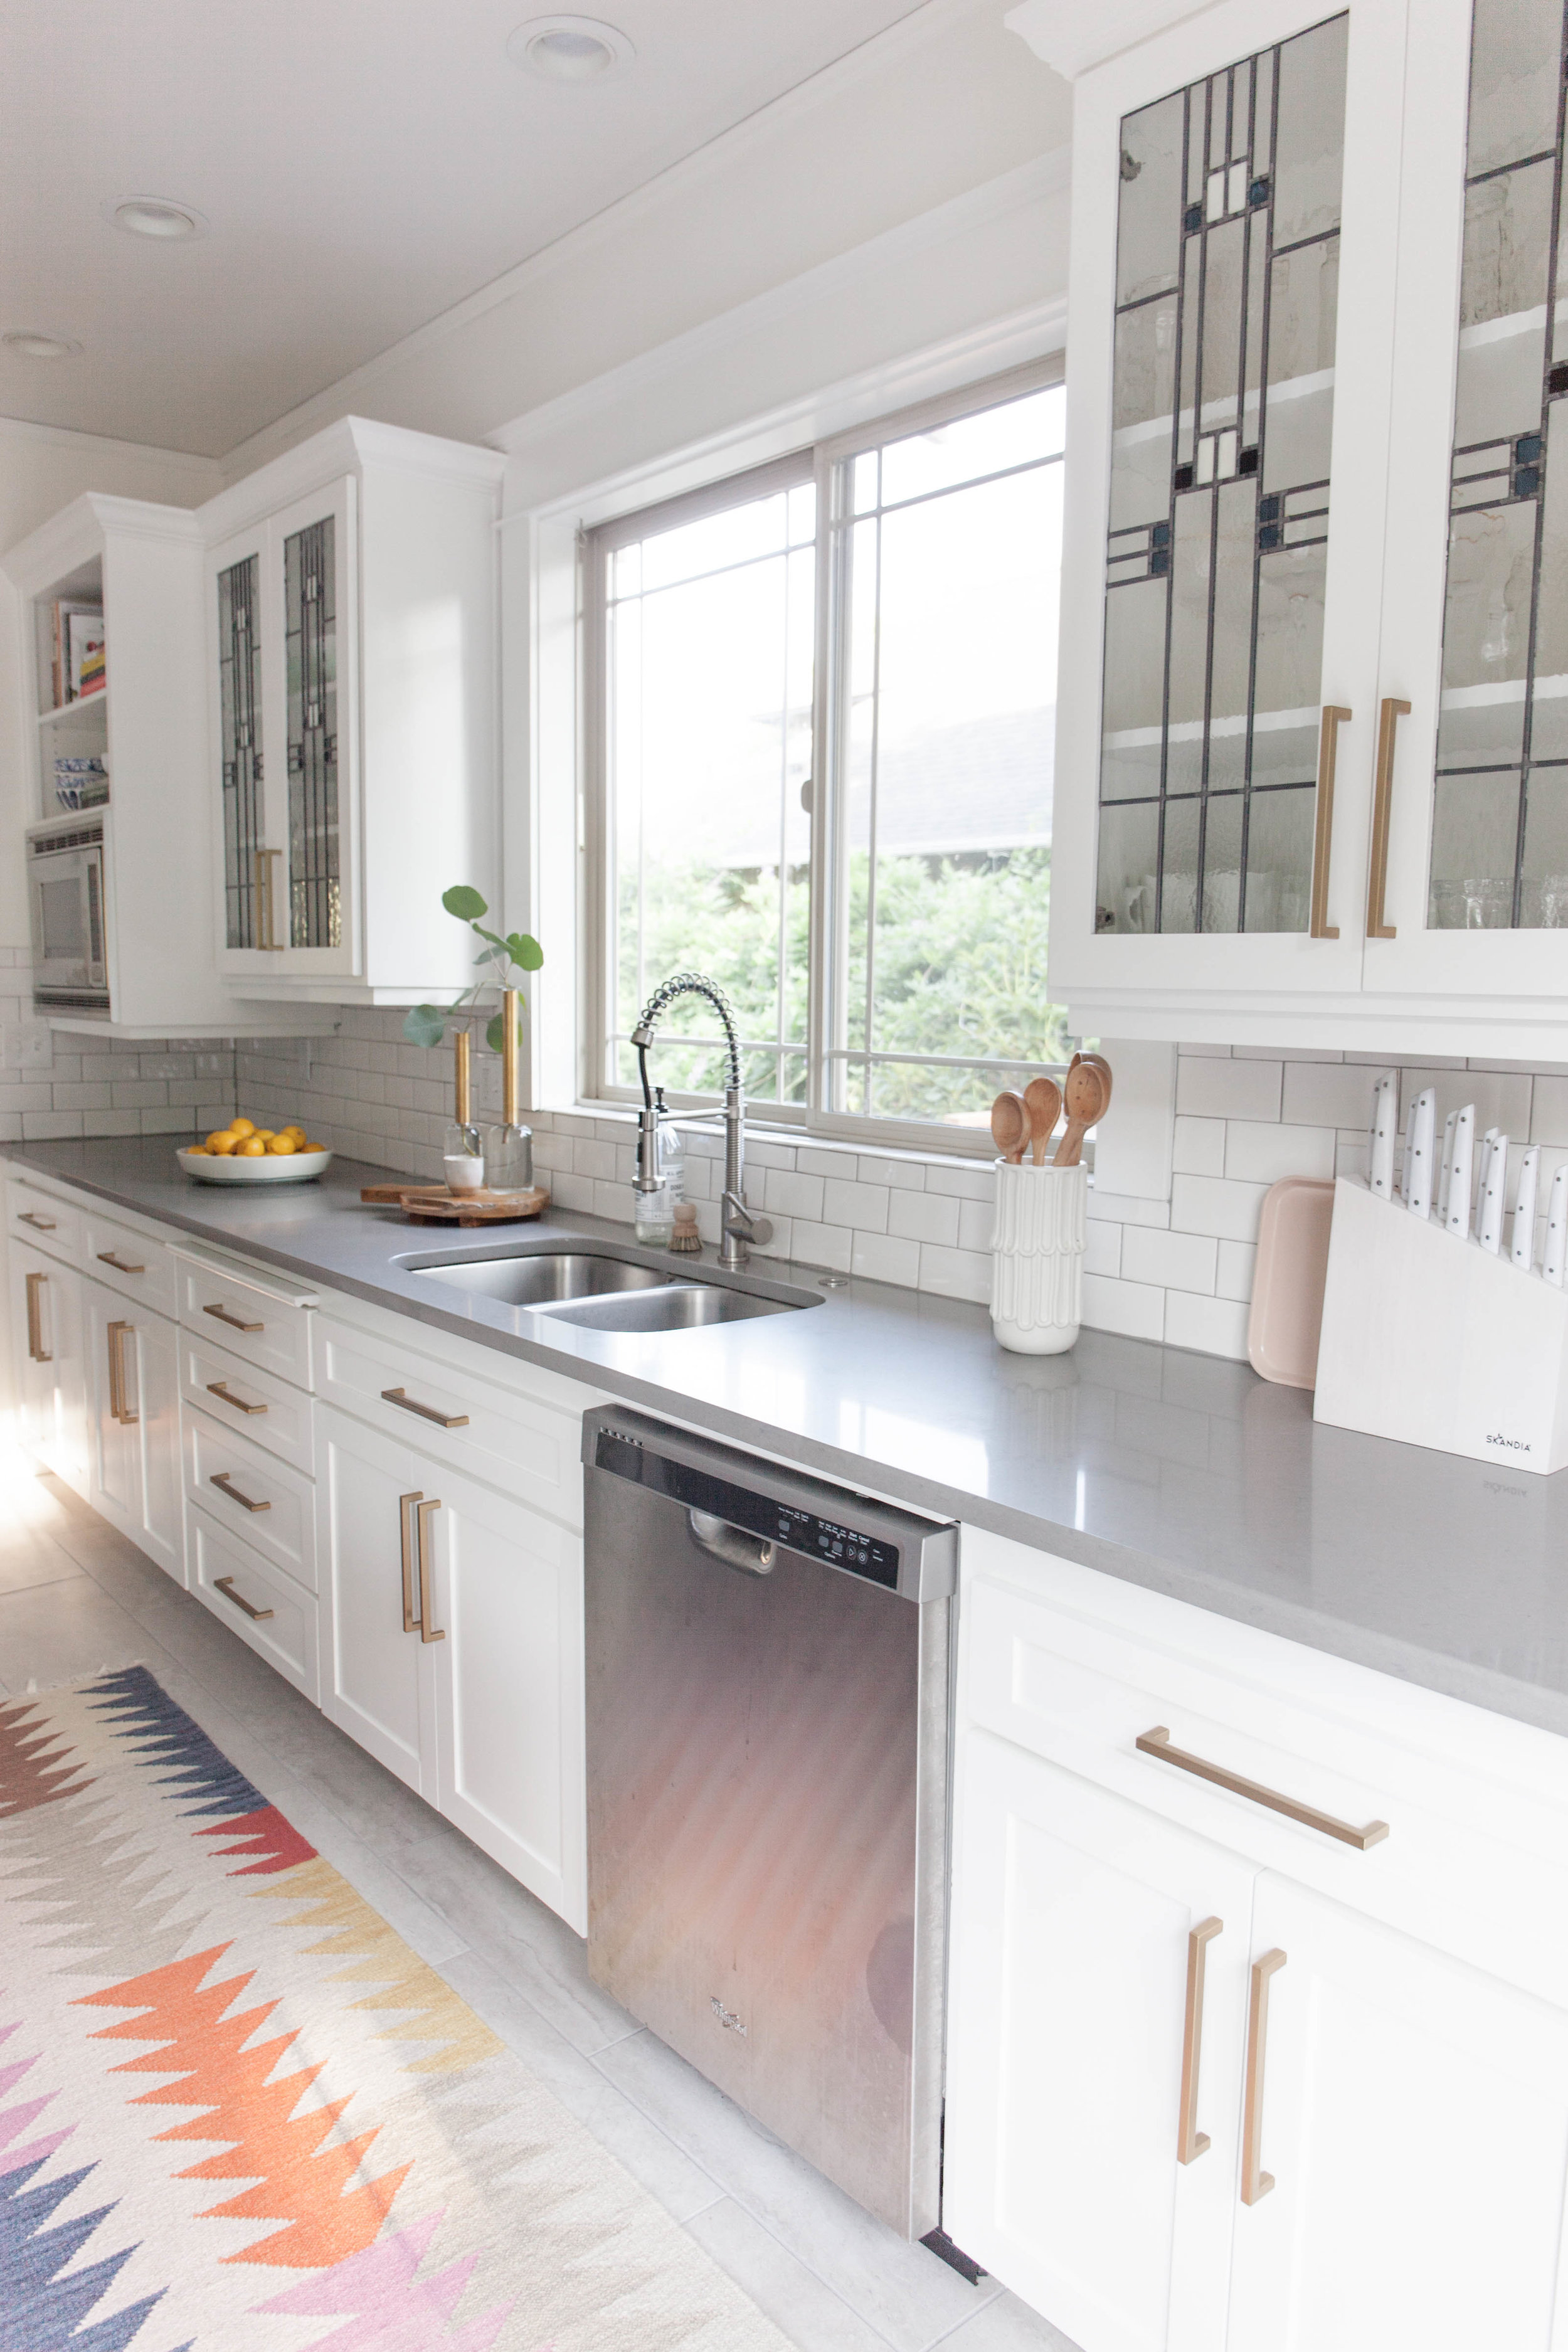
* Our countertops + backsplash stayed the same, as they were updated by the previous homeowner *
2. Before Photos :
I try not to be too dramatic or rude when it comes to bad remodels but sometimes I truly wonder “how did you think this would look good?” Our kitchen was basically all one tone of orangey brown. The floors were a printed (fake) terra cotta that just looked dirty to begin with. I remember moving in and scrubbing the heck out of them when I noticed little pixilated squares. Our cabinets were the same exact color, a warm brown. The actual cabinets were beautiful, and I didn’t hate that they were brown, I hated that everything was brown. Lastly, our walls were a nice warm beige..


3. The Reveal :